Hello Community, this post will guide you through on how to set document in specific listing,
How to set document in specific listing
-
Login to your workspace studio.
-
From the studios, scroll down and view Template section. Select the template you want to set in specific listing (e.g. Demo)
-
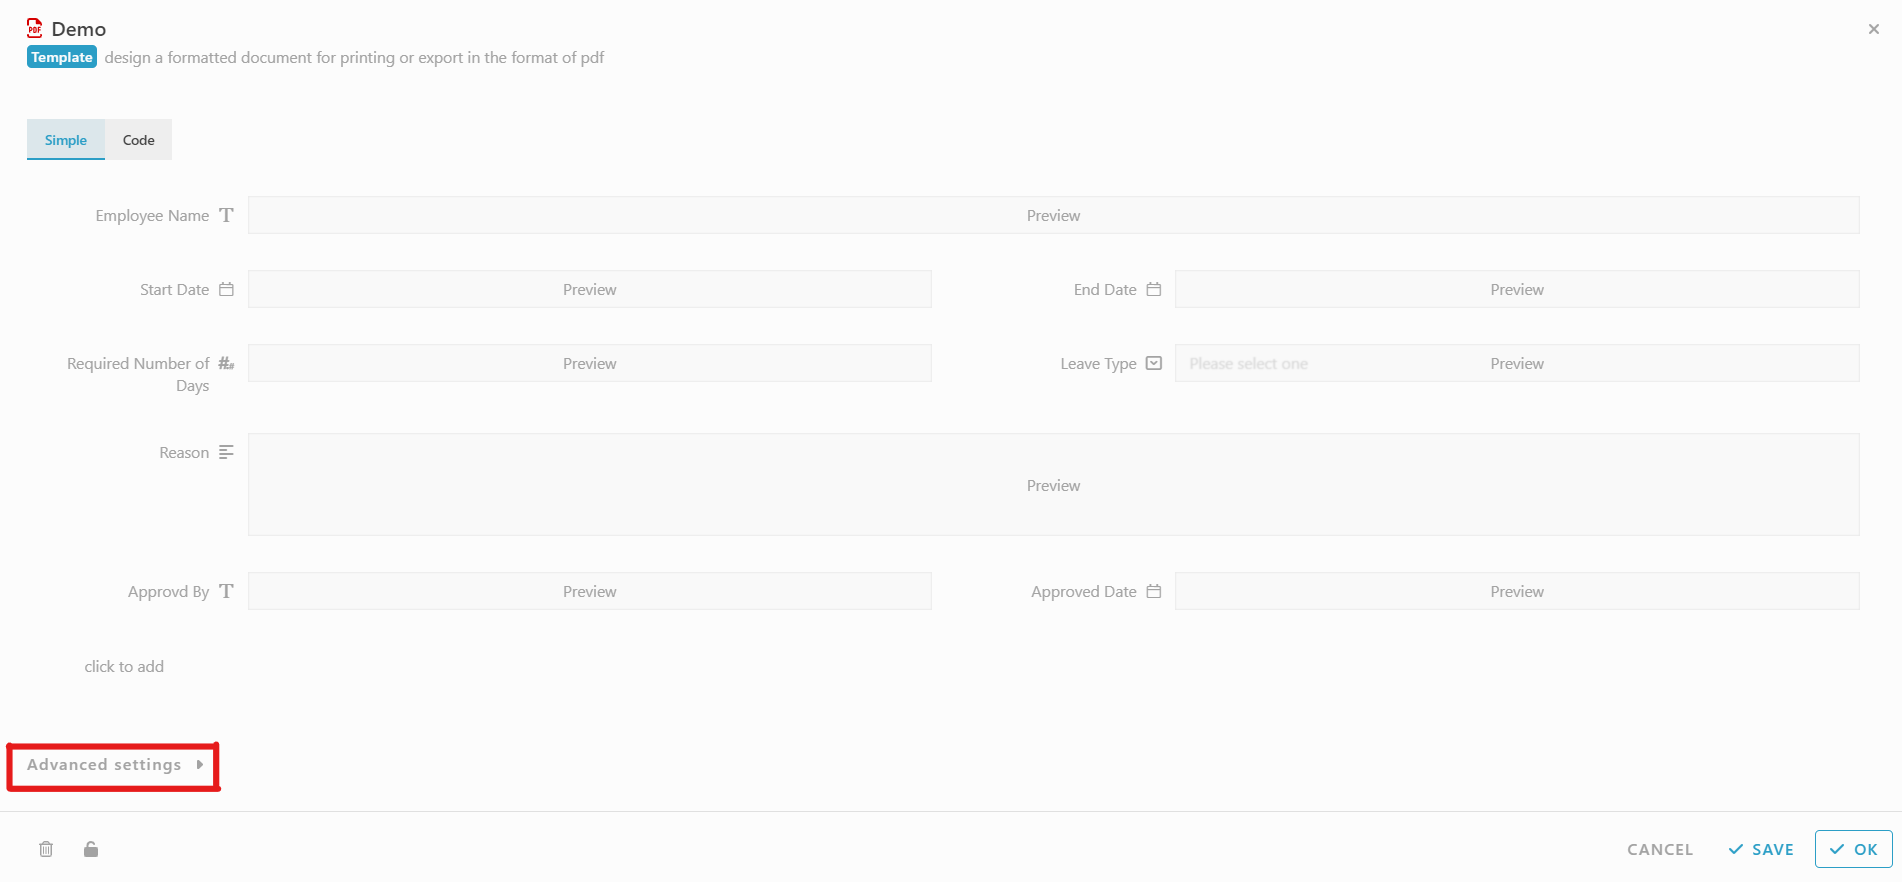
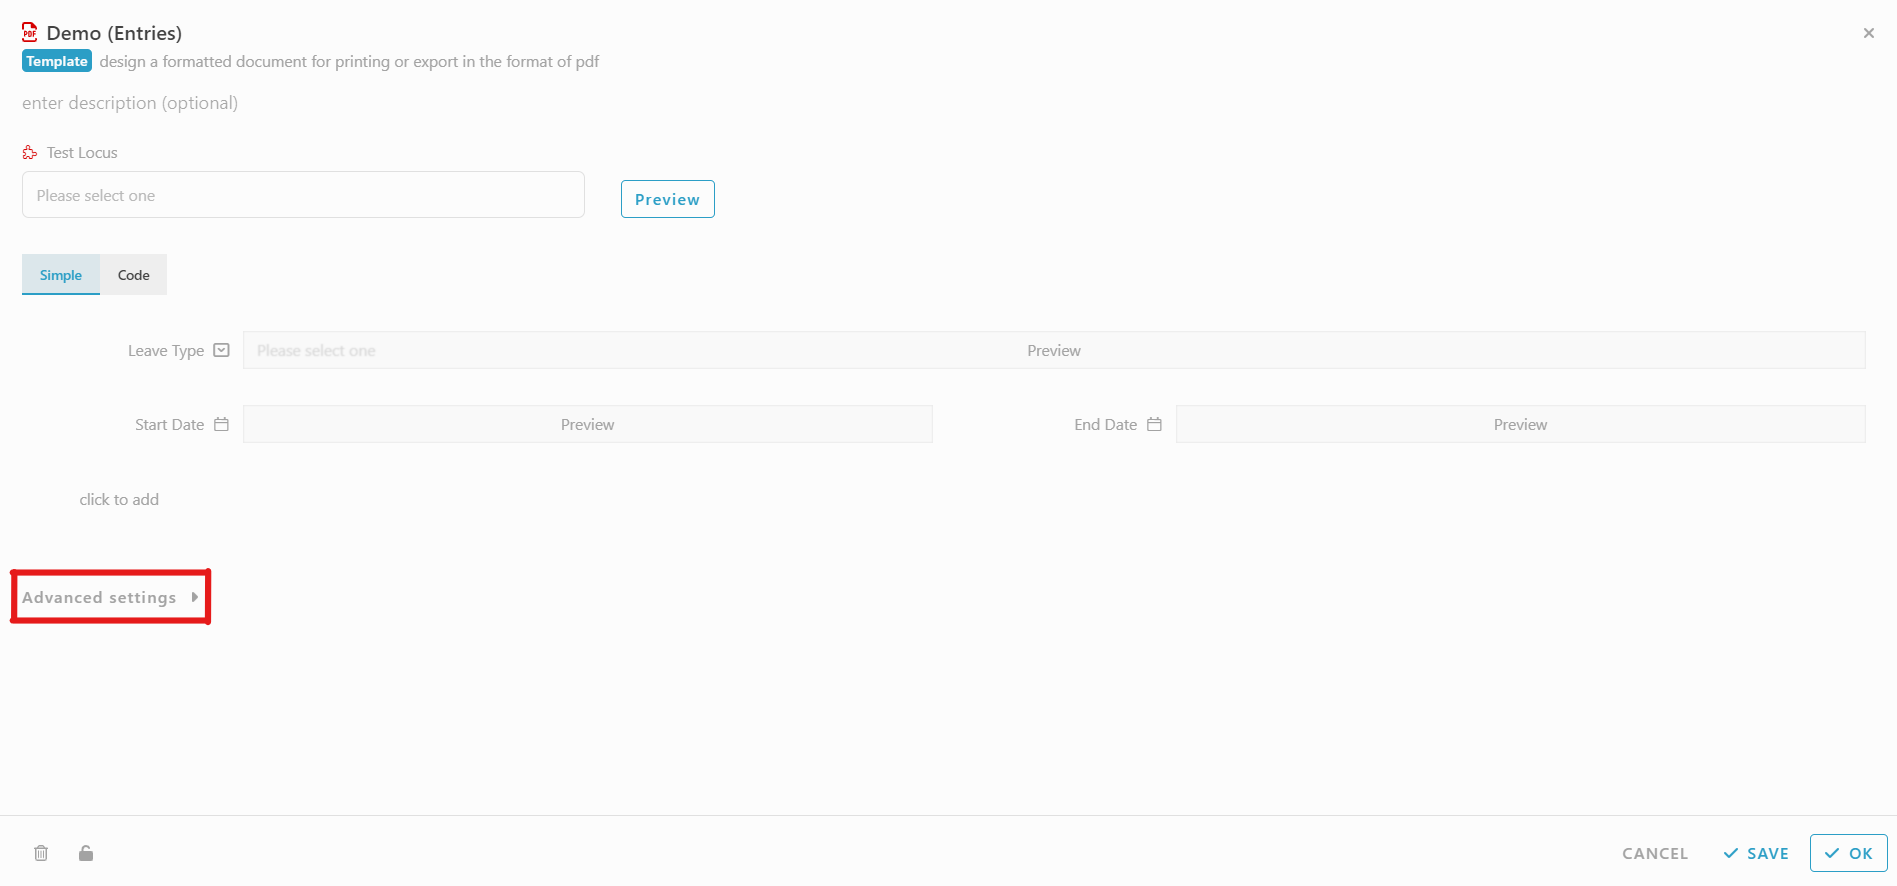
Now, you can view your template design. Look at the bottom of your page, you can view a “Advanced settings” button.
-
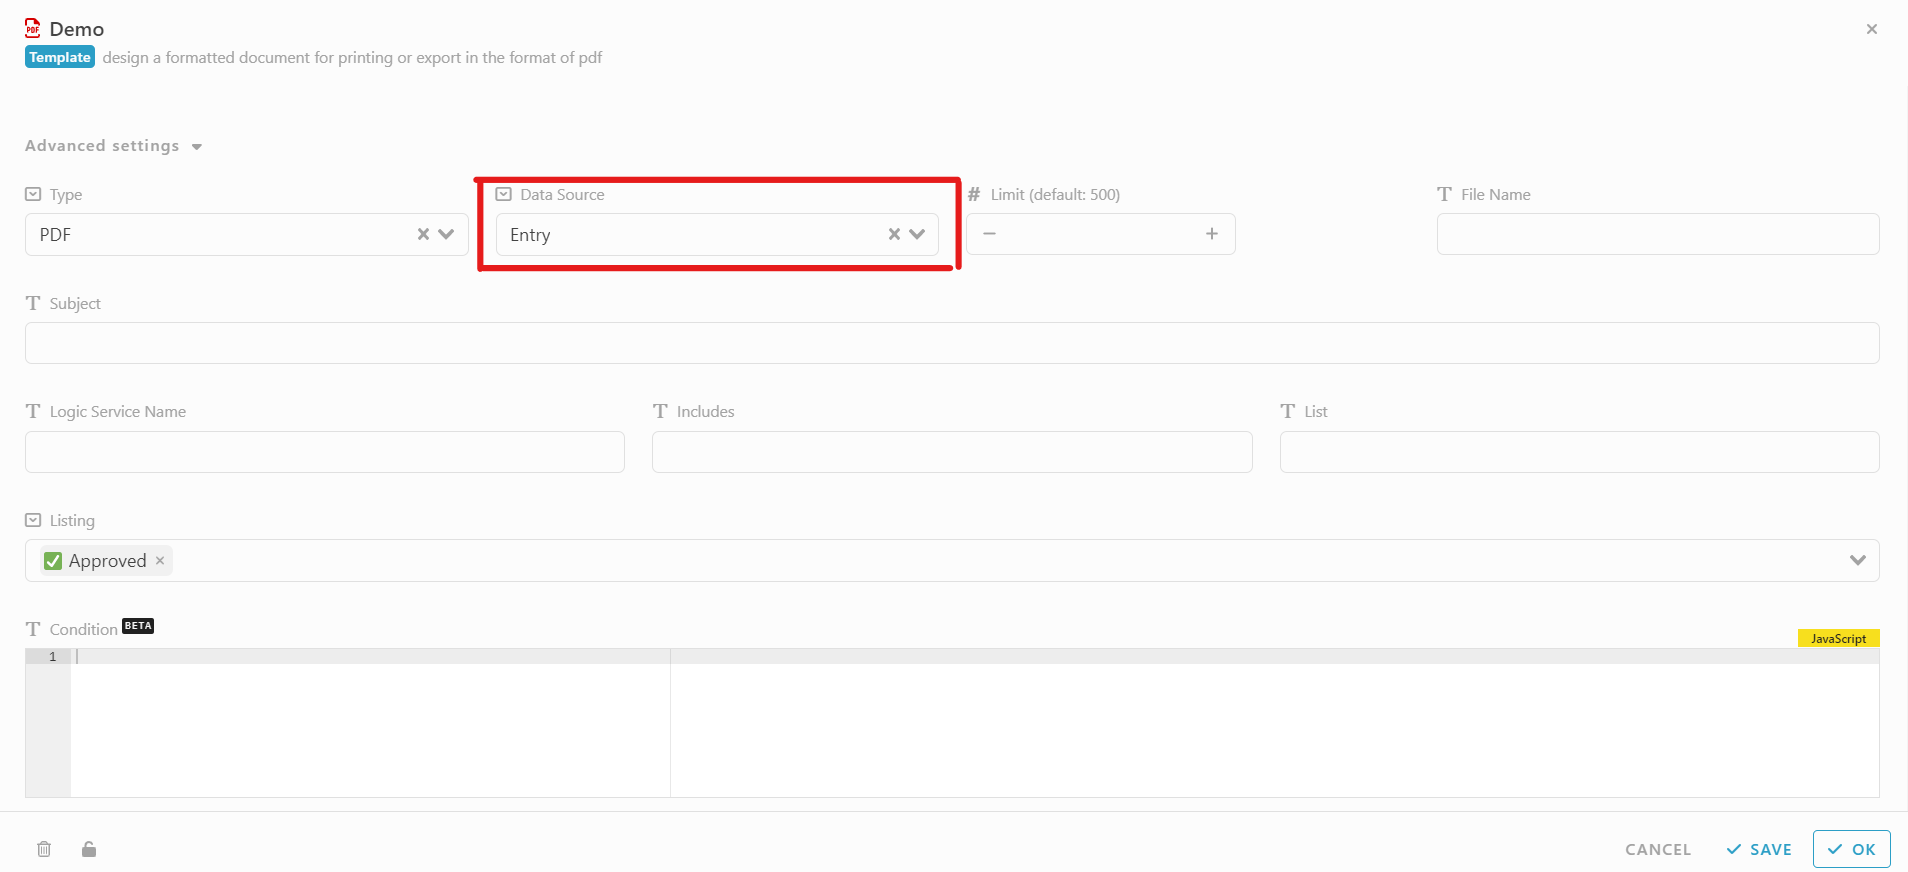
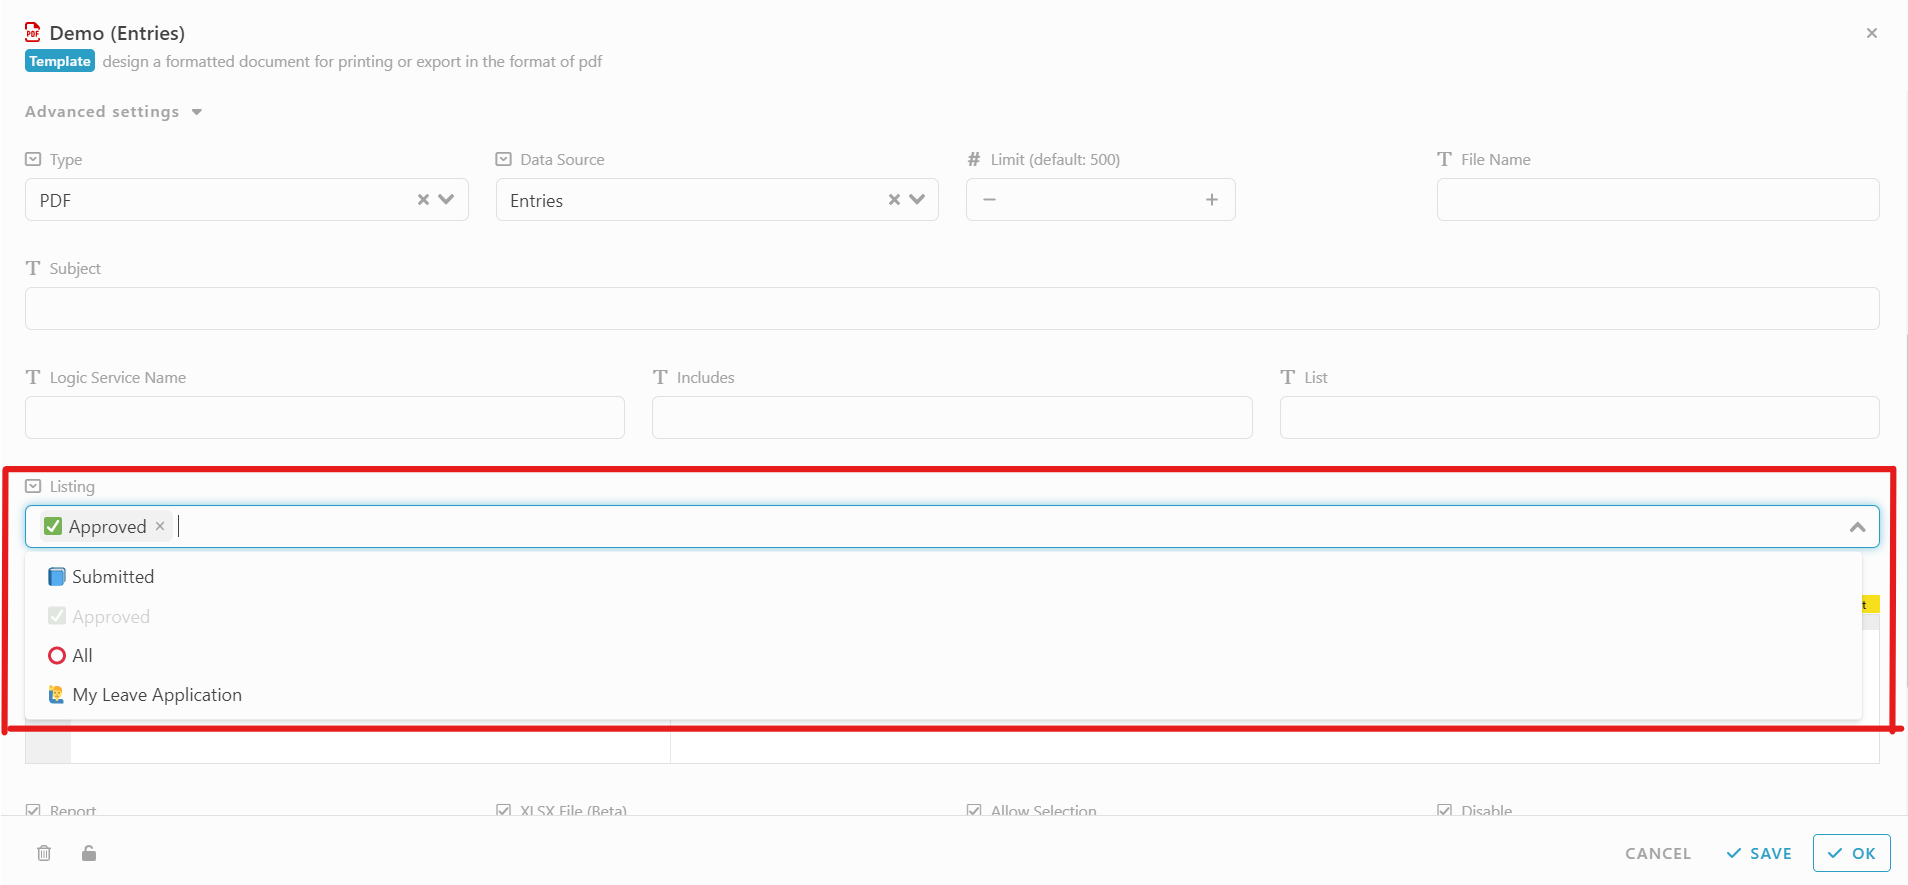
Click the Advanced settings and you can view the “Data Source” section is pre-selected by “Entry”. (leave it first and will show the differences and example later)
-
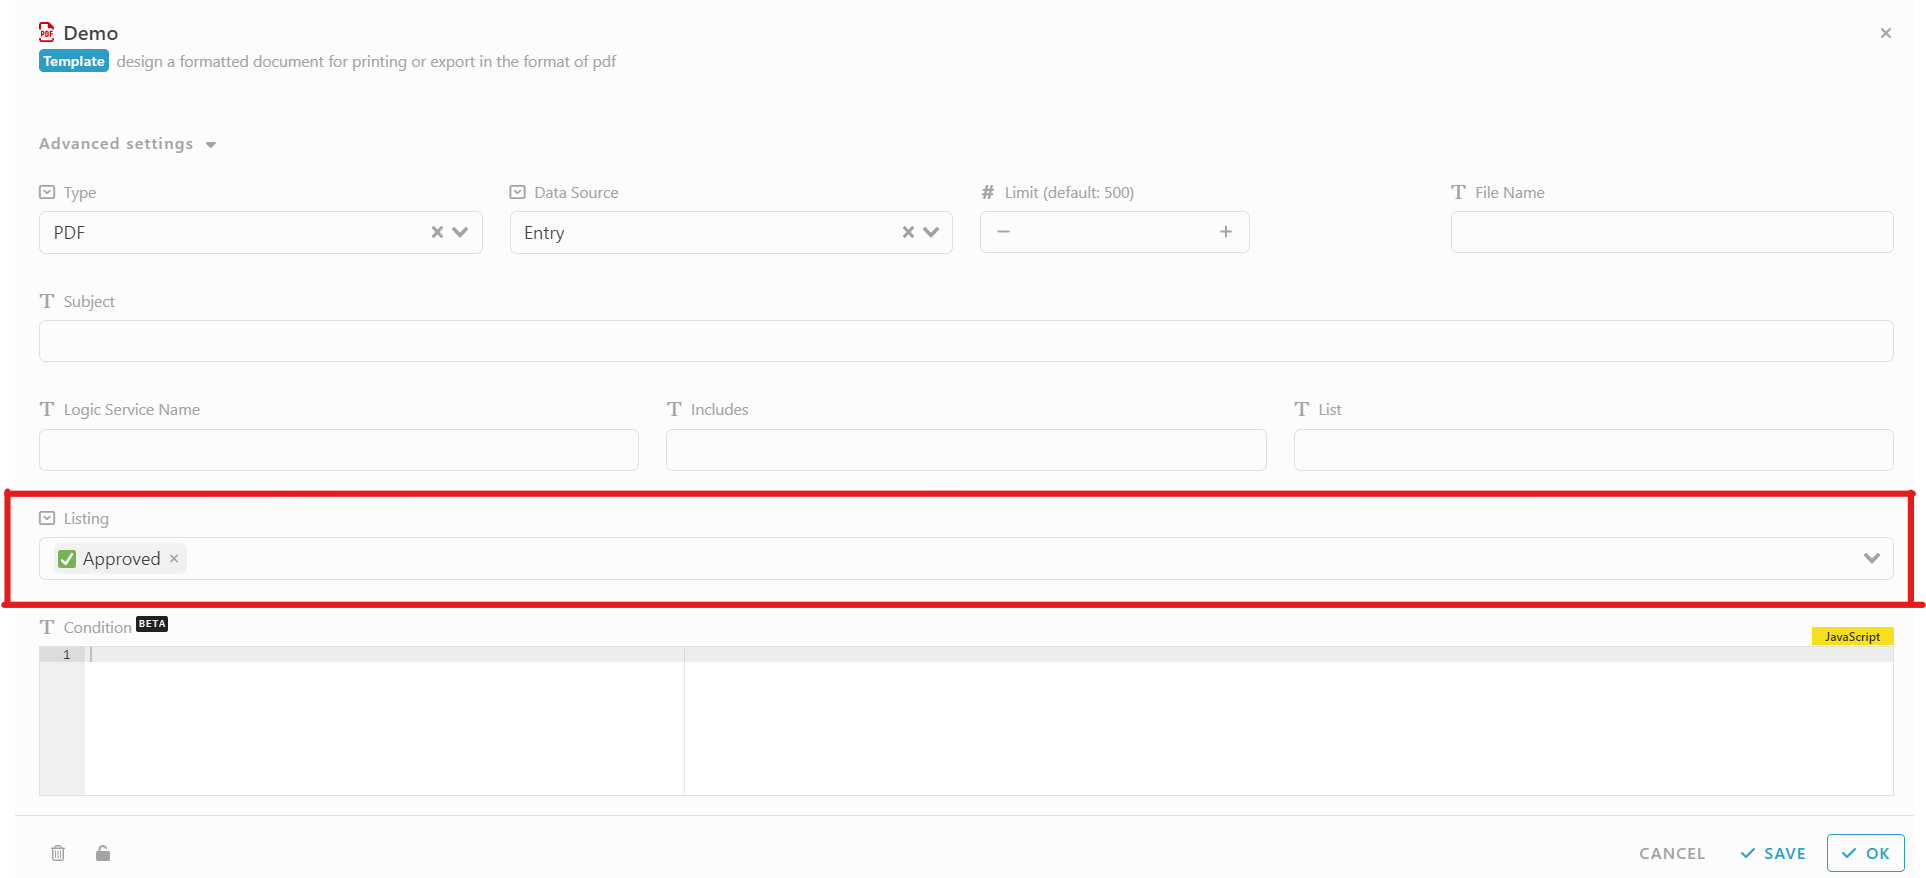
Look at the “Listing” section
-
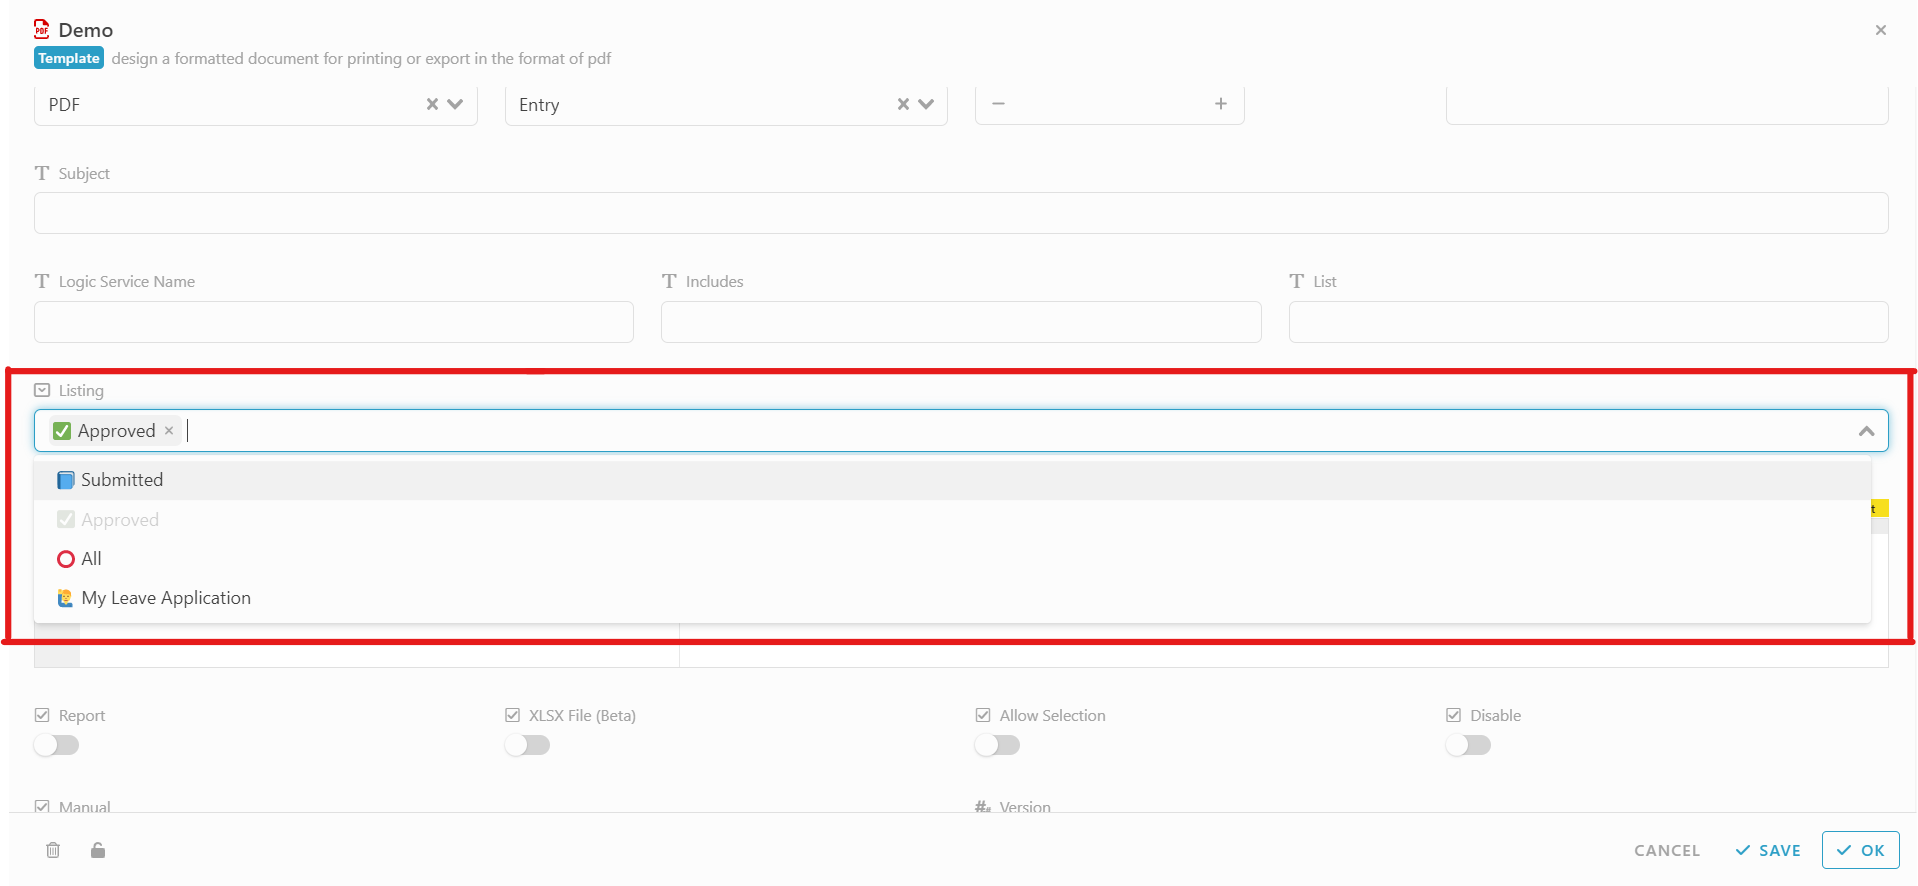
Select the listing that you want to set the template in. (e.g. I want to make the template available in “Approved” listing only)
-
Click “OK” and save changes


Now will create a new template “Demo (Entries)” to show the difference between these two.
-
Same as above, from the studios, scroll down and view Template section. Select the template you want to set in specific listing (e.g. Demo (Entries))
-
You can view your template design. Look at the bottom of your page, you can view a “Advanced settings” button.
-
Click the Advanced settings and you can view the “Data Source” section. Now we change it to “Entries”.
-
Look at the “Listing” section and select the listing that you want to set the template in. (e.g. I want to make the template available in “Approved” listing only)
-
Click “OK” and save changes


Now we can view the result:
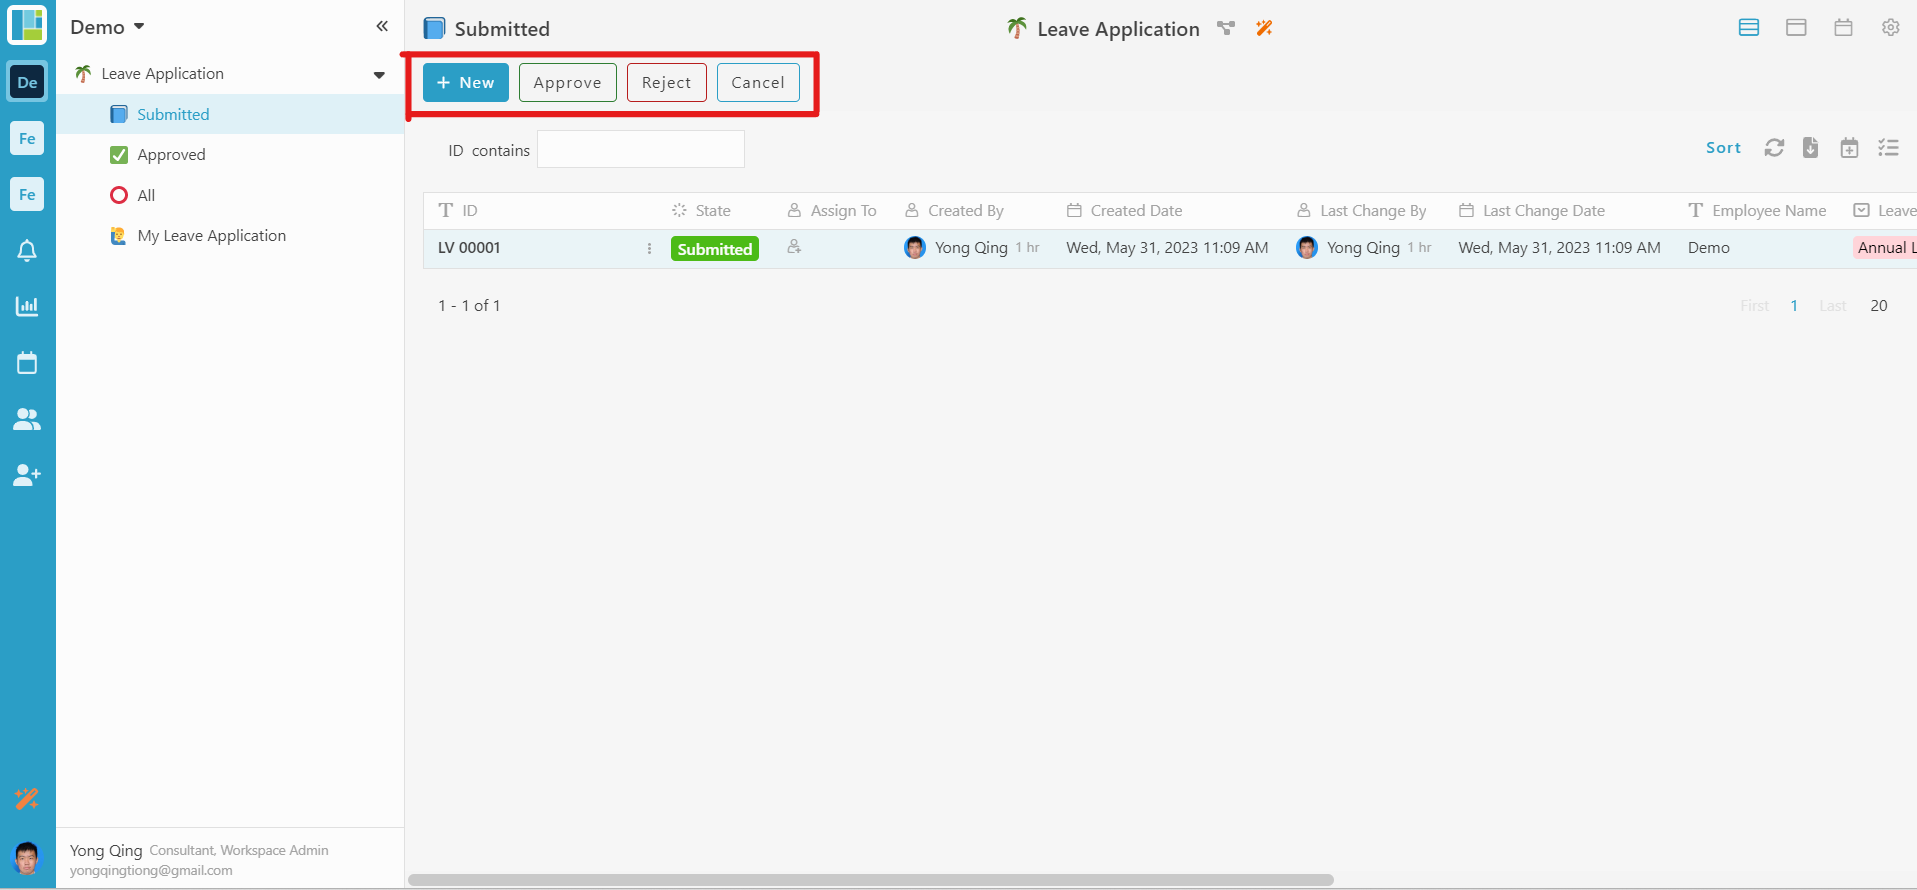
Web View: “Demo” and “Demo (Entries)” only appear in “Approved” listing
-
“Demo” and “Demo (Entries)” template do not appear in “Submitted” list. (“Demo” and “Demo (Entries)” template also do not appear in “All” and “My Leave Application” lists)
-
Without selecting any entry, the “Demo (Entries)” template appears in “Approved” list
-
After select an entry, “Demo” and “Demo (Entries)” template appear


Phone View: “Demo” will appear for those entries that are belong to “Approved” listing, "Demo (Entries) will only appear in “Approved” listing
-
“Demo” and “Demo (Entries)” template do not appear in “Submitted” list.
-
Without selecting any entry, the “Demo (Entries)” template appears in “Approved” list
-
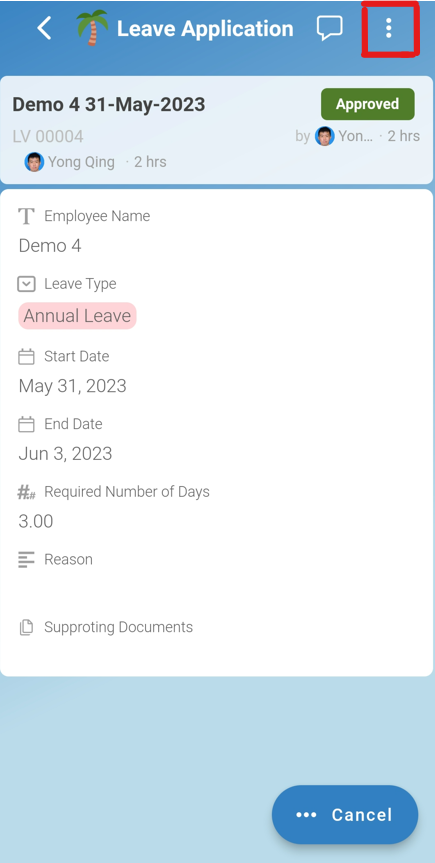
Select an entry, we can see 3 dots at the top right corner of the screen
-
Click the 3 dots, we can view that “Demo” template appear
-
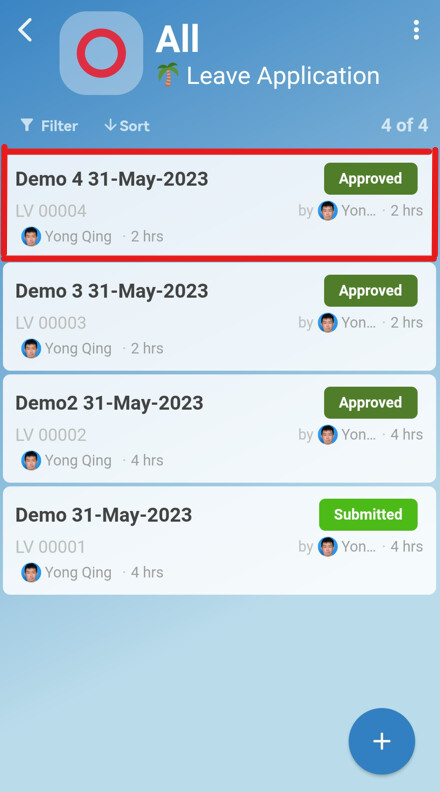
Go to the “All” list and select any entry with state is “Approved”
-
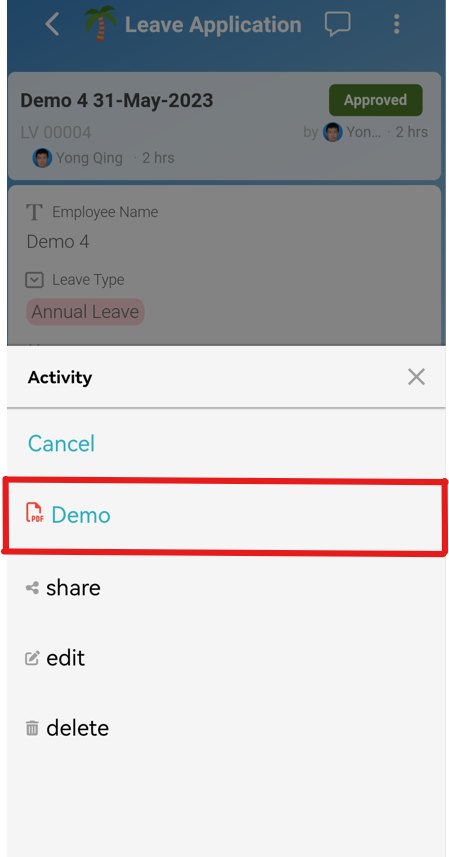
Click the 3 dots at the top right corner of the screen and we can see that “Demo” template appears
-
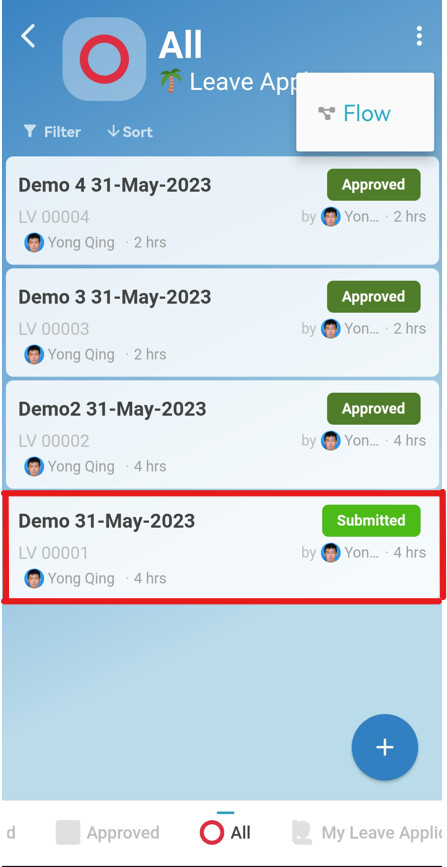
Now, we go to the “All” list and select any entry with state is NOT “Approved”
-
Click the 3 dots at the top right corner of the screen and we can see that “Demo” template does not appear