Goal:
Guide users on how to add a new listing in Studio and customize the information displayed in client view.
Description:
In Inistate Studio, you can create listings to display data in a structured view. This guide walks through:
- Adding a new listing
- Naming and customizing the list
- Adjusting what information is visible in the client view
This applies to any module where you want to manage how data appears in a list format.
Steps / Instructions:
-
Go to Studio by clicking the

-
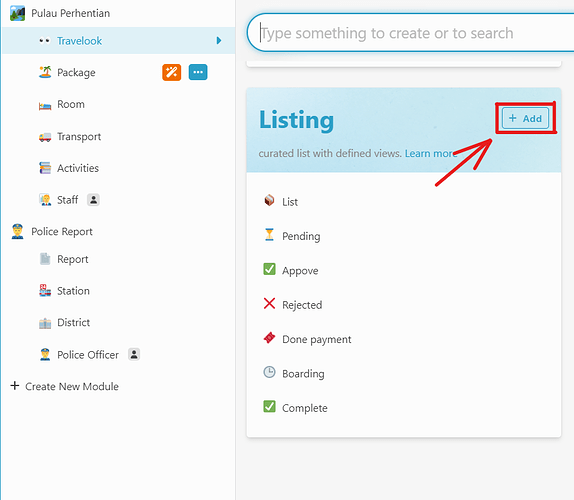
Under Listing, click add
-
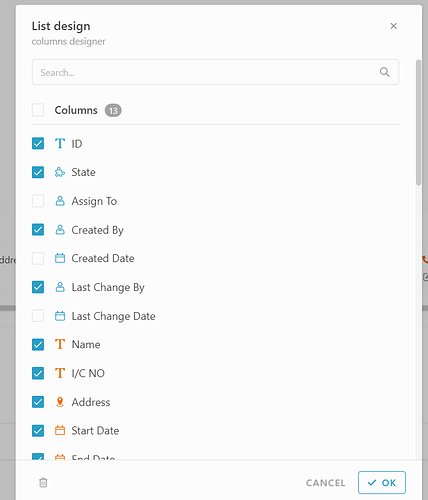
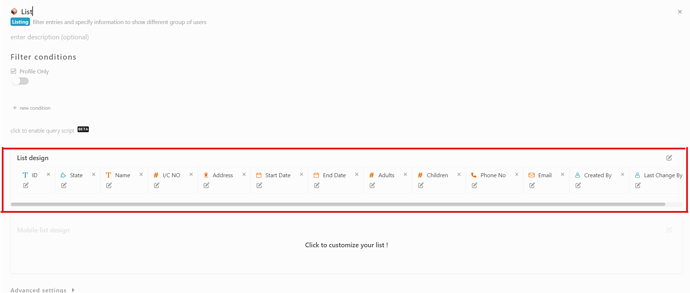
Enter a Listing Name (e.g., “List”). After naming, you can customize the information you want to display in the list view.
-
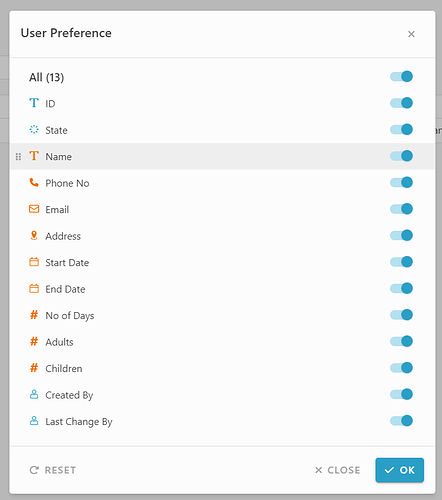
Here is the client list view:
-
To hide or adjust information in Client View, click the Settings button.
-
Customize the display according to your needs.
-
Click ‘OK’ to save your changes.
Tips / Notes:
- Use clear and simple names for listings so they are easy to identify later.
- If some fields don’t appear, check your module’s information and ensure they’re available for listing.
- You can always revisit the Settings to adjust visibility without deleting the listing.


