Hello dear community ![]() , This post will guide you on how to set elements in form.
, This post will guide you on how to set elements in form.
-
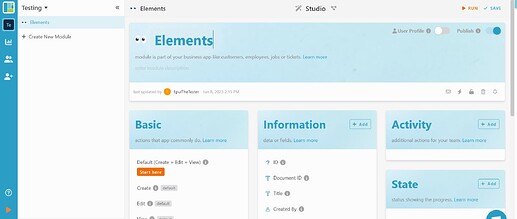
Login to your workspace studio.
-
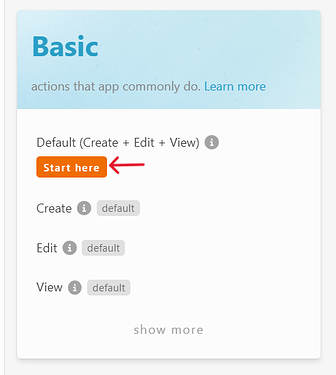
Under basic section, click the “start here”. ( Note : Can use others section that can create or design a form).
-
Once clicked, the option screen will pop out, click the round orange “+” icon to add form.

-
Then, the form design will appear
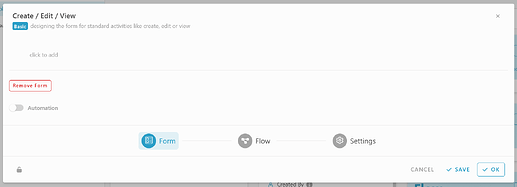
-
To add element, click the “click to add” in the form design.
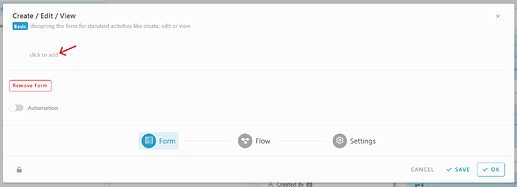
-
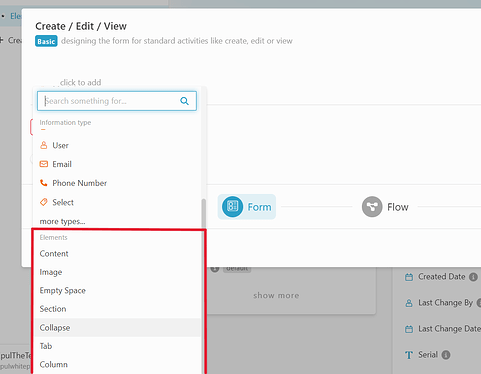
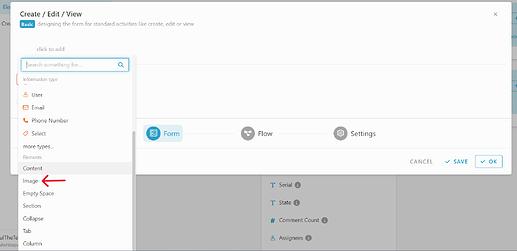
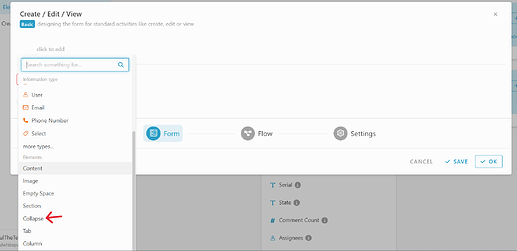
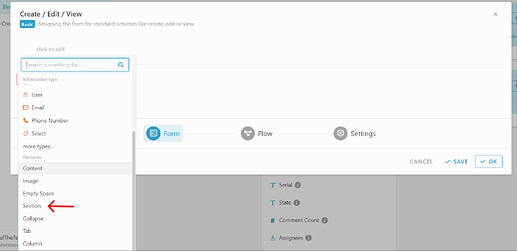
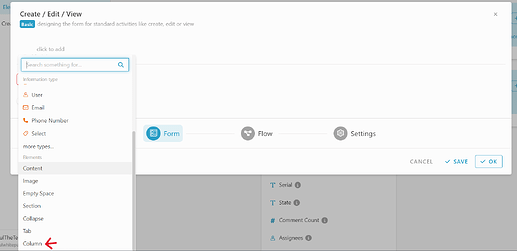
Once you clicked, the information or element option will appear.
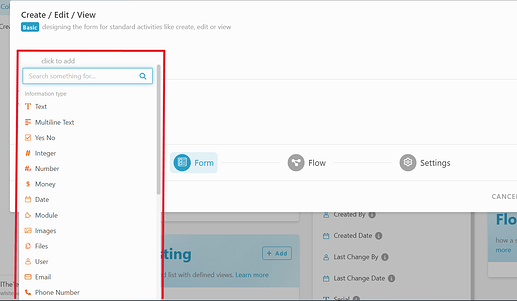
-
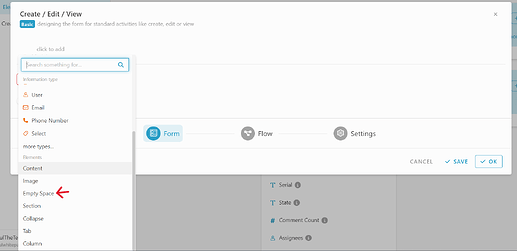
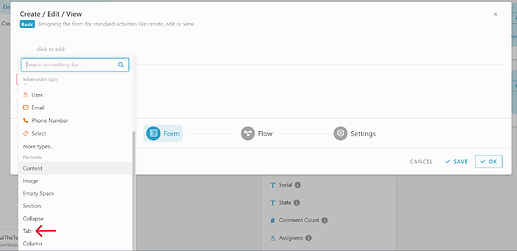
Scroll down until you see the elements category options. Which is content, image, empty space, section, collapse, tabs and columns.
Element : Content
-
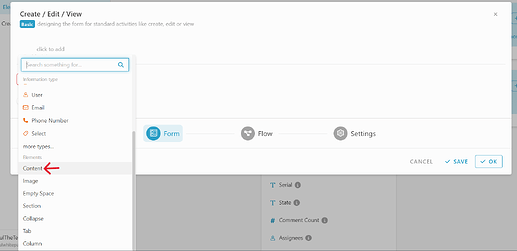
Click “Content” element.
-
Once clicked, the “Content” element will be visible inside the form.
-
Custom your own “Content”.
Element : Image
-
Click “Image” element
-
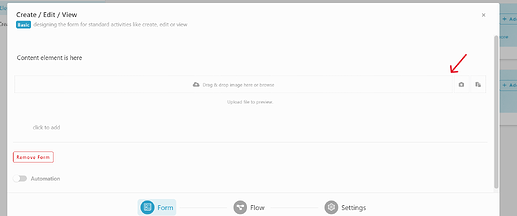
Once clicked, the “Content” element will be visible inside the form.
-
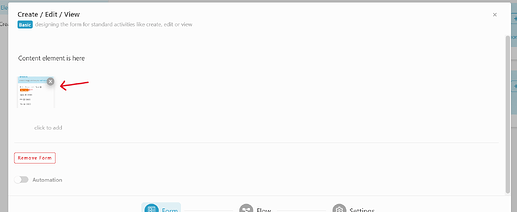
Insert image in the “Image” elements.
Element : Empty space
-
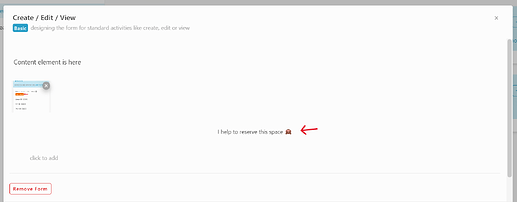
Click “Empty space” element
-
Once clicked, the “Empty element” element will be visible inside the form.
Element : Section
-
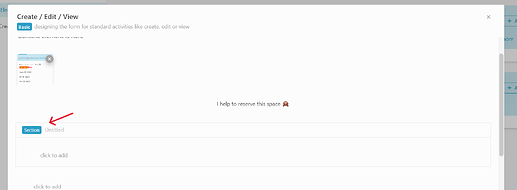
Click “Section” element
-
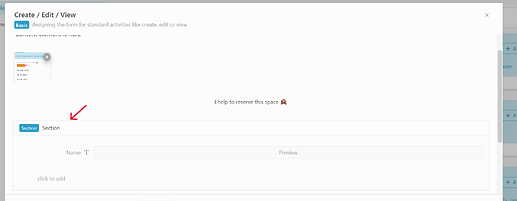
Once clicked, the “Section” element will be visible inside the form.
-
customize the section ( title, information).
Element : Collapse
-
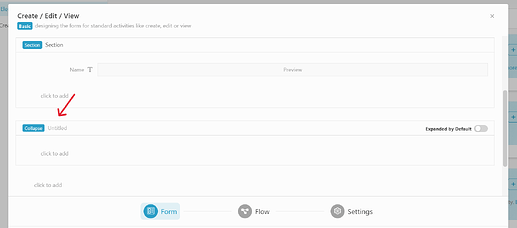
Click “Collapse” element
-
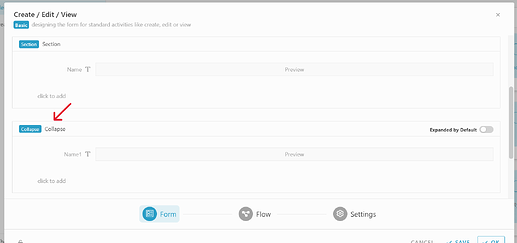
Once clicked, the “Collapse” element will be visible inside the form.
-
customize the Collapse ( title, information).
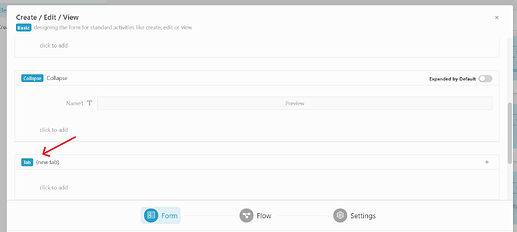
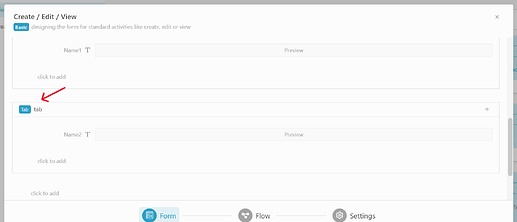
Element : Tab
-
Click “Tab” element
-
Once clicked, the “Tab” element will be visible inside the form.
-
customize the Tab ( title, information).
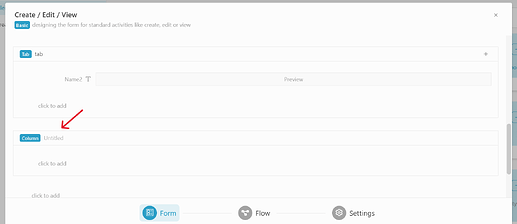
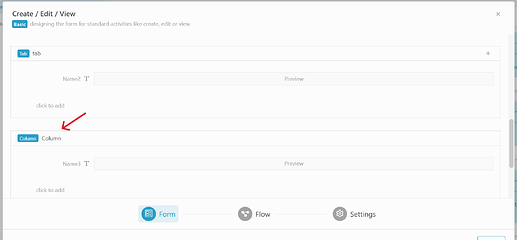
Element : Column
-
Click “Column” element
-
Once clicked, the “Column” element will be visible inside the form.
-
customize the Column ( title, information).
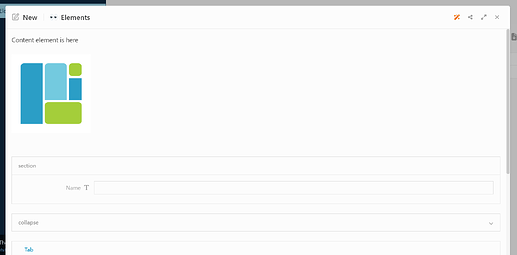
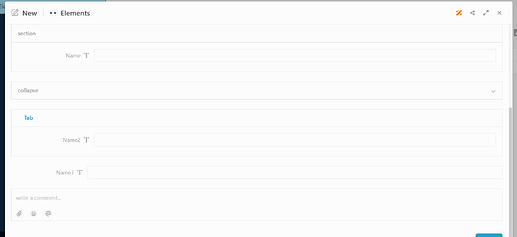
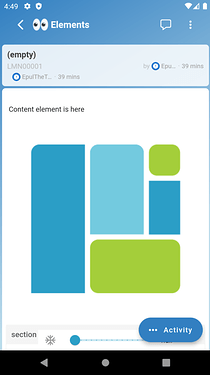
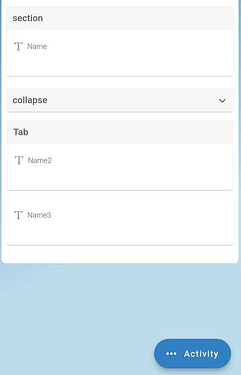
Element view in Web and Mobile app
-
Web view
-
Mobile View
