Hi Inistate Community ![]()
Here I’ll show you how to upload images or files in Inistate.
Goal:
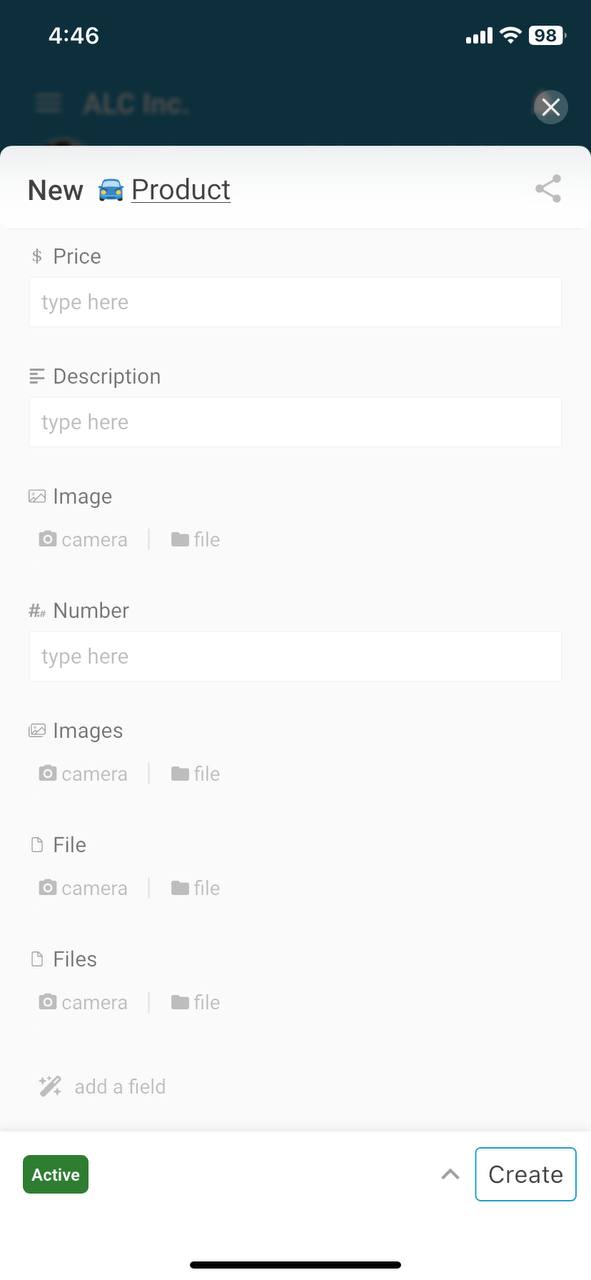
To guide users through the process of uploading single or multiple images, and single or multiple files, in the Inistate app or web version.
Description:
The “Upload Image/File” function allows you to attach images or files to an entry. You can upload a single file for editing (crop, mark) or upload multiple files for quick attachments. Supported formats vary slightly between web and app versions.
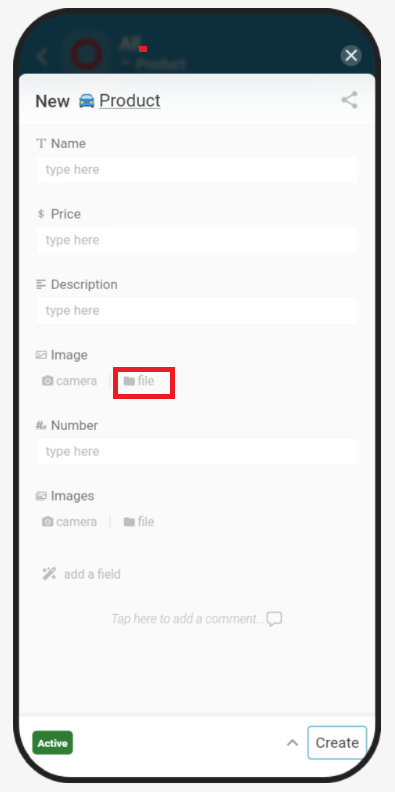
Type : Upload Image / Images
Supported Image format
Web: jpeg, jpg, png, bmp, ico only
App: jpeg, jpe, jpg, gif, png, bmp, ico only
![]() Upload Image
Upload Image
-
Click on “Folder” icon, and choose an image.
-
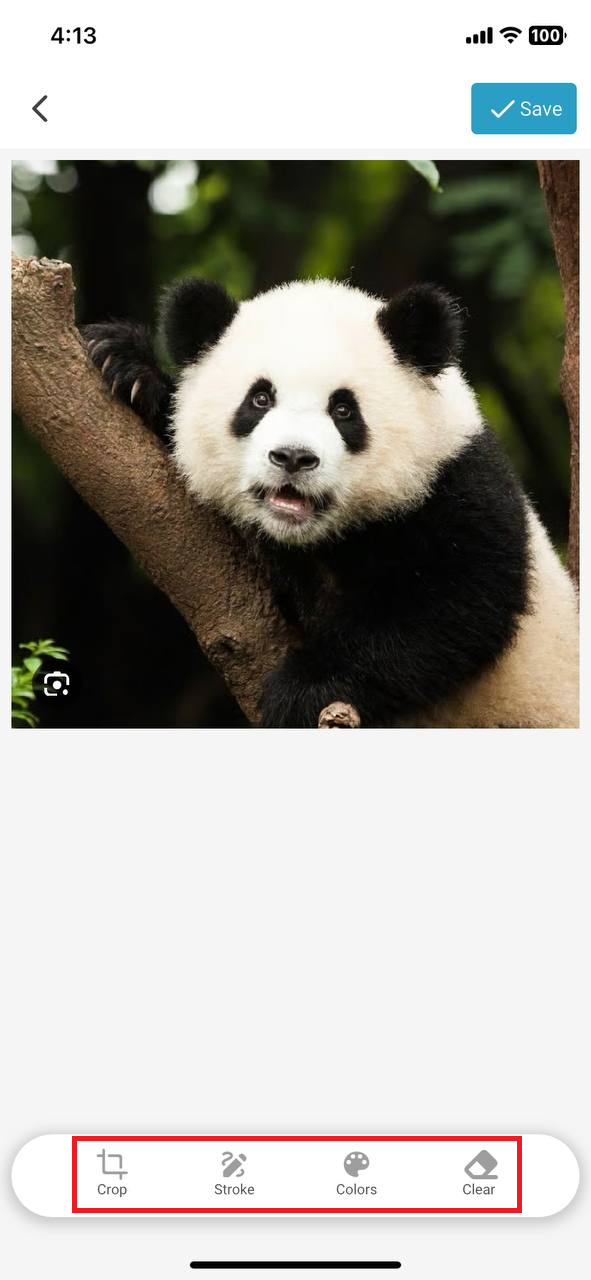
The selected image is able to be cropped, marked by using the bottom toolbar.
(ONLY single image upload allows editing)
-
Click “Save” on top right after edit.
(Example image after cropped and marked)
-
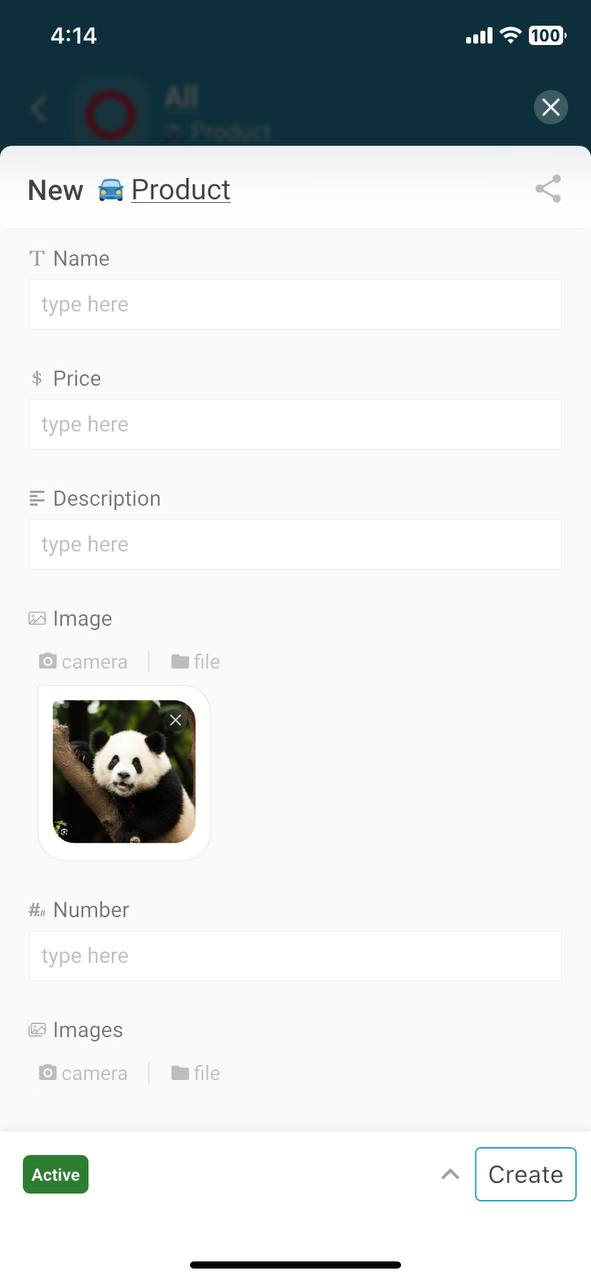
That’s it !
 Image is successfully uploaded for preview.

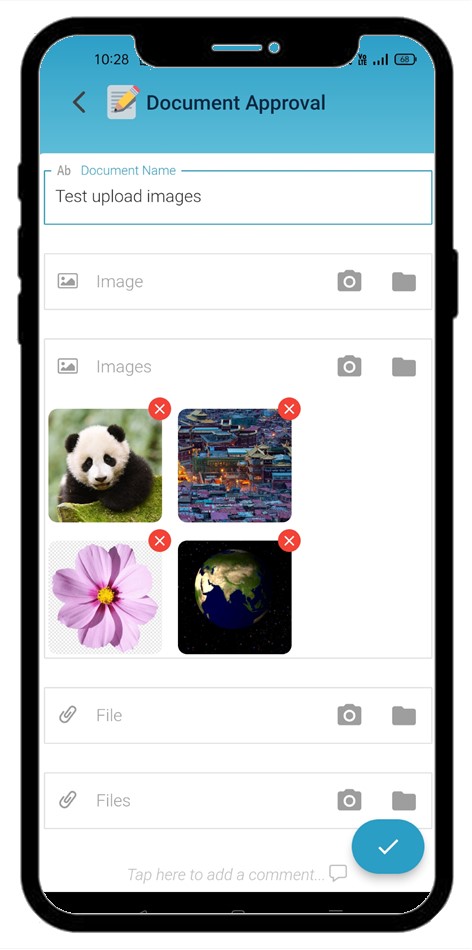
![]() Upload Images
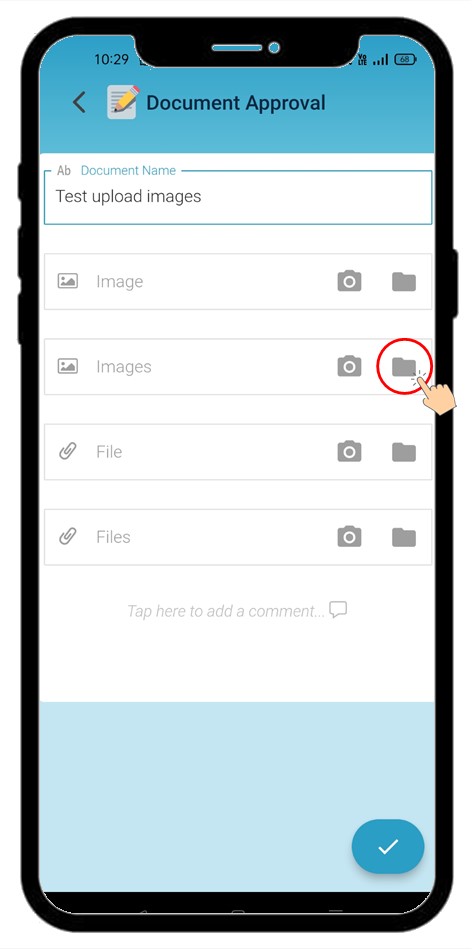
Upload Images
-
Click on “Folder” icon, and choose the images.
-
That’s it !
Images are successfully uploaded for preview.
![]()
![]()
![]()
![]()
![]()
![]()
![]()
![]()
![]()
![]()
![]()
![]()
![]()
![]()
![]()
![]()
![]()
![]()
![]()
![]()
![]()
![]()
![]()
![]()
![]()
![]()
![]()
![]()
Type : Upload File / Files
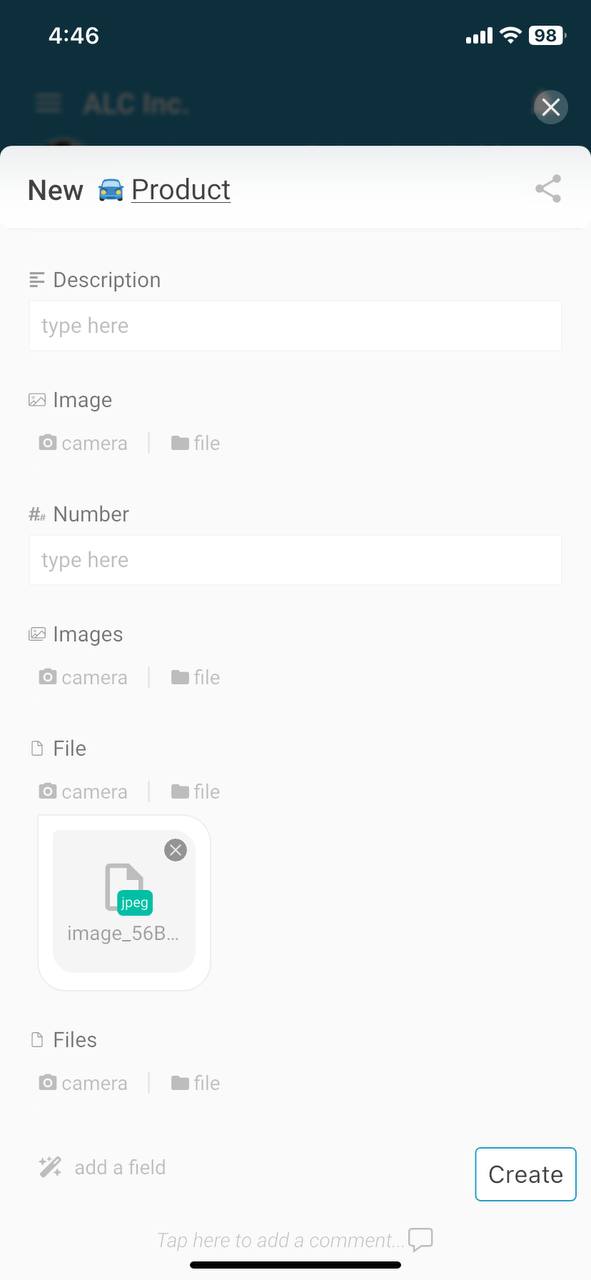
![]() Upload File
Upload File
-
Click on “Folder” icon, and choose a file.
-
That’s it !
File is successfully uploaded for preview.
(The file format is shown in front of preview. “png” means the file in png picture format)
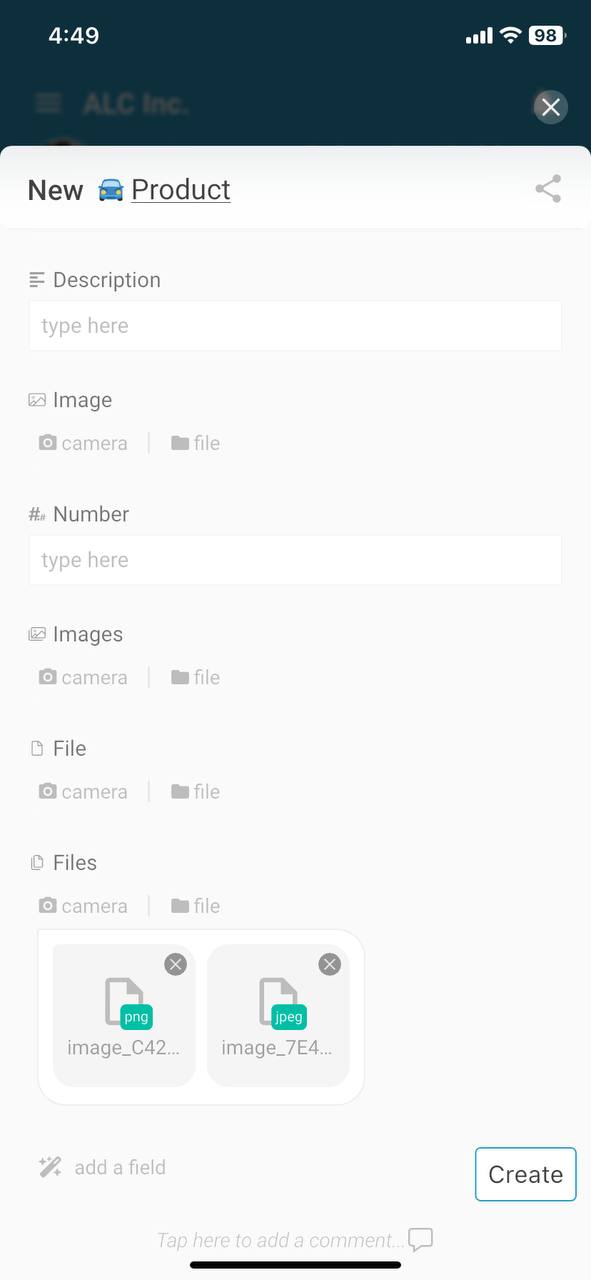
![]() Upload Files
Upload Files
-
Click on “Folder” icon, and choose a files.
-
That’s it !
Files are successfully uploaded for preview.
(We support up to 60 file formats upload)
That’s all for our Upload Image / File function. Go and try it now.
![]() Hope your journey in Inistate goes well
Hope your journey in Inistate goes well ![]()