Hi inistate community!
Form design is now available in easier way.
What is Form Design?
Form design allows you to customize how the form shows to user while create/edit/view an entry or the form to be filled in specific process or state.
Default Form (Create, Edit, View)
Example: Manage the form when creating a leave application.
-
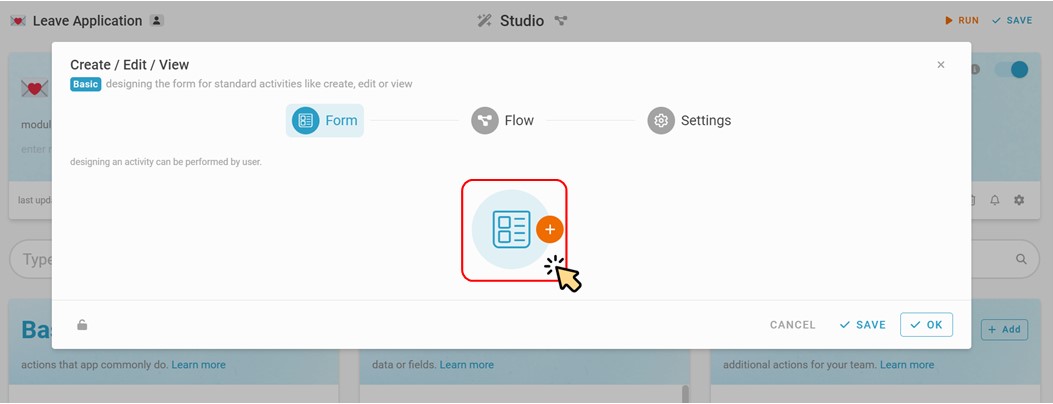
Go to ‘Studio’
-
Click on Default (Create, Edit, View) to manage the form.
-
Click to add a customize form. (By default, it will auto generate forms)
-
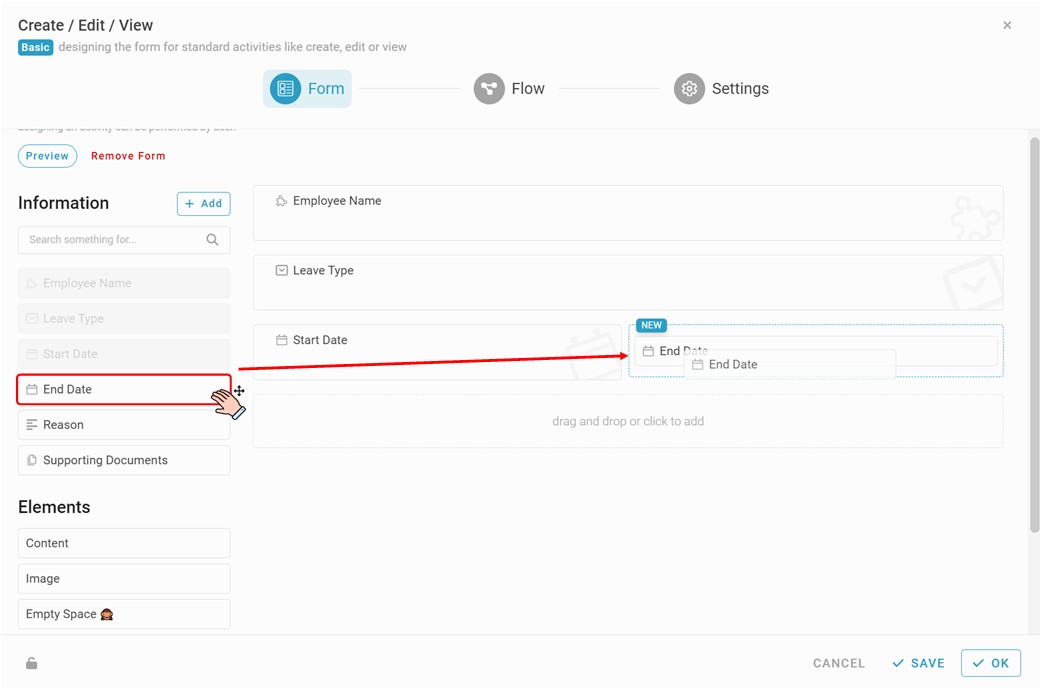
Drag and Drop the information to center section to build a form
(Panel on the left contains Information that you defined before.)
-
You can also put the information in same row.
(Drag End Date to the right of Start Date)


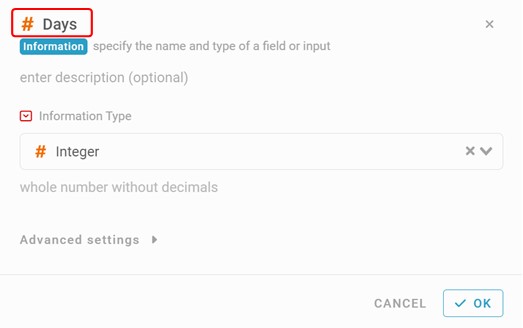
Besides, If you have missing information that forgot to define.
Try this!
(Try to add Days)
-
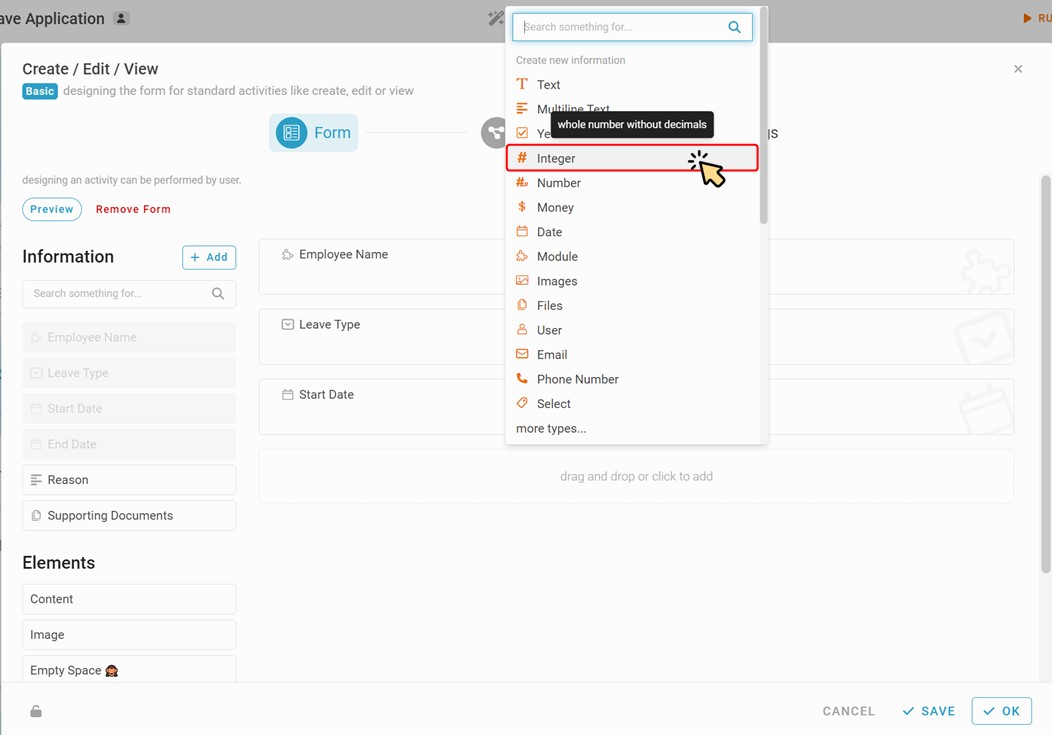
Click to add
-
Select an information type. (Integer)
-
Naming the information, and click ‘OK’
-
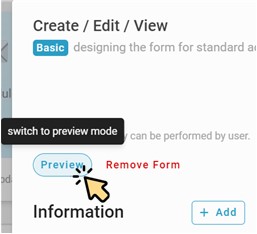
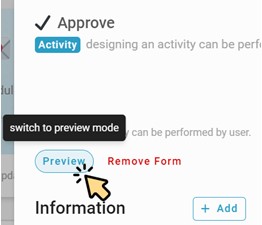
Once you’ve done the form design, why don’t take a look with just a click?
On your top left, click ‘Preview’.

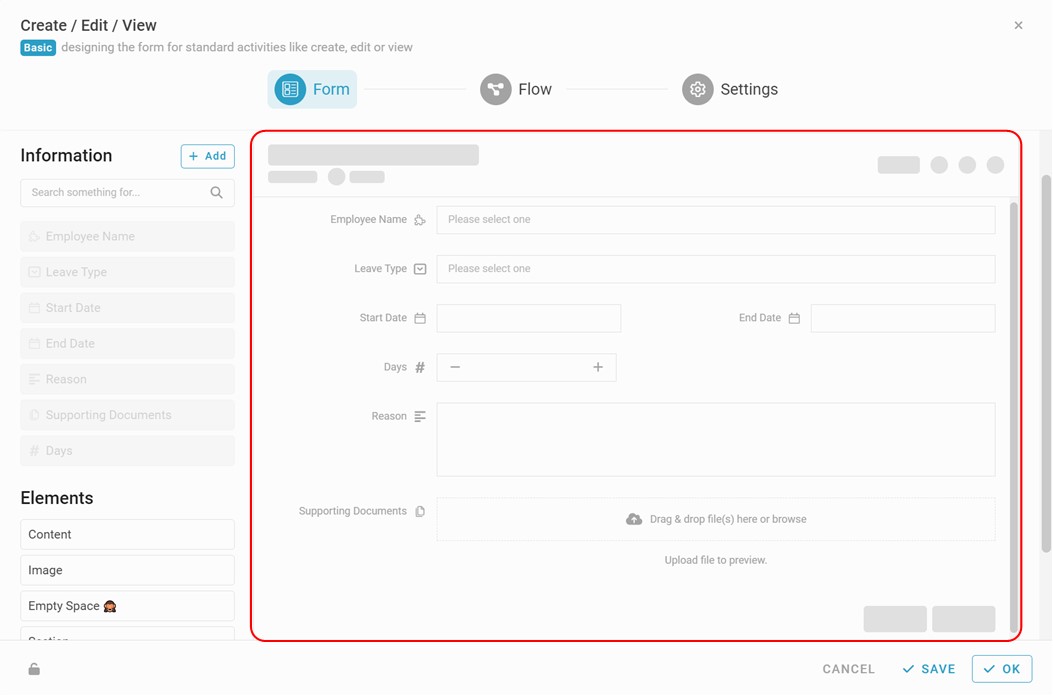
![]() RESULT
RESULT
(The form will switch to display how it shows to user)
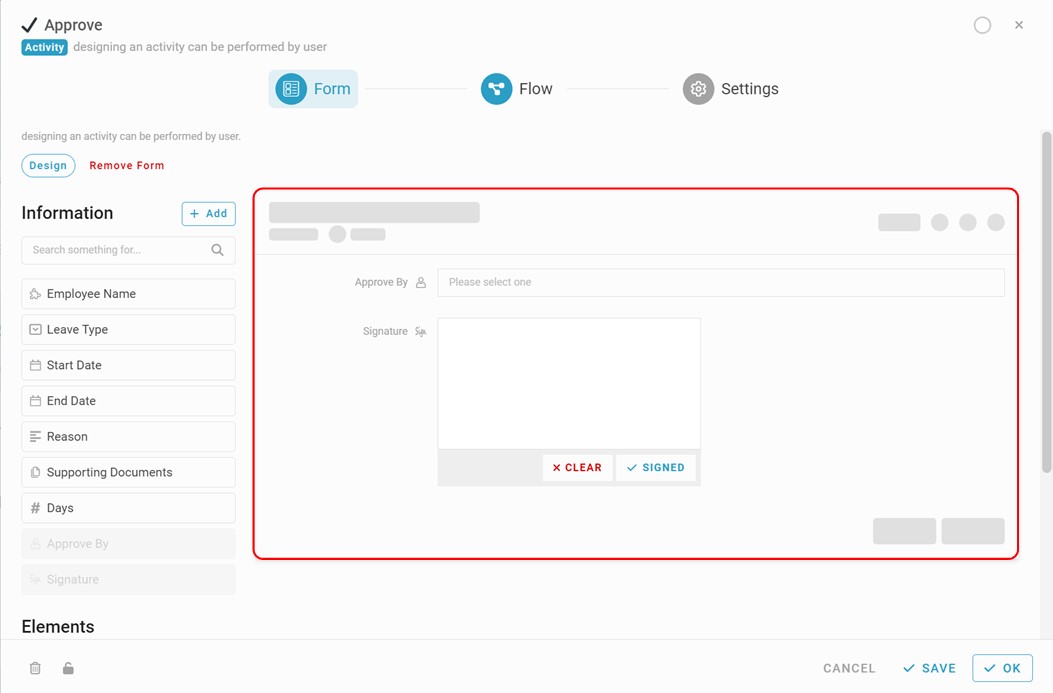
Activity Form
Example : Manage form when approving a leave application.
-
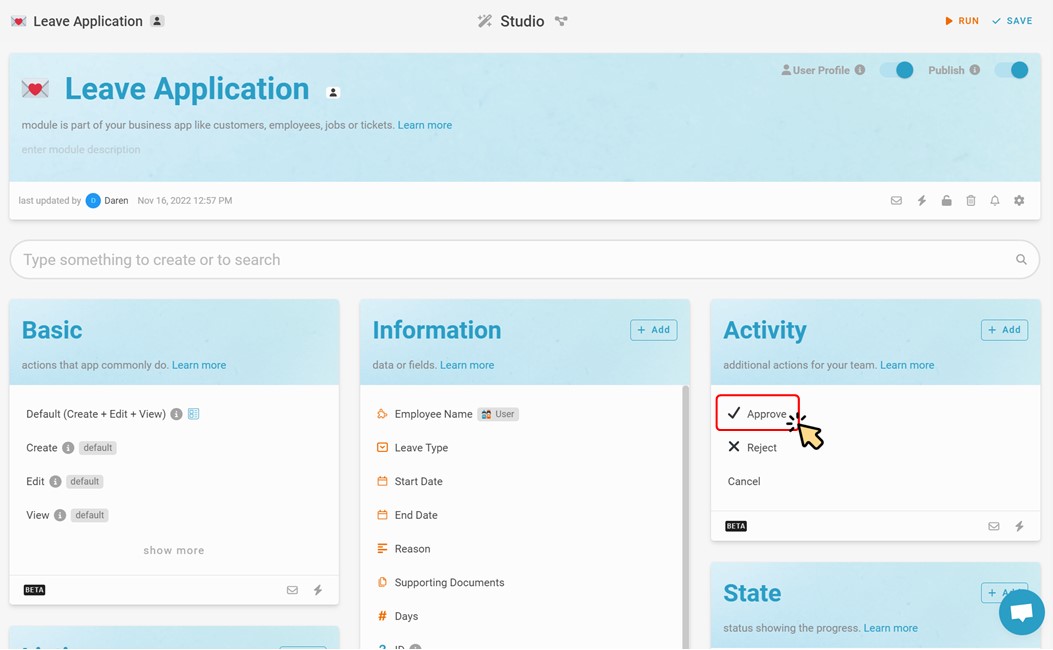
Go to ‘Studio’.
-
Click on Approve to manage the form.
-
Click to add a customize form.
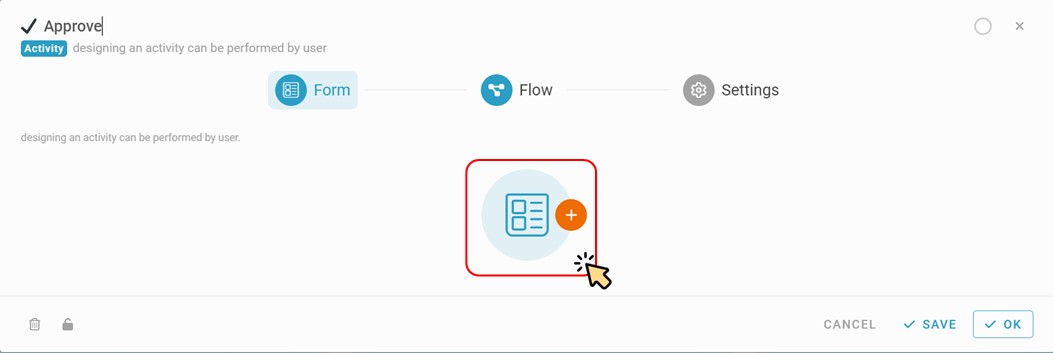
(We want the approve form to have “Approved By” who and his/her “Signature”)
-
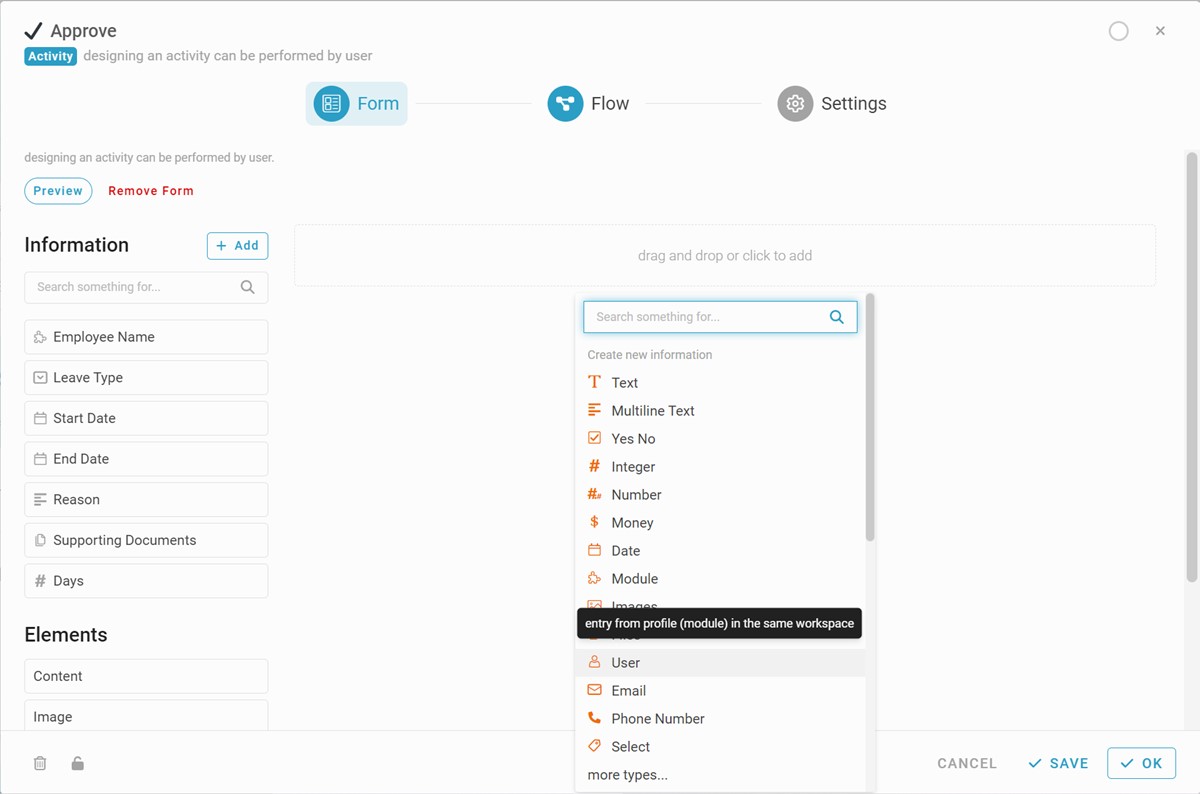
Click to add new Information, select Information type User (Approved By)
-
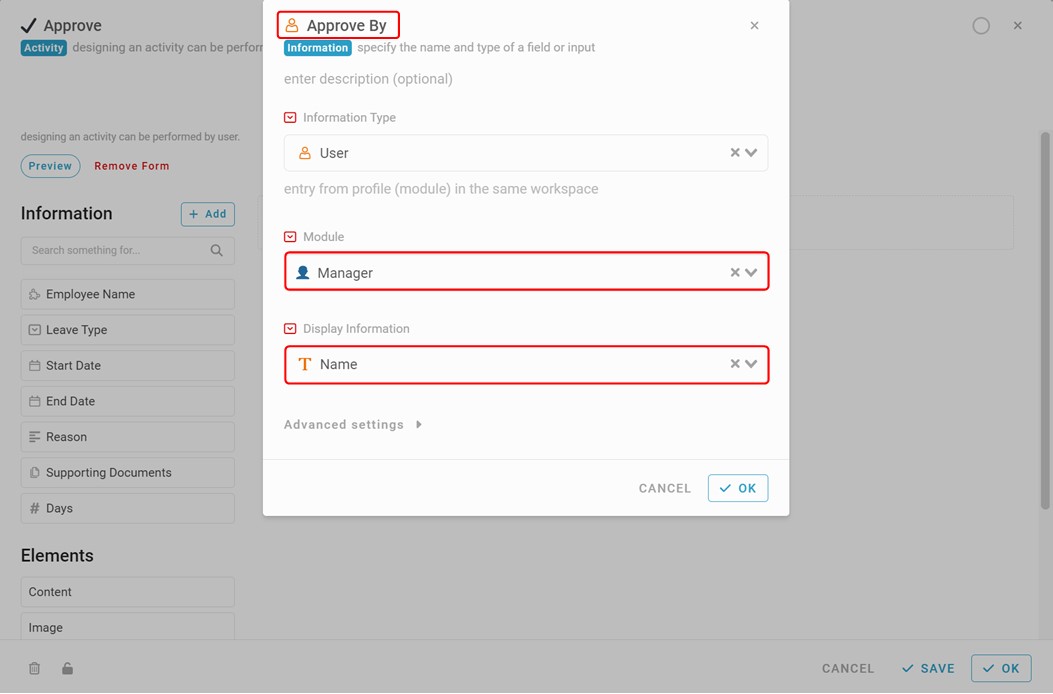
Naming the information as “Approved By”, select a module of user profile and display name.
(Make sure the module enable User Profile)
-
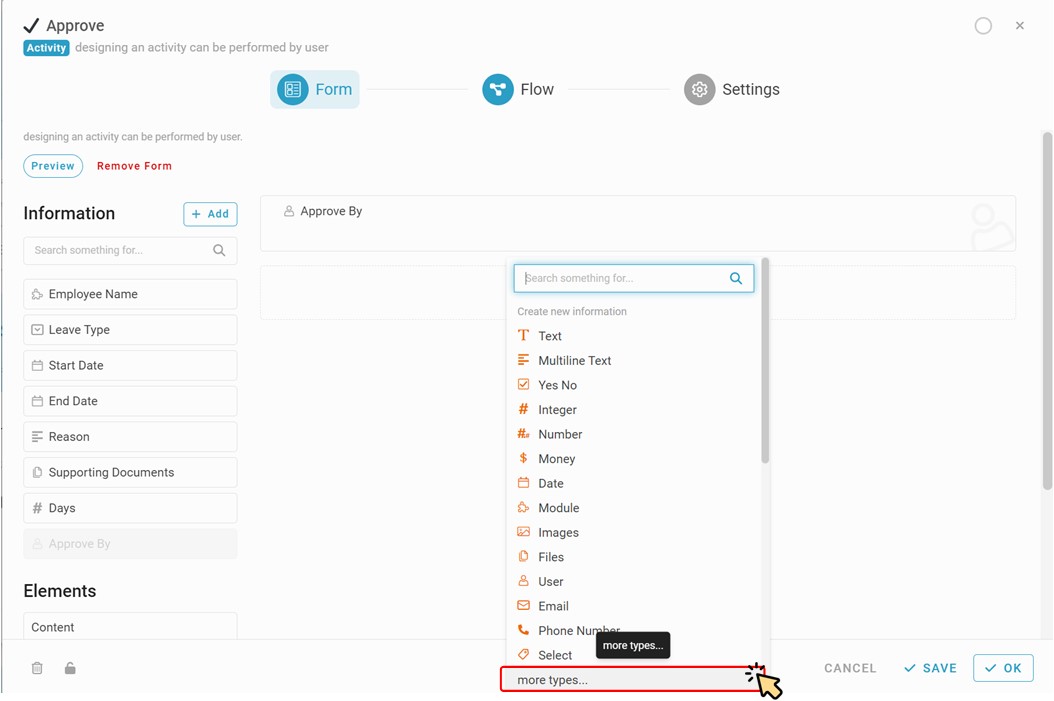
Click to add new Information, select more types… (Signature)
-
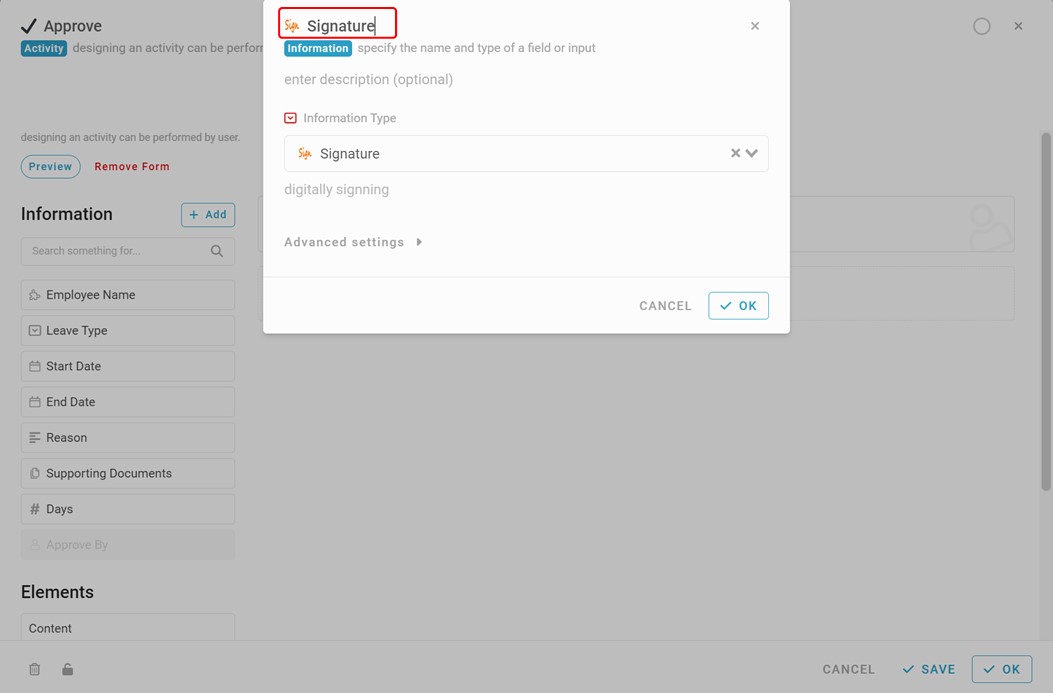
Naming it as “Signature”, information type will be auto selected.
-
Click ‘OK’.
-
We’ve done the form. Let’s preview again. (top left)

![]() RESULT
RESULT
(The form will switch to display how it shows to user)