This page walks you through setting up Inistate on Claude, step by step.
Connect the Connector
-
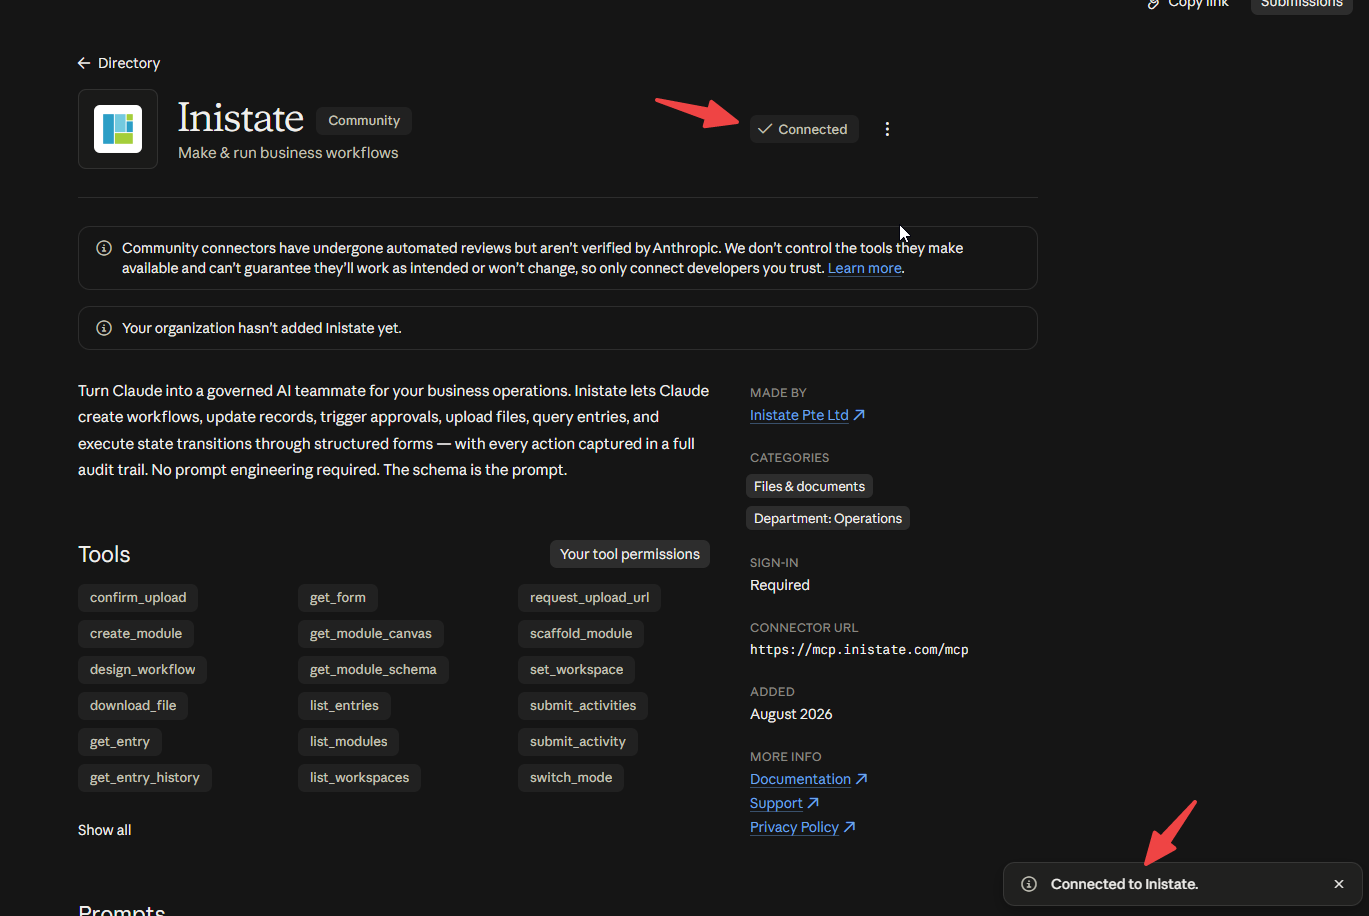
Find the Inistate connector in Claude. Use either method:
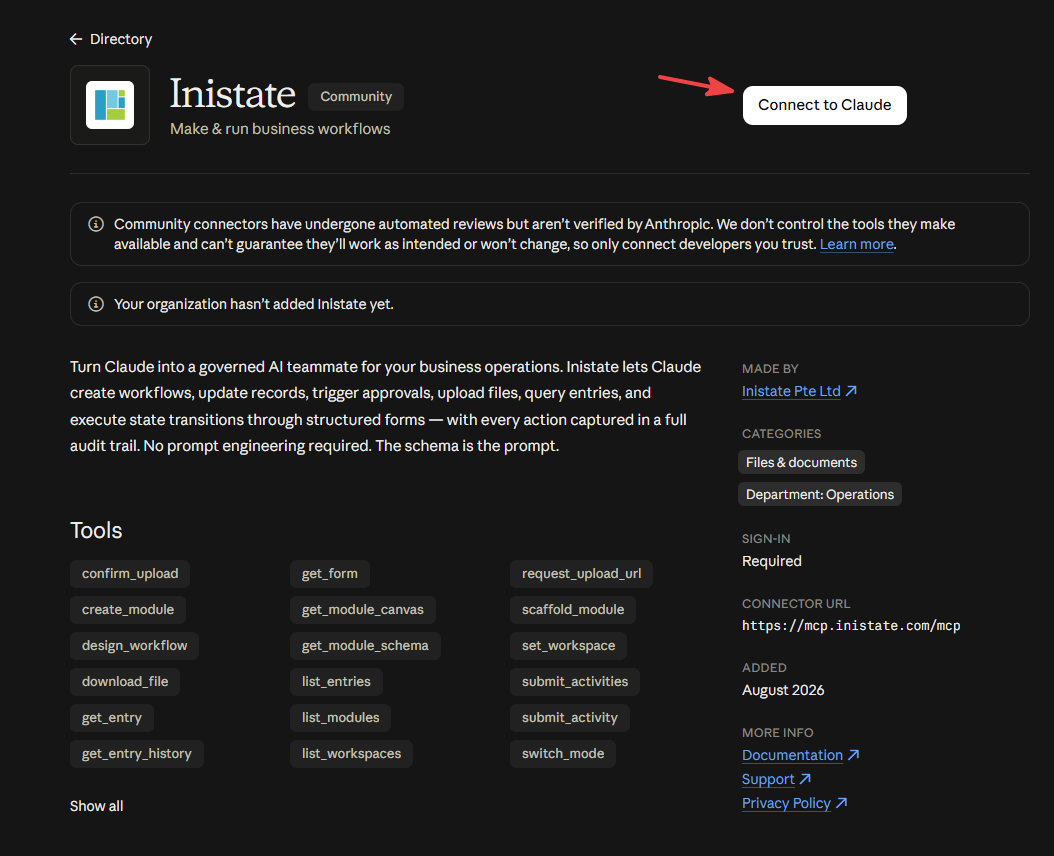
- Direct link: open the Inistate connector in the Claude directory, then continue to step 2.
-
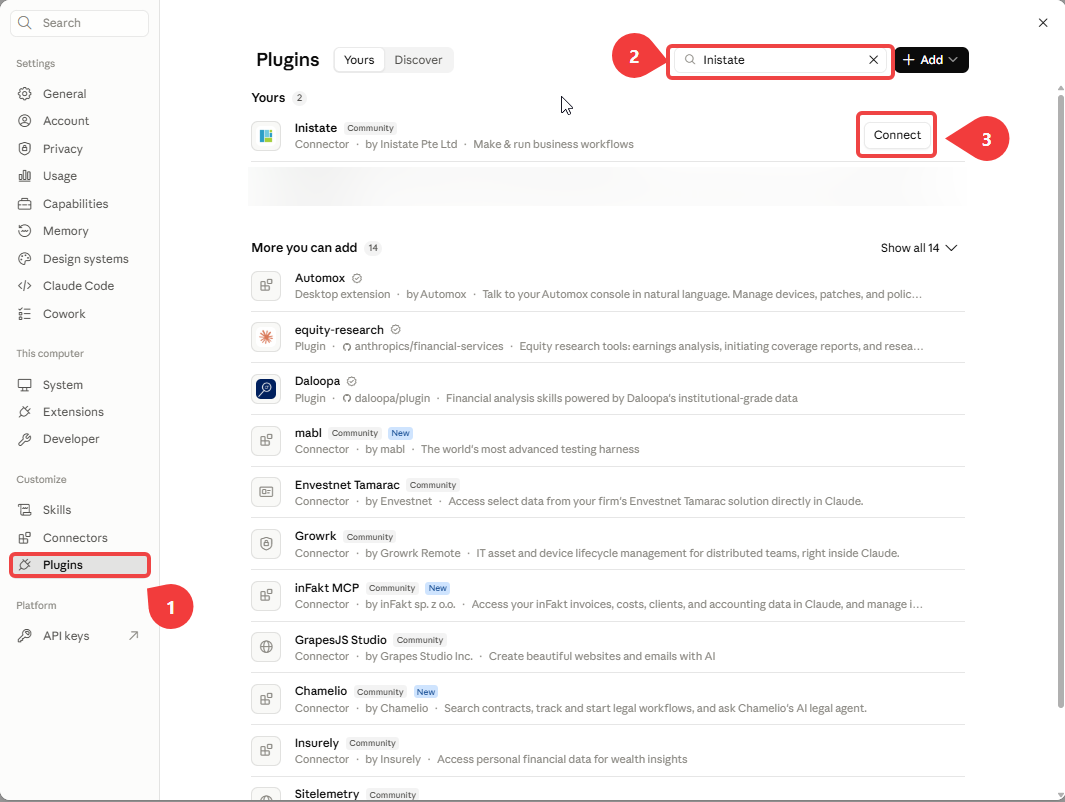
Browse plugins: go to Settings → Plugins, search for inistate, then click Connect next to the Inistate connector. This starts the authentication flow, so you can skip to step 3.
-
(Direct link only) Click Connect and start the authentication flow.
-
You’ll be redirected to Inistate:
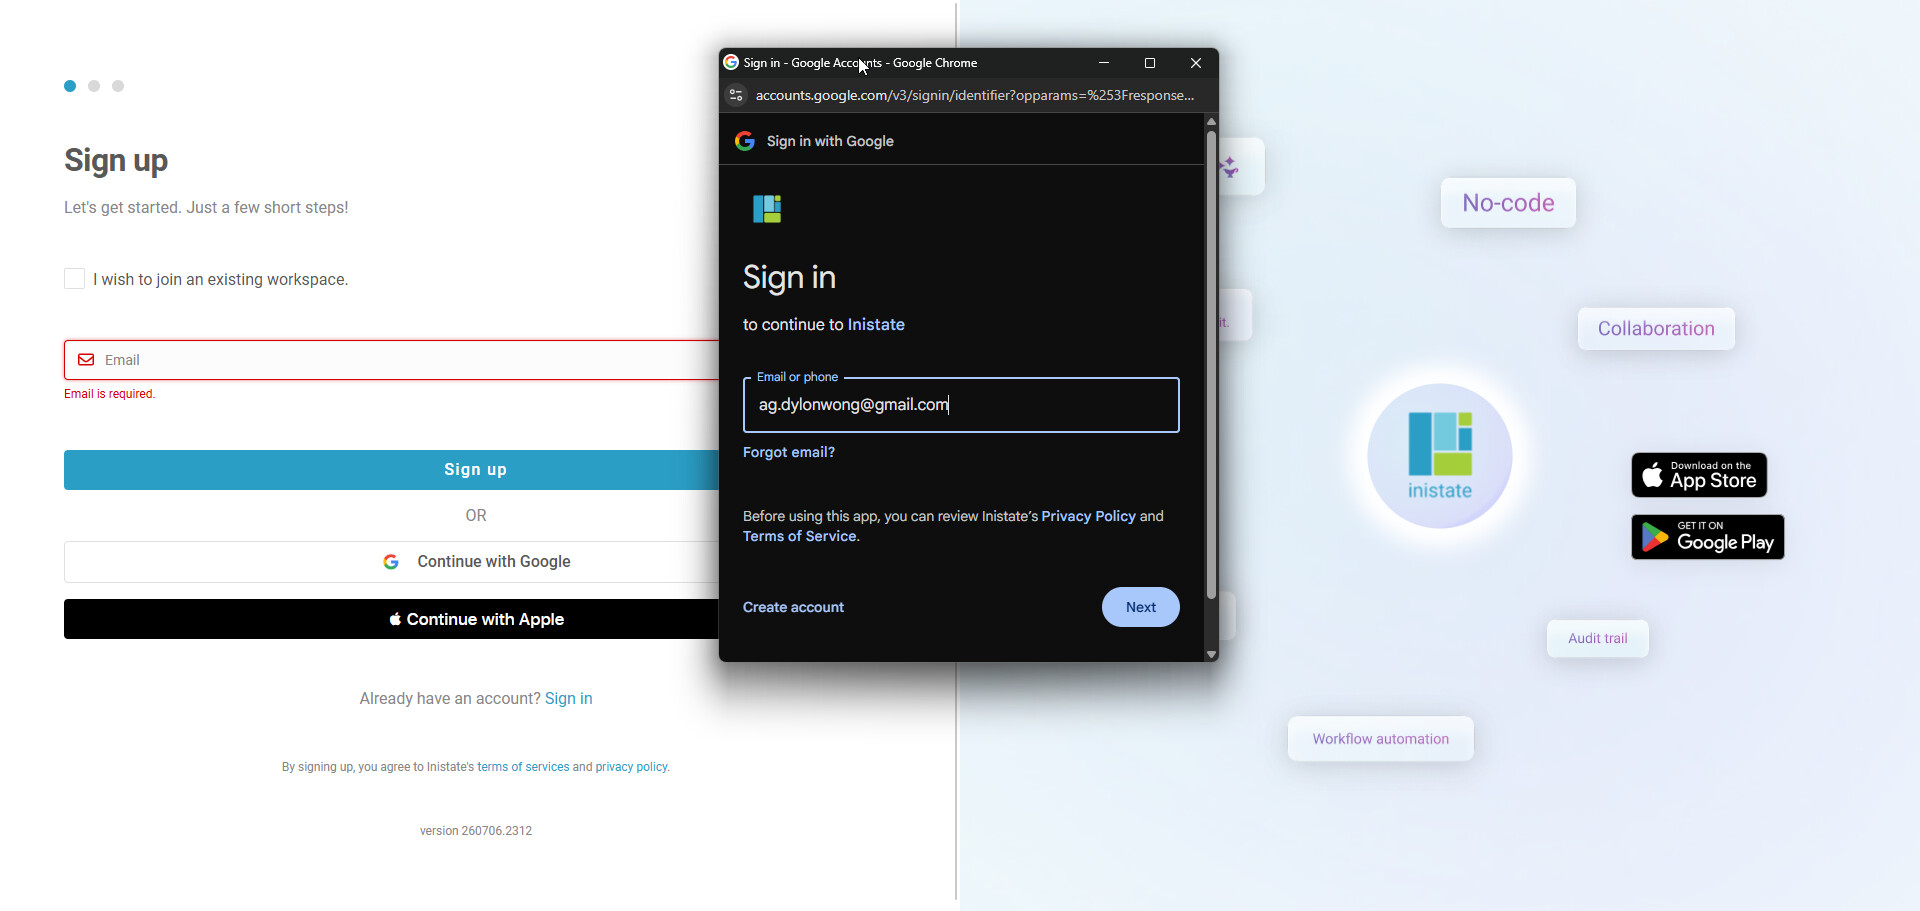
- If you’re not signed in, log in with any method (email/password, Google, or Apple) — or click Sign up if you don’t have an account yet.
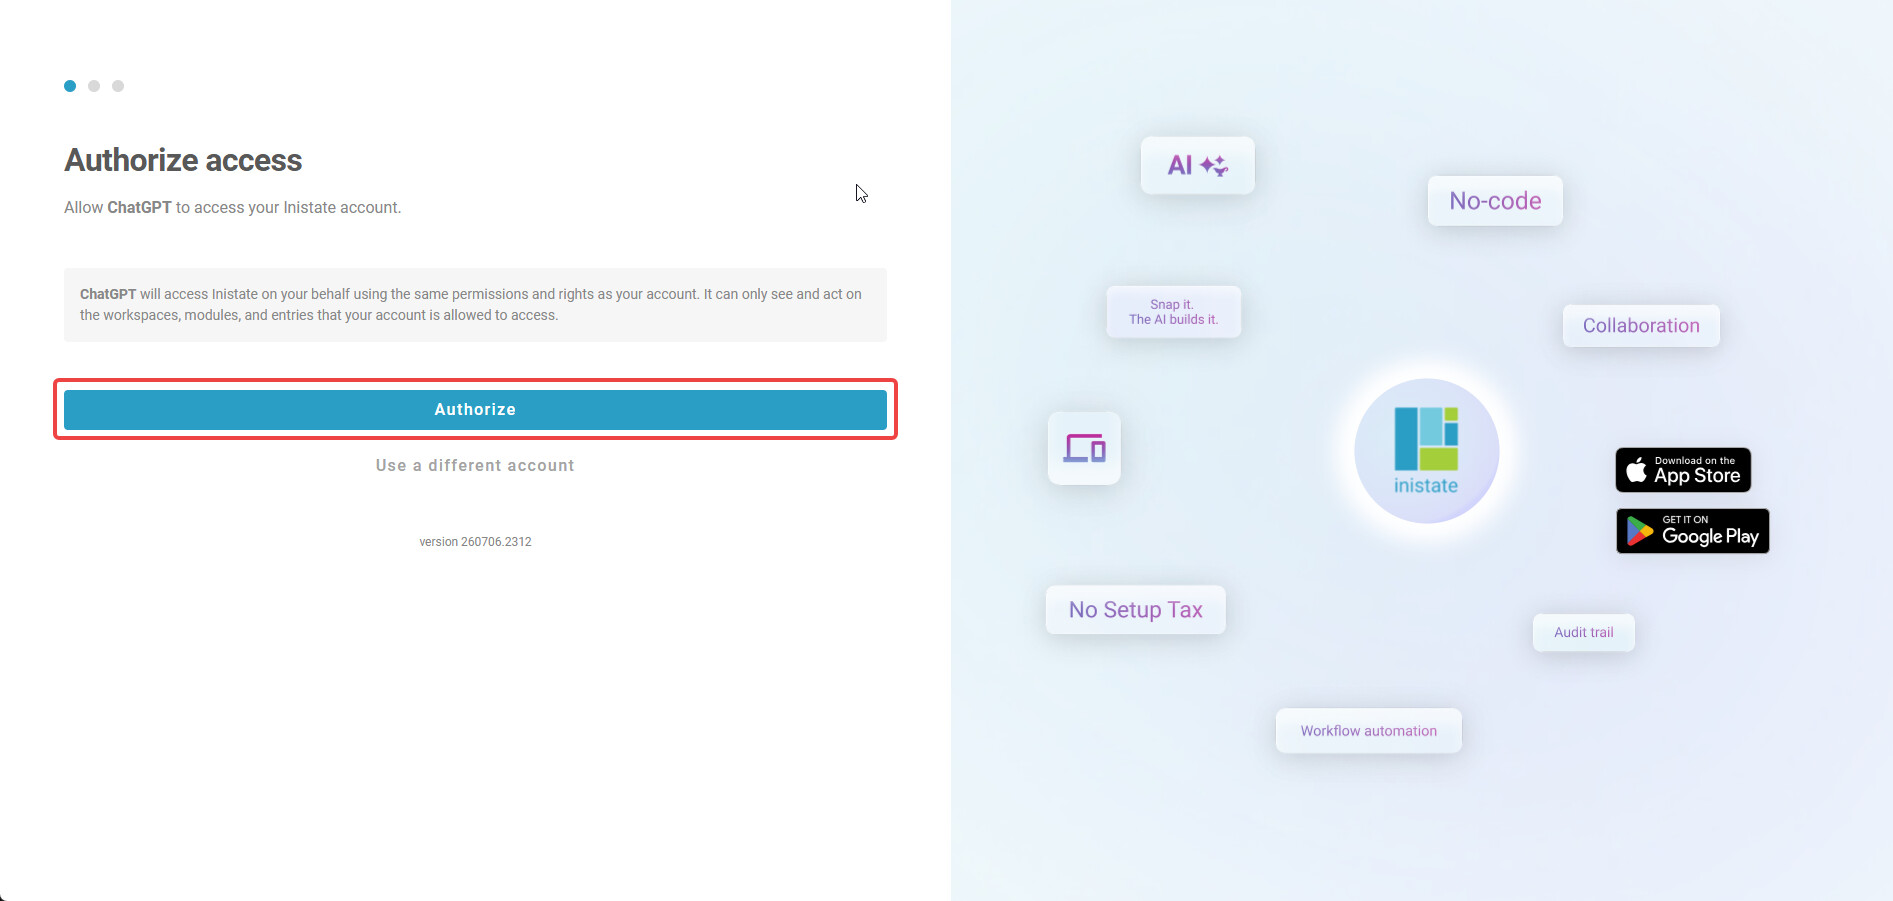
- If you’re already signed in, you’ll see the authorize screen instead. Click Authorize to grant Claude access to your Inistate account.
- If you’re not signed in, log in with any method (email/password, Google, or Apple) — or click Sign up if you don’t have an account yet.
-
Signing up? Complete the flow with your preferred method — for example, signing up with Google.
-
Once connected, you’ll be brought back to Claude with a “Connected to Inistate” toast.

Project Setup (Optional)
Setting up a dedicated project keeps Claude reliably pointed at Inistate.
-
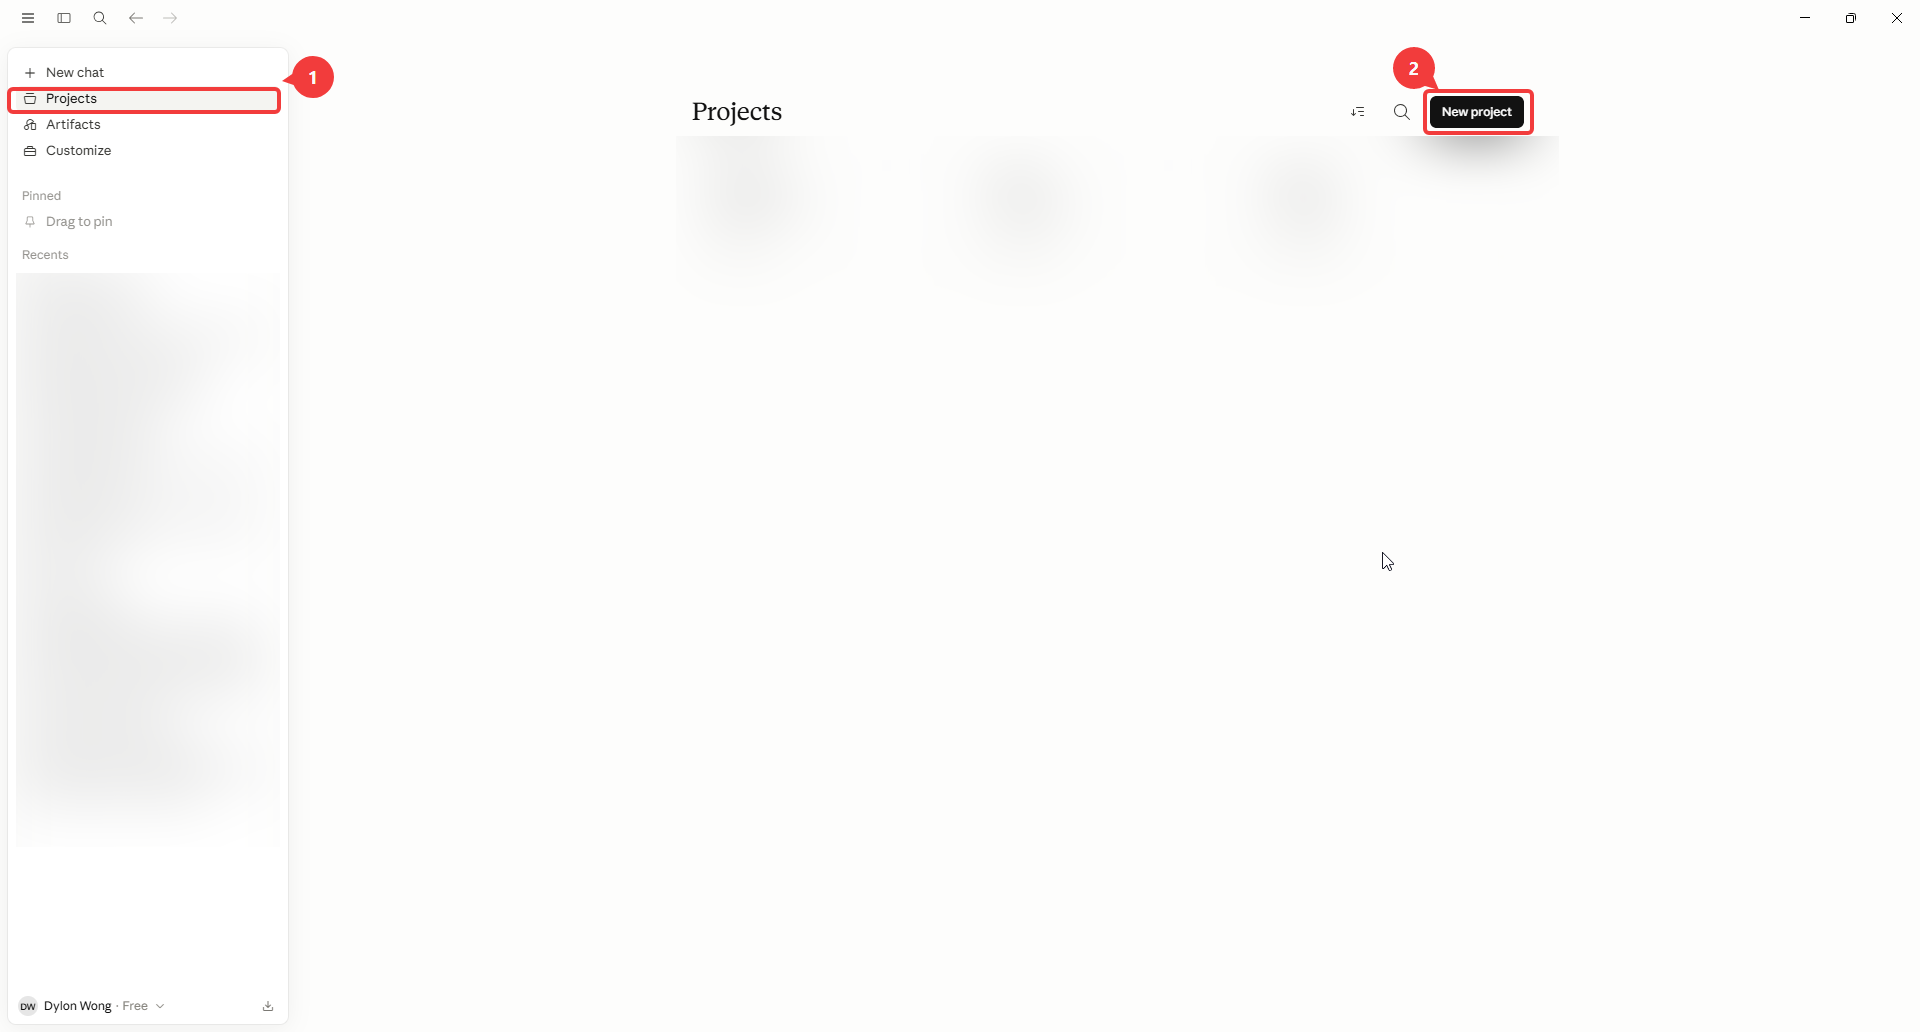
Create a new project.
-
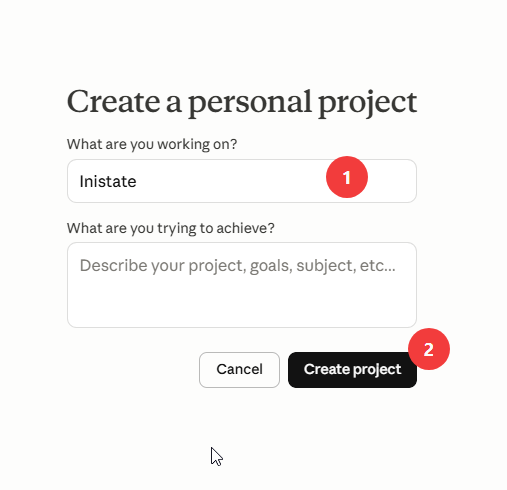
Fill in the project details.
-
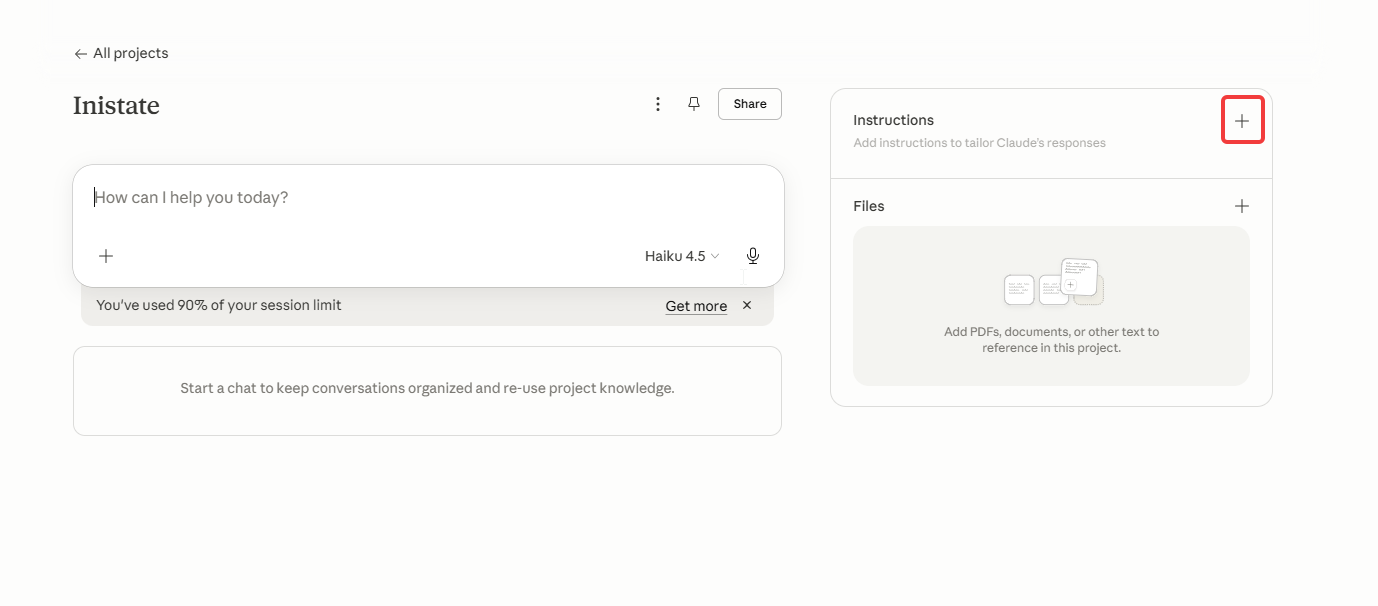
In the Instructions panel, click the + button.
-
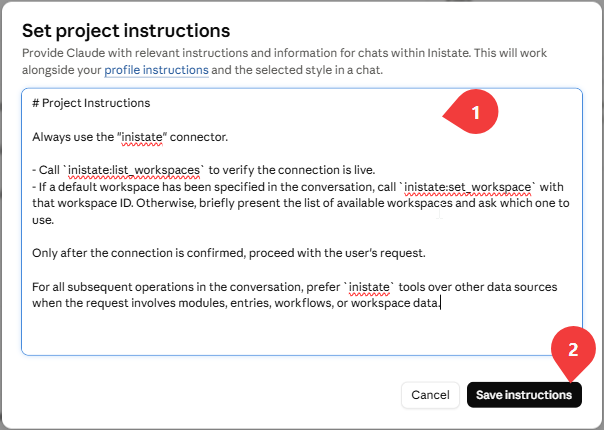
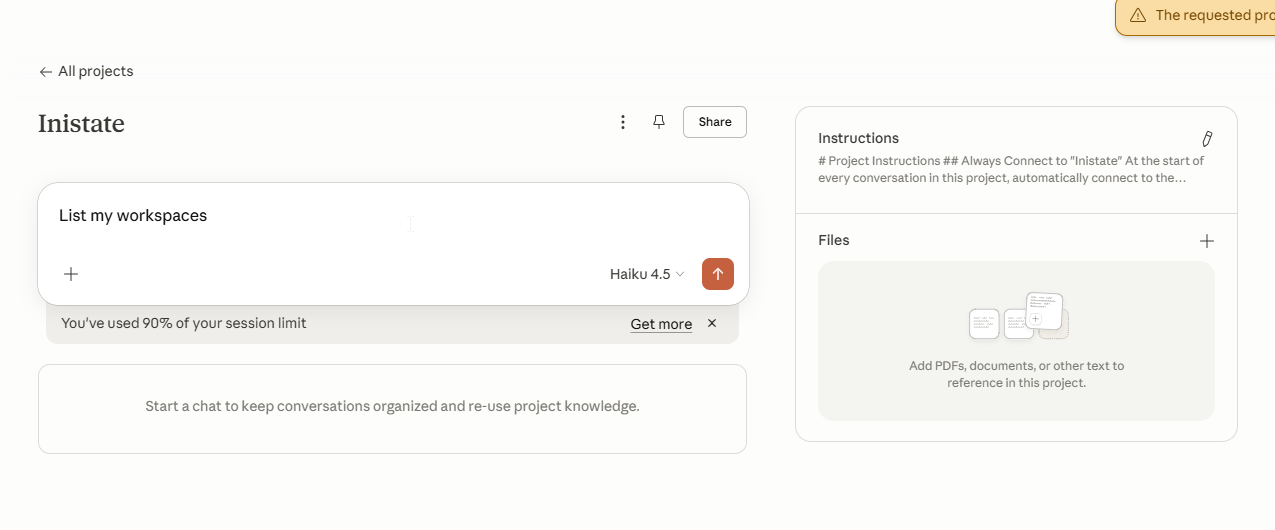
Paste in the instructions (copy them from the block below).
-
Start using it!
Instructions
# Project Instructions

Always use the "inistate" connector.

- Call `inistate:list_workspaces` to verify the connection is live.
- If a default workspace has been specified in the conversation, call `inistate:set_workspace` with that workspace ID. Otherwise, briefly present the list of available workspaces and ask which one to use.

Only after the connection is confirmed, proceed with the user's request.

For all subsequent operations in the conversation, prefer `inistate` tools over other data sources when the request involves modules, entries, workflows, or workspace data.