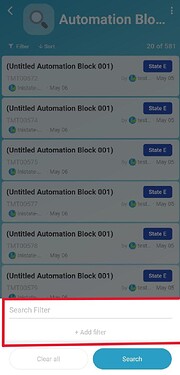
Hello community, this post will guide you on how to use filter listing in mobile app.
-
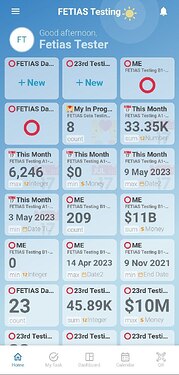
Login to your mobile app workspace.
Filtering Listing Features On Mobile App
-
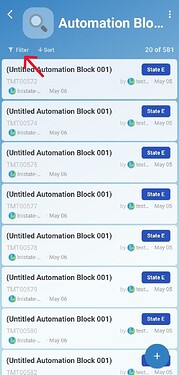
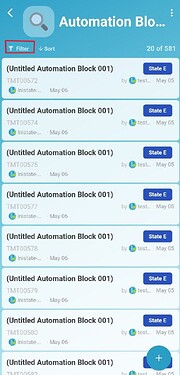
Go to any module, on top left of each module will have “Filter” text with icon.
-
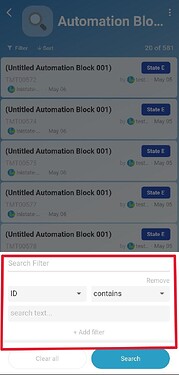
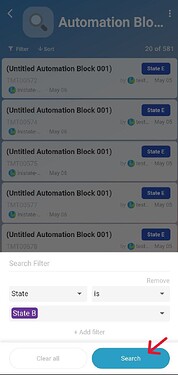
Once click, the filter option menu will appear on the screen.
-
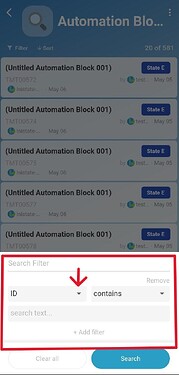
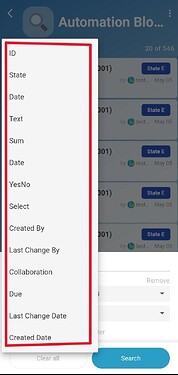
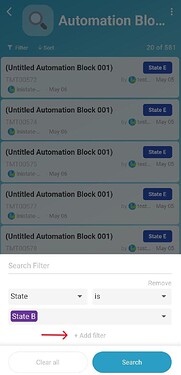
You can filter the listing based on the information that you need, firstly choose the information that you want by clicking the down “Arrow” icon beside the “ID” column.
-
Once clicked, it will show the information option ( eg: ID, State, Date etc) , you may choose any information based on what you need. ( for example : I choose “State” information.)
-
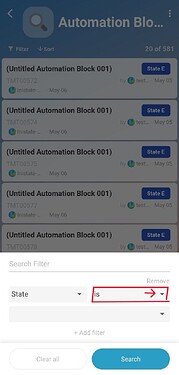
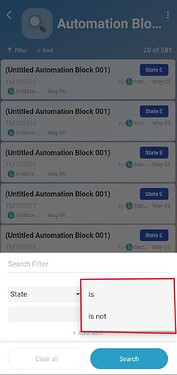
Then, choose the condition based on you need. Some of the information come with different condition option ( eg : “State” information come with “is” or “is not” condition) , to view condition option menu, click the down “Arrow” beside the column next to the information option.
-
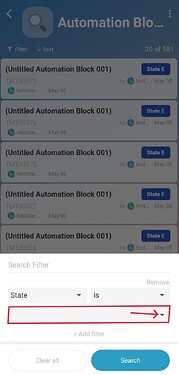
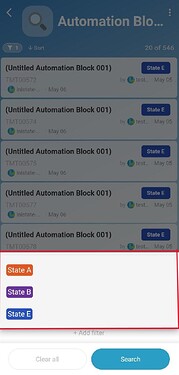
Finally, choose the expected result, ( eg : I want to filter “State” that “Is” “State B”. ) , To view the result option, click the down “Arrow” button on the column below the information and condition column.
-
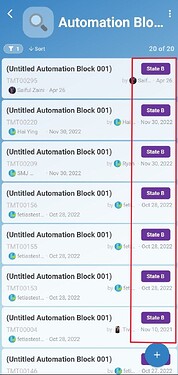
Once finished select the information, condition, and expected result, click the search button, and after that the app show the filtered listing based on the filter that we choose.
Reset or clear filter information
-
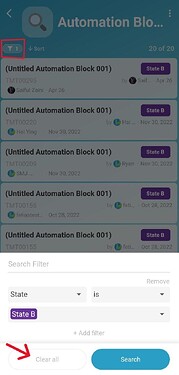
To reset or clear filtering information, click the “Clear all” button.
-
Once clicked, the listing will display the result before the filtering ( the different on the “filter” icon on the top left of the screen, before click clear all button, show “1”, after clicked shows “0” or nothing to filter").
Add and remove filter option.
-
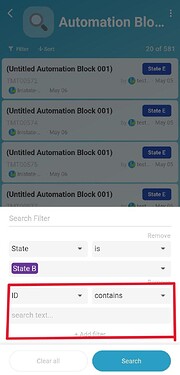
To add more than one filter option, simply click the “Add filter +”.
-
Once clicked, it will add another filter option below the first filter options.
-
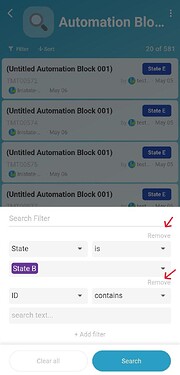
To remove filter option, click the “Remove” text on top right of each filter option.
-
Once clicked, the filter option will be remove.
