Hello community ![]() , this post will guide you on how to use Candidate Registration ready solution.
, this post will guide you on how to use Candidate Registration ready solution.
Installation
-
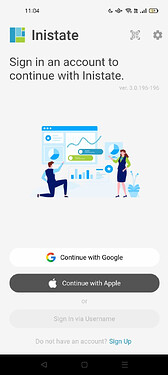
Open your Inistate mobile app.
-
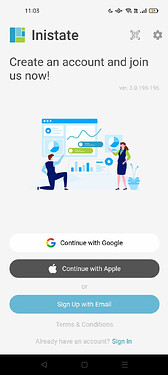
Click “sign up”
-
Fill in your email OR ‘Continue with Google’ OR ‘Continue with Apple’.
-
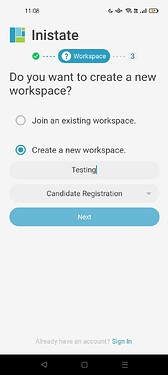
Then, you will direct to ‘Setup a new workspace’ page.
-
Enter workspace "Name.
-
Choose ‘Candidate Registration’ from the ready solution.
-
Click ‘Next’.
-
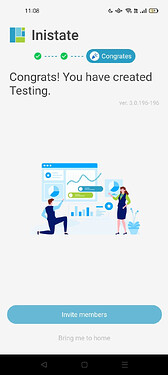
Tada!! You have successfully installed the asset management-ready solution and are good to use now.
Guide ( Registration Module )
- Create new registration ( From App)
-
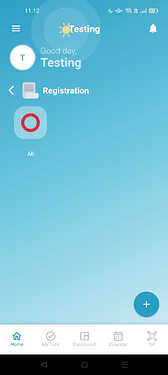
Go to “Registration” module.
-
Choose listing “All”.
-
Click “+” to create new registration.
-
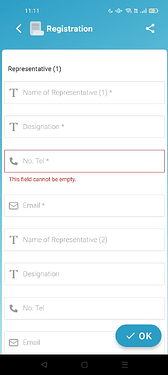
Fill in the information (Able to register for 2 representative’s details)
-
Click “Ok” button at the bottom of the form to submit.
-
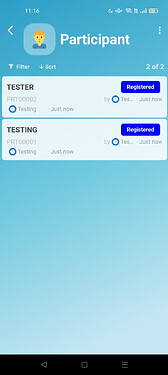
Once submitted, it will also create an entry in the “Participant” module for each representative.
-
Each participant will receive a QR code in their email.
- Create new registration ( From Share form).
-
Go to “Registration” module.
-
Choose listing “All”.
-
Click “+” to create new registration.
-
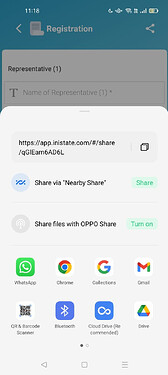
View Form, click share “Icon”, click “share form” , Copy share form link.
-
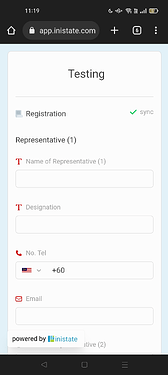
Open the link on browser.
-
Fill in the information (Able to register for 2 representative’s details)
-
Click “Ok” button at the bottom of the form to submit.
-
Once submitted, it will also create an entry in the “Participant” module for each representative.
-
Each participant will receive a QR code in their email.
Guide ( Participant Module )
- View entry for each representative in registration. ( eg : users provided 2 represtative in the registration form).
-
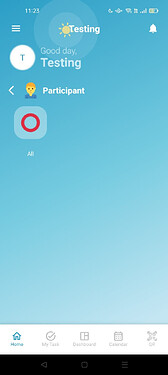
Go to module “Participant”
-
Choose listing “All”
-
View entry for each representative in registration form.
- Edit Participant details.
-
Go to “Participant” module
-
Choose listing “All”
-
Select any “Registered” entry.
-
Click the 3 dots activity button and choose edit.
-
You can edit the information.
-
Click “Ok” to submit and save entry.
- Scan activity (“IN”).
-
Go to “Participant” Module.
-
Choose listing “All”
-
Choose any “Registered” entry.
-
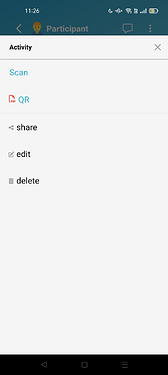
Click 3 dots activity button.
-
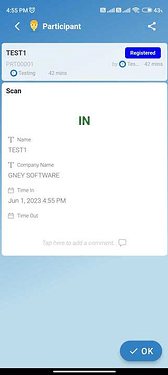
Click the “Scan” activity.
-
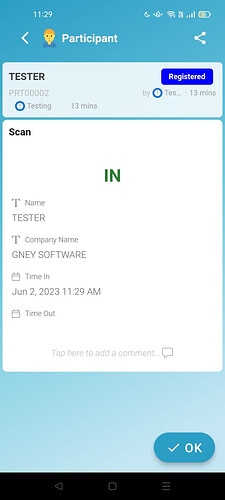
Preview the “IN” details.
-
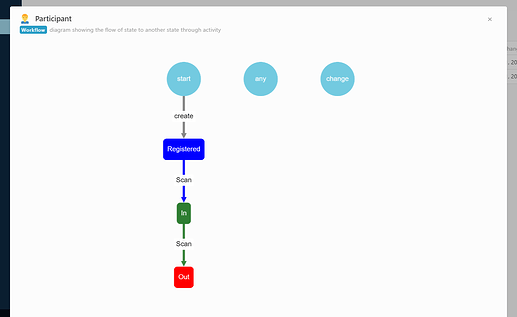
Click “Ok” to submit entry. State change from “Registered” to “IN”
- Scan Activity (“Out”).
-
Go to “Participant” Module.
-
Choose listing “All”.
-
Choose any “In” state entry.
-
Click 3 dots activity button.
-
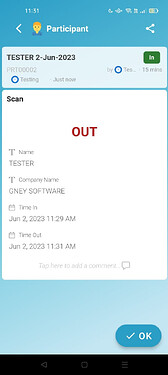
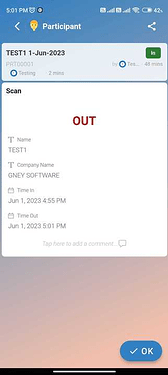
Click the “Scan” activity once again.
-
Preview the “OUT” details.
-
Click “Ok” to submit entry. State change from “In” to “Out”.
- QR activity ( IN)
-
Go to “Participant” Module.
-
Choose listing “All”.
-
Choose any “Registered” entry.
-
Click 3 dots activity button.
-
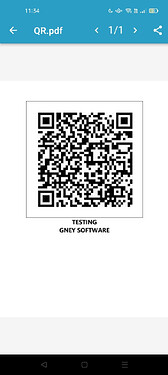
Click the “QR” activity.
-
Preview the “IN” QR. Users can download the QR or screenshot it.
-
Scan the QR using mobile or app scanner.
-
Preview the “IN” Details
-
Click “Ok” to submit. State will change from “Registered” to “In”
- QR activity ( “Out”).
-
Go to “Participant” Module.
-
Choose listing “All”
-
Choose any “In” state entry.
-
Click the 3 dots activity button.
-
Click the “QR” activity.
-
Preview the “Out” QR. Users can download the QR.
-
Scan the QR using mobile or app scanner.
-
Preview the “Out” Details
-
Click “Ok” to submit entry. state change from “In” to “Out”.
Workflow
-
Participant Module Workflow.
