Hello dear community ![]() , this post will guide how to install and tutorial for ready solution : HRM.
, this post will guide how to install and tutorial for ready solution : HRM.
Installation
-
Open your browser.
-
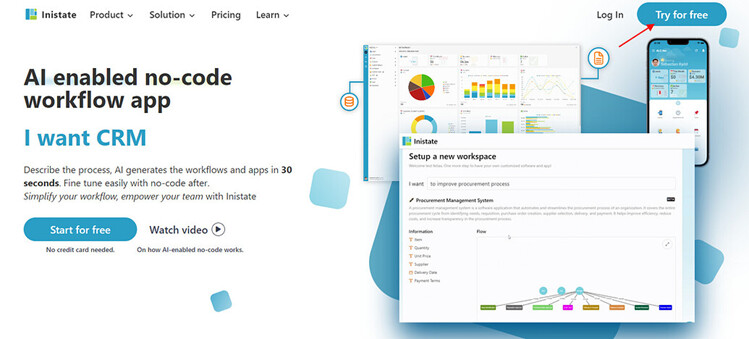
Go to https://inistate.com/
-
Click on ‘Try for free’ button in the top right corner.
-
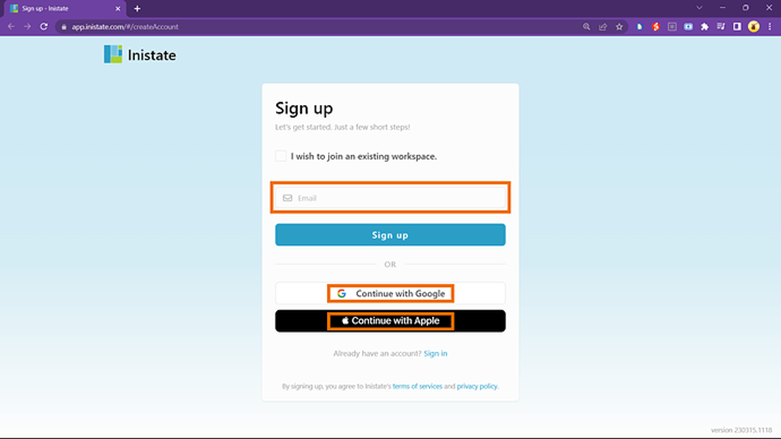
Fill in your email OR ‘Continue with Google’ OR ‘Continue with Apple’.
-
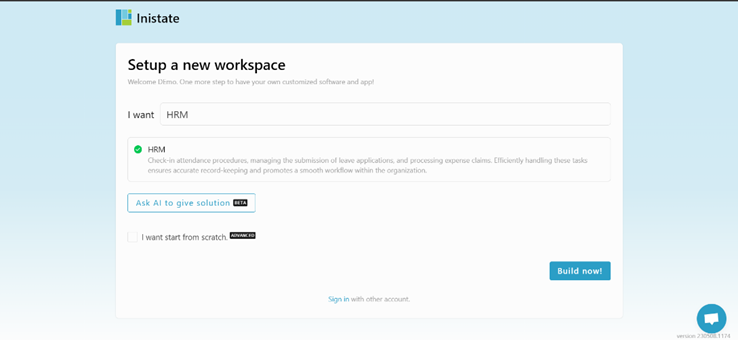
Then, you will direct to ‘Setup a new workspace’ page.
-
You type HRM after the words ‘I want’.
-
Choose ‘HRM’ from the ready solution.
-
Click ‘Build now’.
-
Input your workspace name. It can be your company name or anything.
-
Click ‘Create’.
-
Tada!! You have successfully installed the asset management-ready solution and are good to use now.
Guide
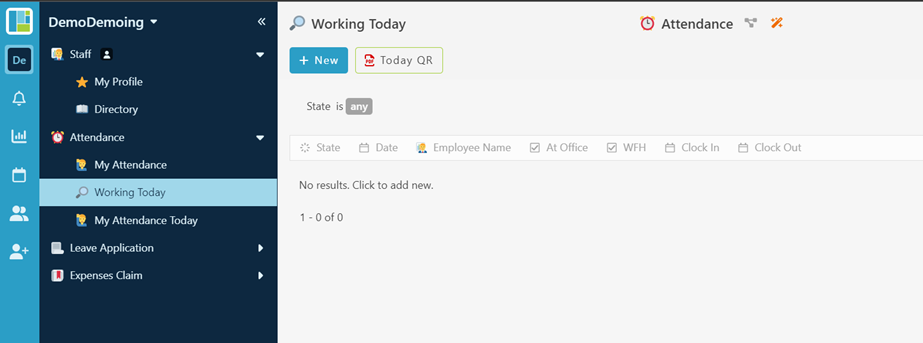
Create new attendance
-
Go sub module working today.
-
At the top, click “Today QR”.
-
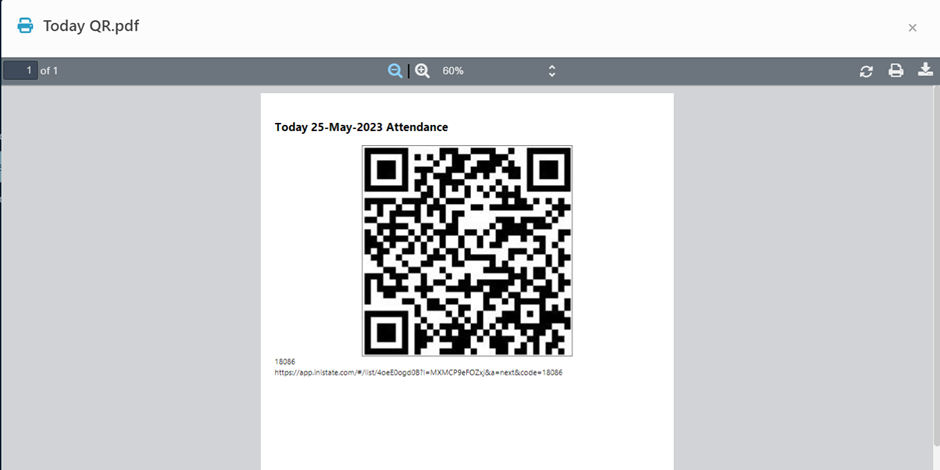
Show QR.
-
Download and view QR.
-
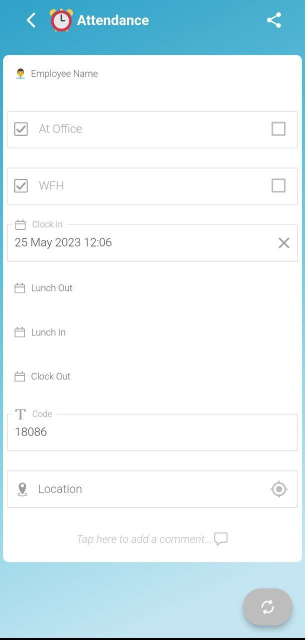
Scan the QR using mobile phone.
-
It will bring to create new attendance form with autofill code.
-
Submit details and press “ok” to submit entry.
Edit Attendance Entry
-
Choose created attendance’s entry.

-
Click the 3-dot button.
-
Choose to edit, and you can edit the information.
-
Click ‘Ok’ button at the right, bottom page to save the entry.
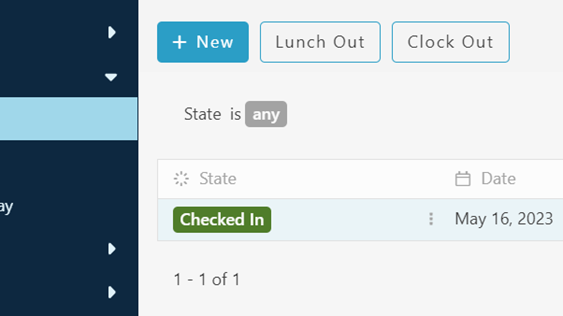
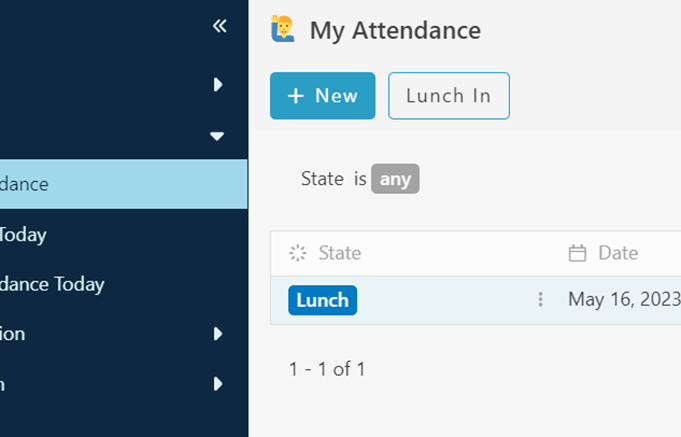
Lunch out activity.
-
Select an entry.
-
Click “Lunch out” activity.
-
Click “Ok” to save and proceed entry.
-
Once clicked the state will change from “check in” to “Lunch”.
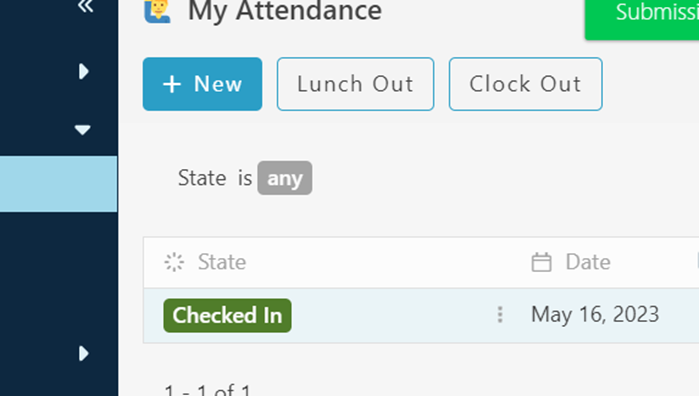
Lunch in activity.
-
Select an entry with “Lunch” state.
-
Click “Lunch in” activity.
-
Click “Ok” to save and proceed entry.
-
Once clicked the state will change from “Lunch” to “Check in”.
Clock Out activity
-
Select an entry with state “Check in”.
-
Click “Clock out” activity.
-
Click “Ok” to save and procced.
-
The entry state will change from “Check in” to “Check out”.
Workflow
-
Attendance Module

Create Leave Application in HRM
-
Choose Module ‘Leave Application’.
-
Choose any sub menu in the module and click ‘+ New’.
-
Fill in the information needed.
-
Click ‘OK’ button at the right, bottom page to save the entry.
-
A ‘Successfully created’ pop up in a green box will temporarily appear at the top of the page.

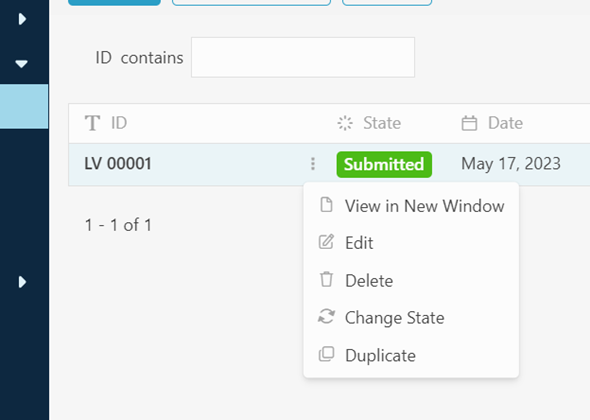
Edit Application Leaves
-
Choose created leaves’ entry.
-
Click the 3-dot button.
-
Choose to edit, and you can edit the information.
-
Click ‘Ok’ button at the right, bottom page to save the entry.
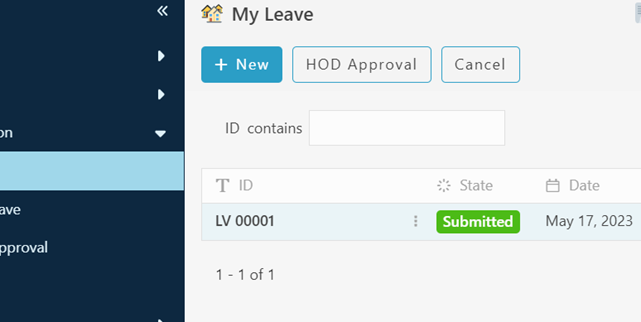
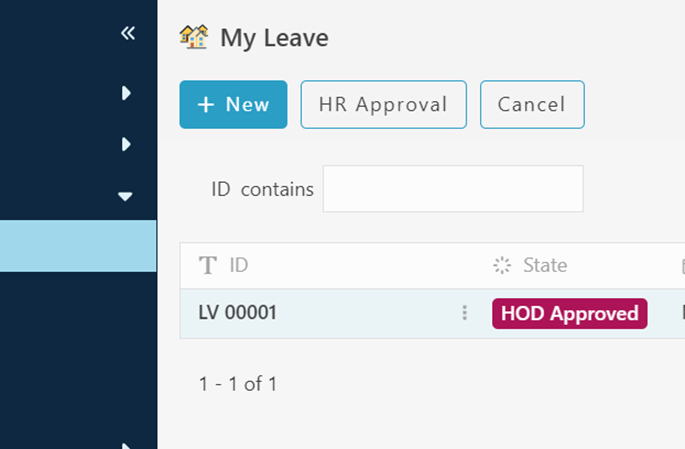
HOD Approval activity.
-
Select any entry with ‘Submitted’ stated.
-
Click ‘HOD Approval’ ( Head of department ).
-
Tick either approve the leave application or not.
-
Click ‘Ok’ to save and procced.
-
If approve, the state will change from ‘Submitted’ to ‘HOD Approved’.
-
If not approve, the state will change from ‘Submitted’ to ‘Rejected’.
HR Approval
-
Select any entry with ‘HOD Approved’ state.
-
Click ‘HR approval’ (Human resources).
-
Tick either approve the leave application or not.
-
If approve, the state will change from ‘HOD Approved’ to ‘HR Approve’.
-
If not approve, the state will change from ‘HOD Approved’ to ‘Rejected’.
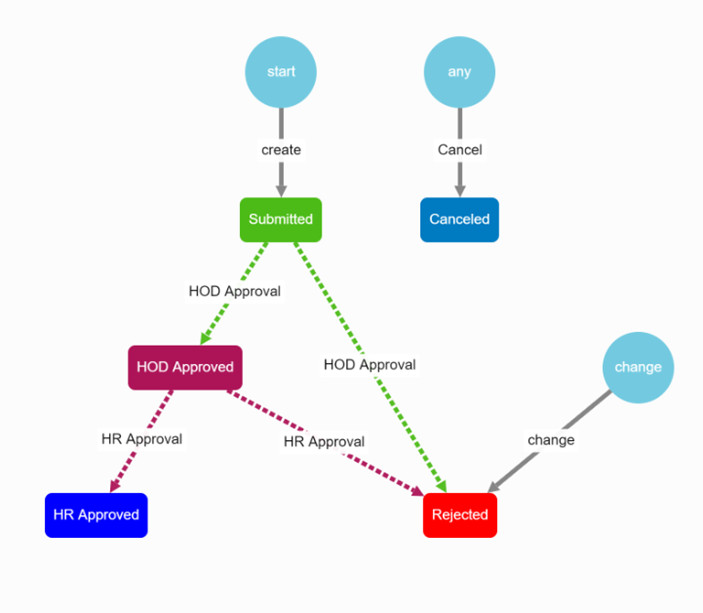
Workflows
-
Leaves Application Workflows
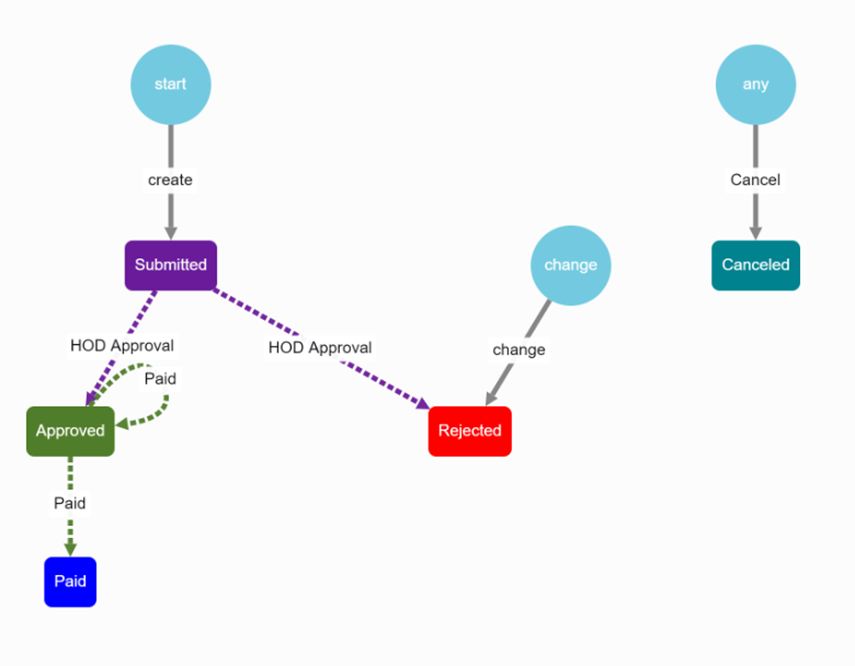
Create New Expenses Claim in HRM
-
Choose Module ‘Expenses Claim’.

-
Choose any sub menu in the module and click ‘+ New’.
-
Fill in the information needed.
-
Click ‘OK’ button at the right, bottom page to save the entry.
-
A ‘Successfully created’ pop up in a green box will temporarily appear at the top of the page.
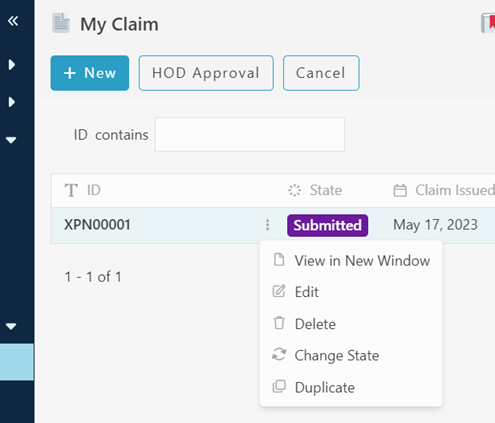
Edit Expenses Claim.
-
Choose created Expenses claim’s entry.
-
Click the 3-dot button.
-
Choose to edit, and you can edit the information.
-
Click ‘Ok’ button at the right, bottom page to save the entry.
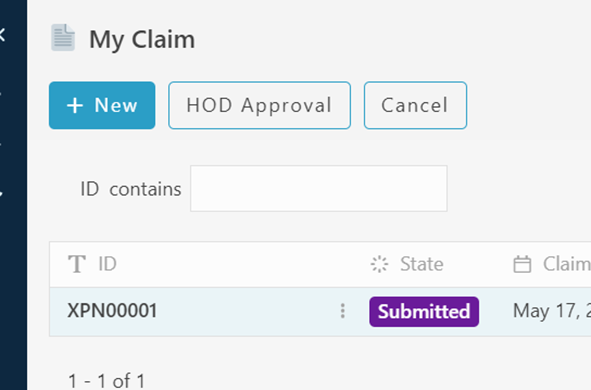
HOD Approve activity.
-
Select entry with ‘Submitted’ state.
-
Click ‘HOD Approval’ activity.
-
Tick either approve or not.
-
If approve, the state will change from ‘Submitted’ to ‘Approved’.
-
If not, the state will change from ‘Submitted’ to ‘Rejected’.
Paid Activity.
-
Select entry with ‘Approved’ state.
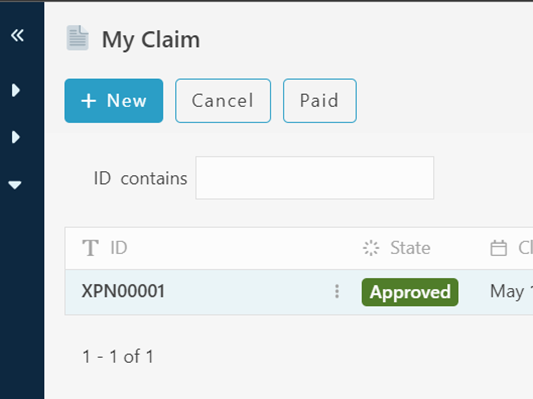
-
Click ‘Paid’ Activity.
-
Fill in details needed.
-
Click ‘Ok’ to save and procced.
-
The state will change from ‘Approved’ to ‘Paid’.
Workflow
-
Expenses Claim Workflows