Hi community ![]() , this post will guide you on how to set header of template.
, this post will guide you on how to set header of template.
Before we start, please make sure you are Workspace Owner.
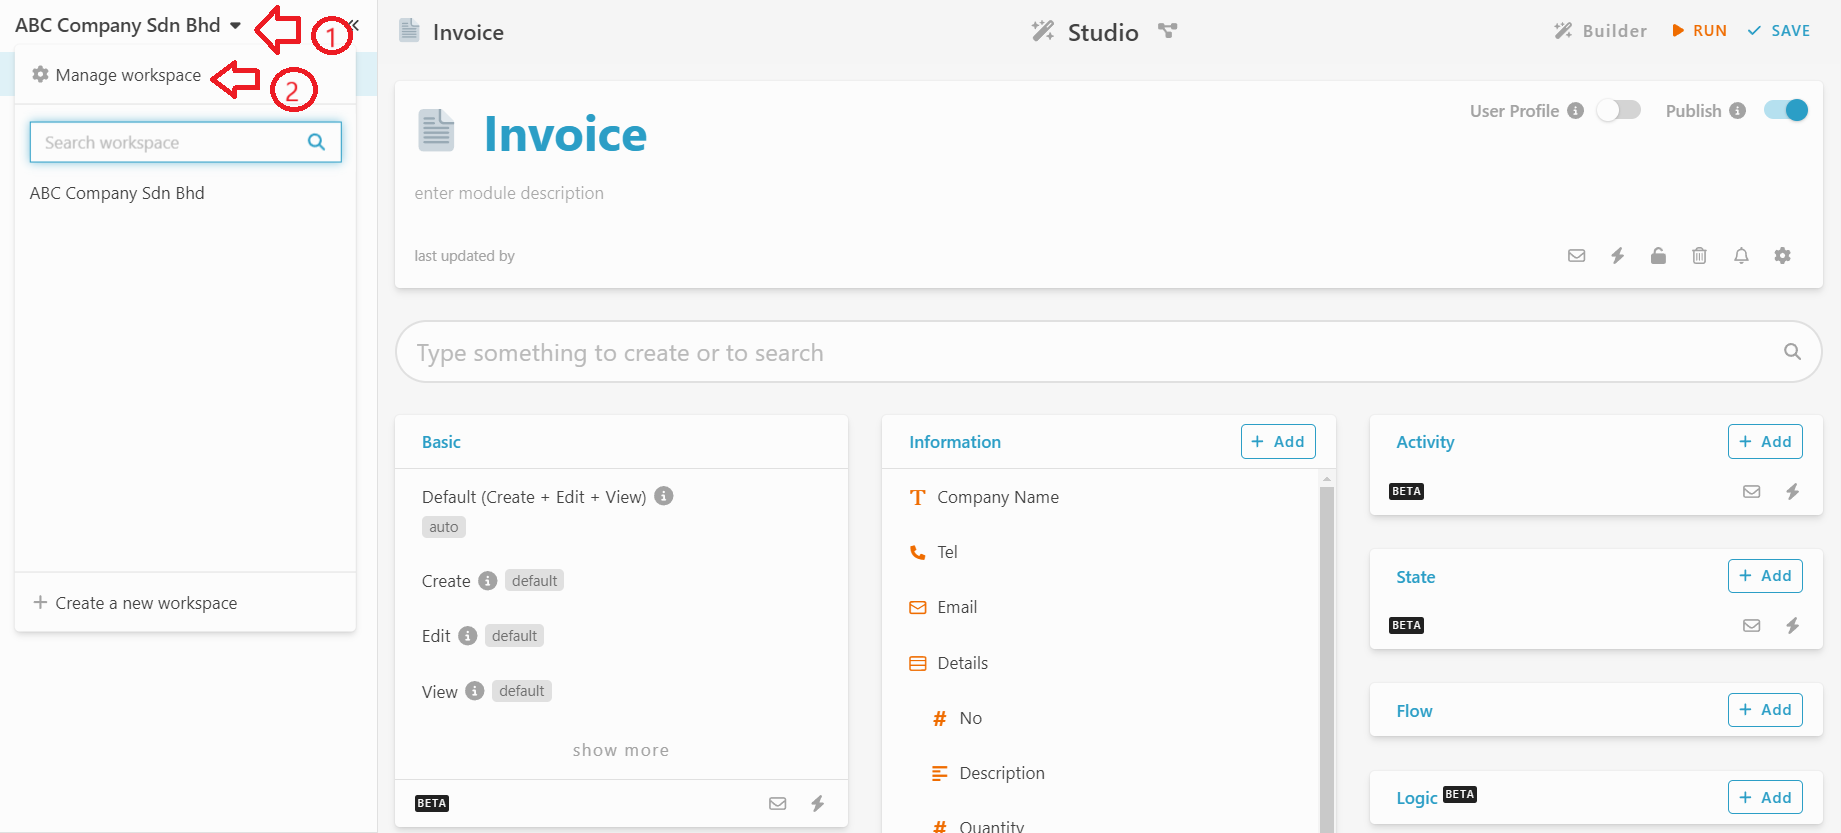
- In Studio, you need to click on the workspace name.
- Click on the “Manage workspace”.
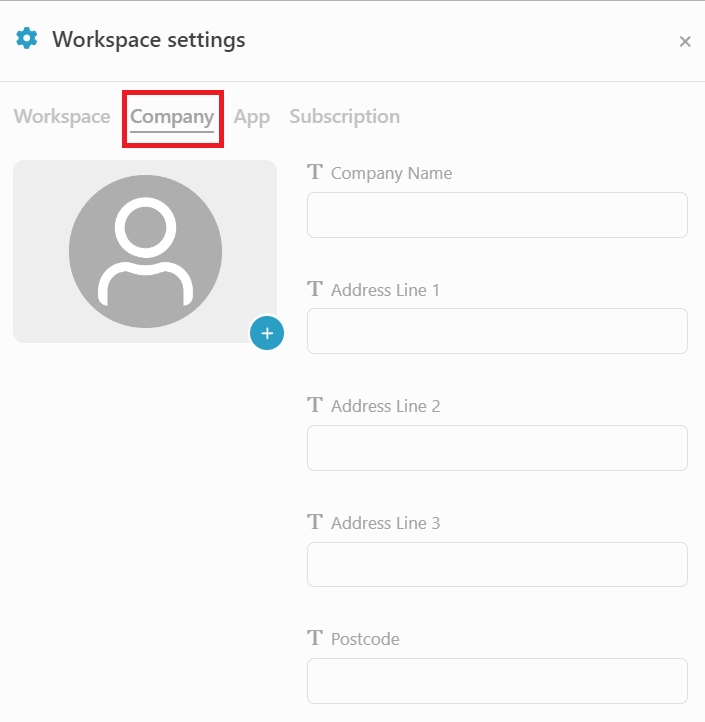
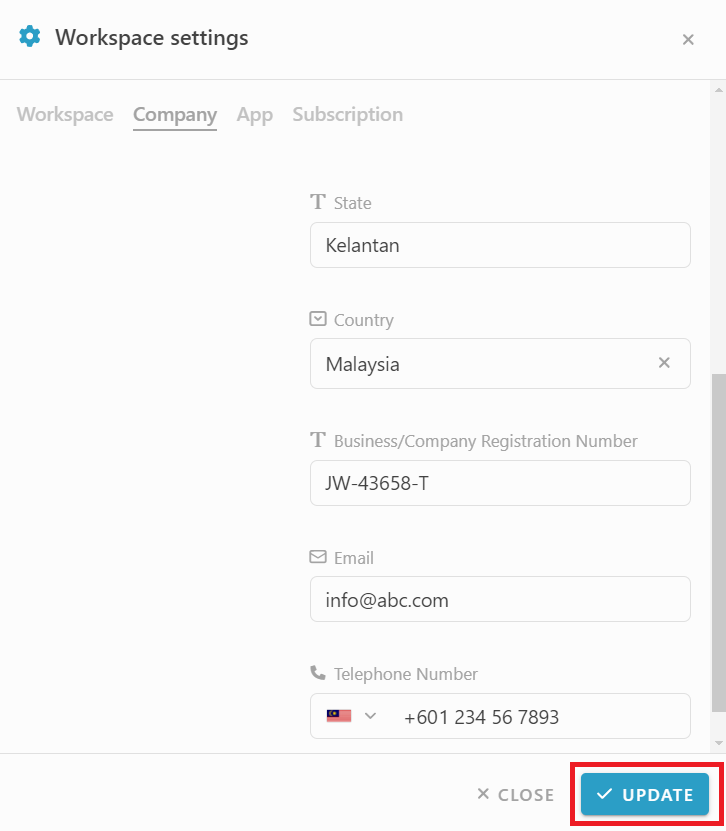
- On the Workspace settings, you are requiring to select “Company”.
- After that, you need to insert your company logo and fill in all the information.
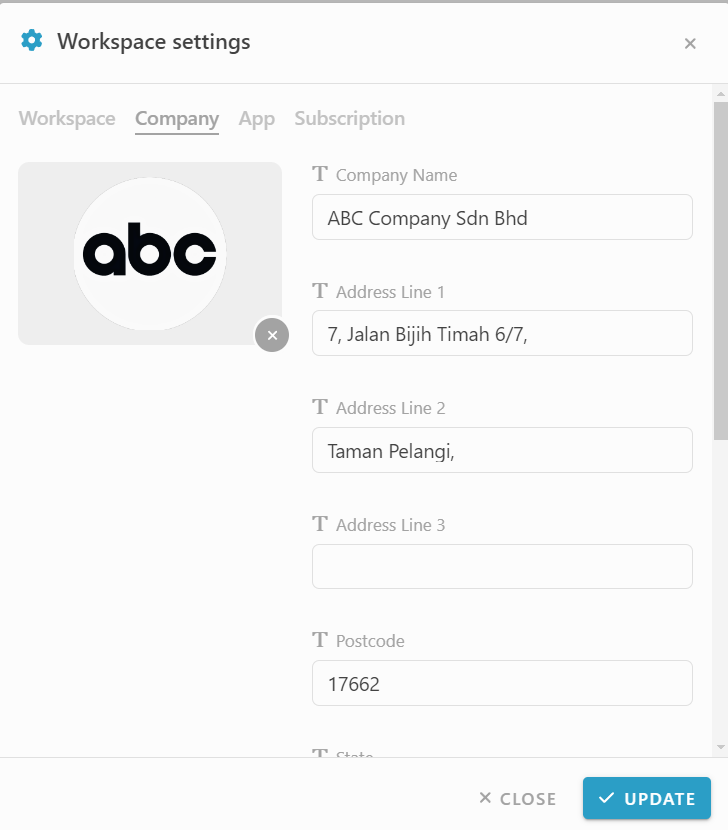
- After fill in all the company details, you may click on the “UPDATE” button.
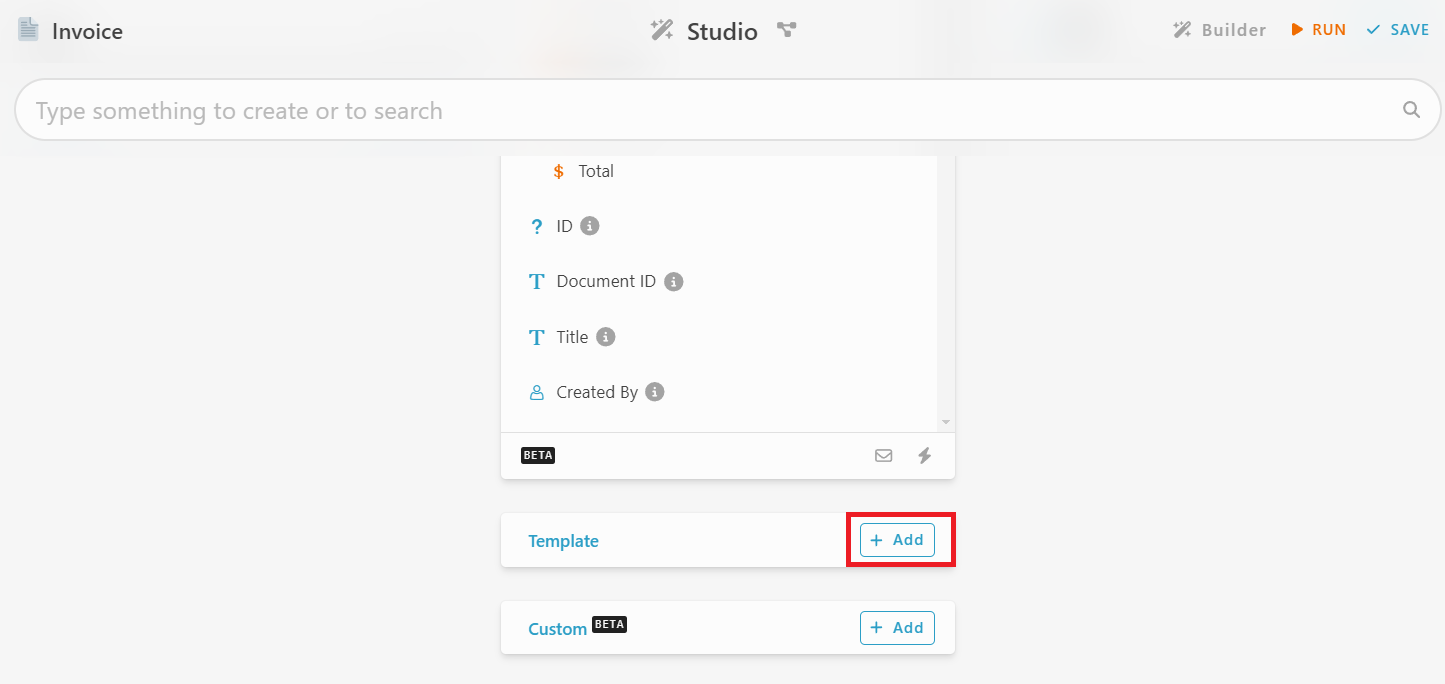
- Click on the “Design” icon on the bottom left corner, go to “Studio”.
![]()
- On the “Studio”, click on the “Add” button which near to the template.
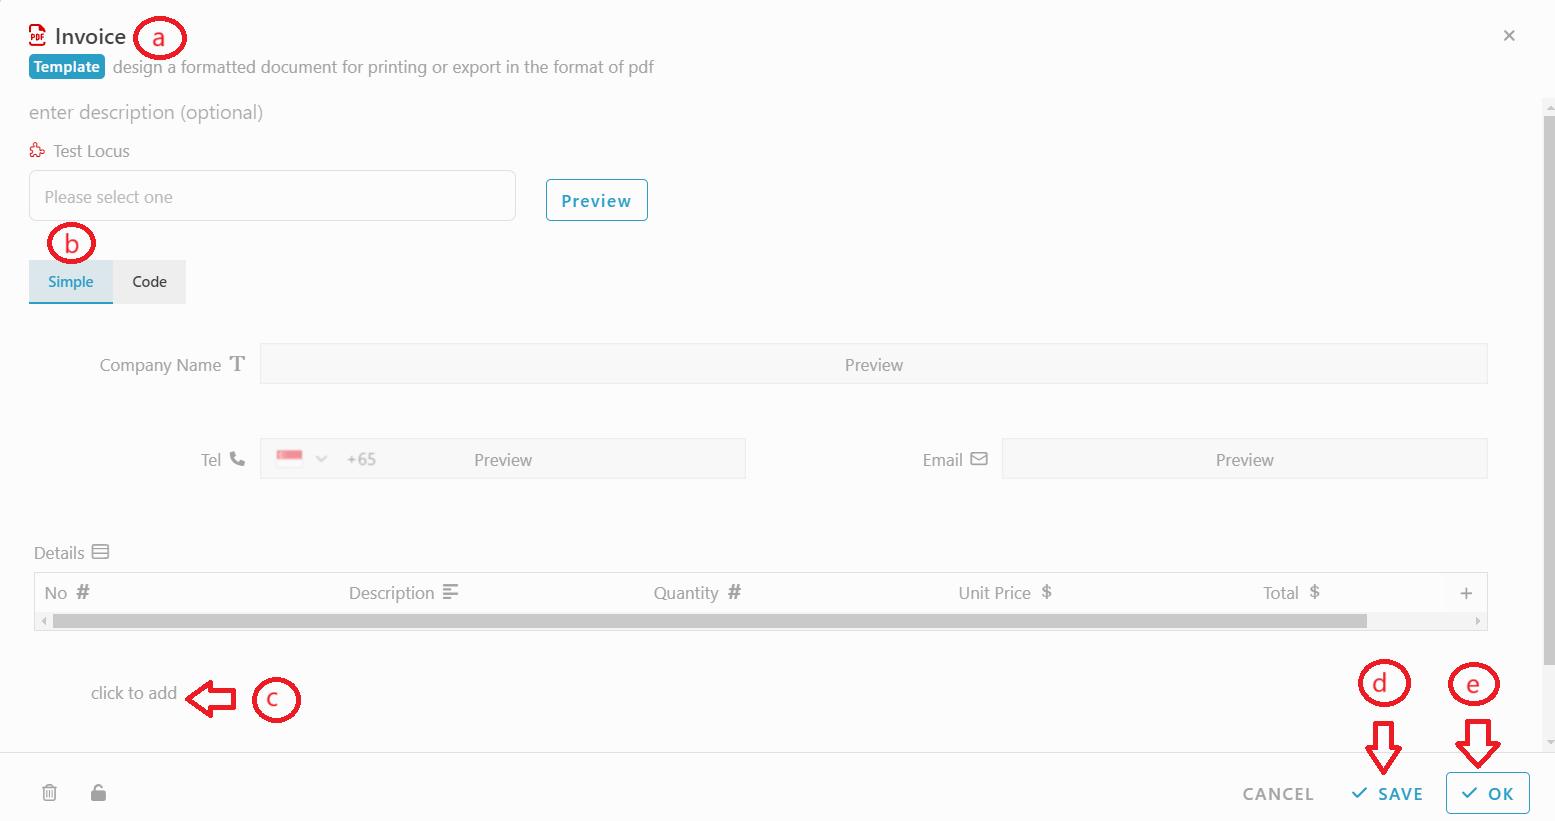
a) Insert a template name.
b) Select “Simple”.
c) Click on “Click to add” to add the information you want to display on the template.
d) After that, click on “SAVE” button.
e) Click on “OK” button to close.
- On the “Studio”, click on the “Run” button.
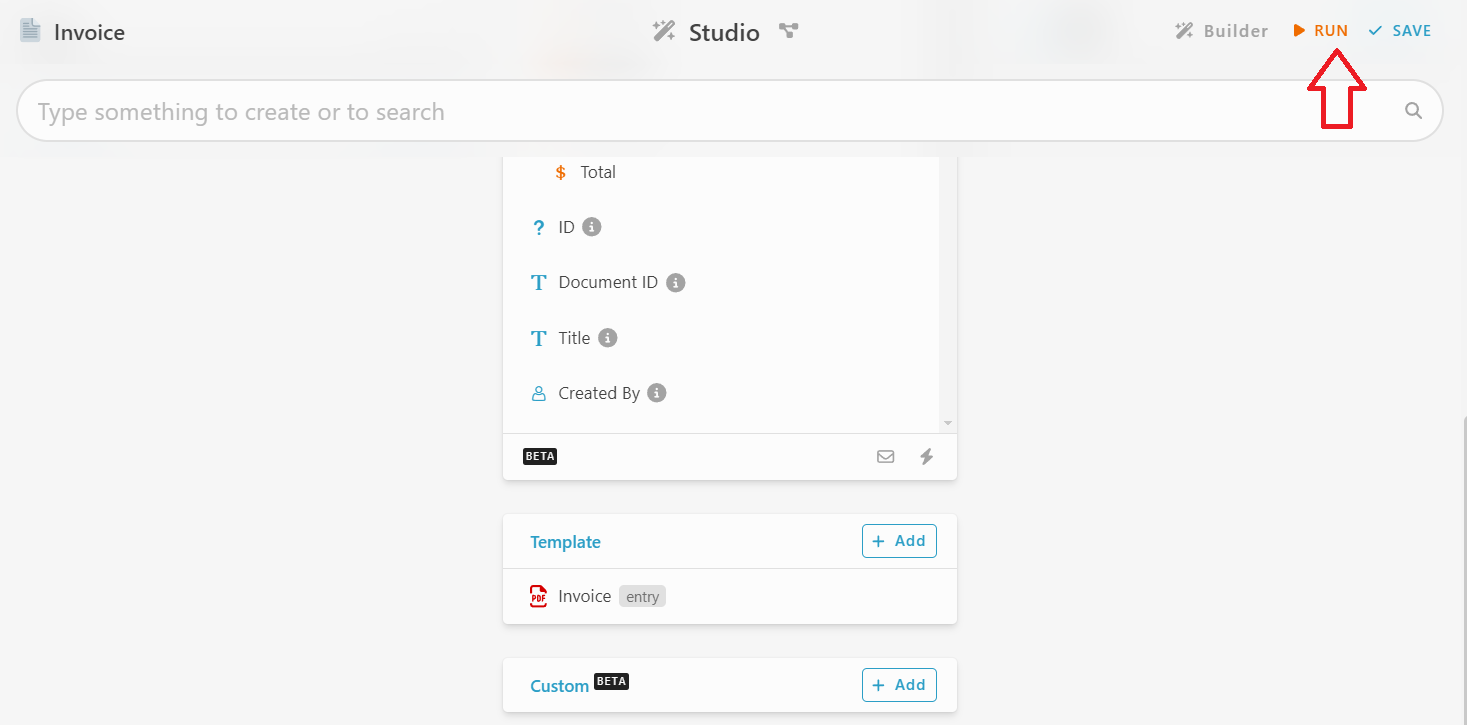
- Select one of the entries that you want to display on the template. Click on the template button that you had created.
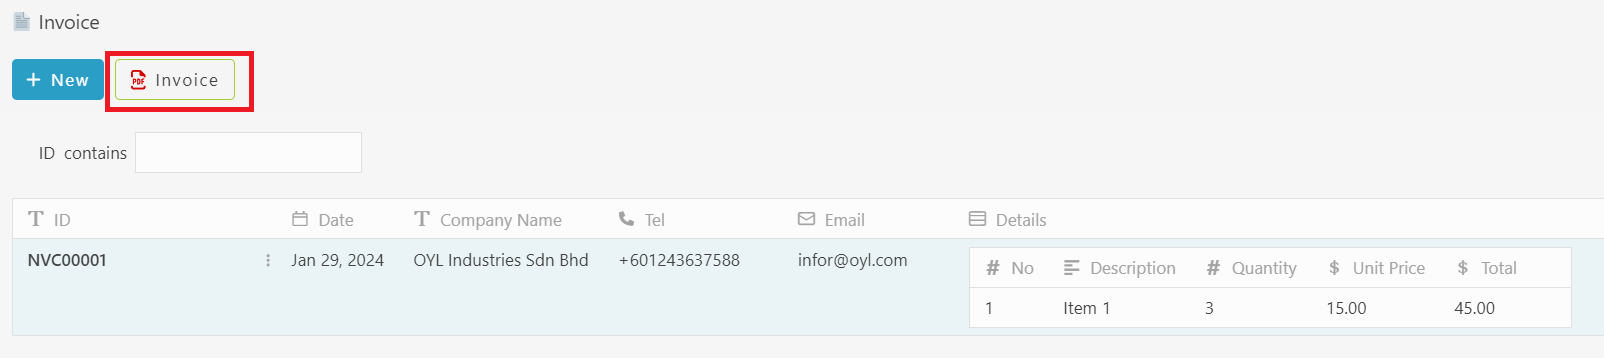
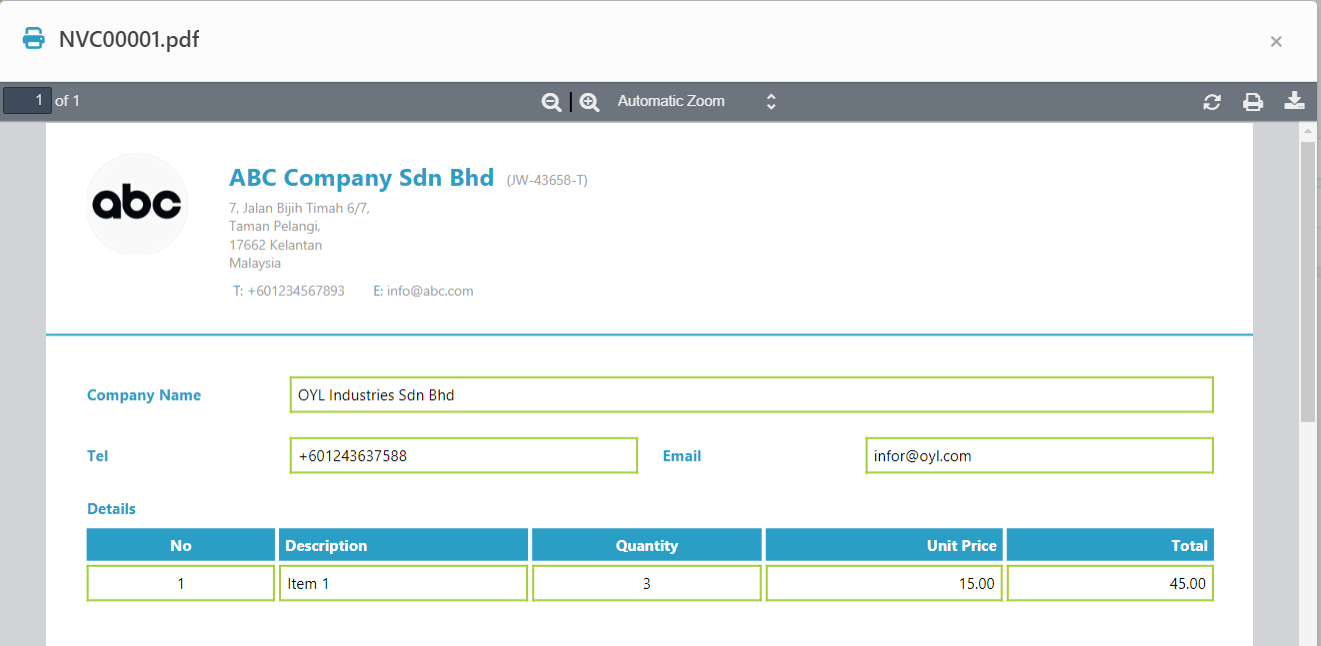
- The template will display the header and the information you have added.