Hi Inistate community!
Let’s take a look on how to Integrate Inistate entries into Google Calendar using make.com.
In this tutorial, you will learn how to create a integration to sync Inistate entries to Google Calendar, making event handling more efficient.
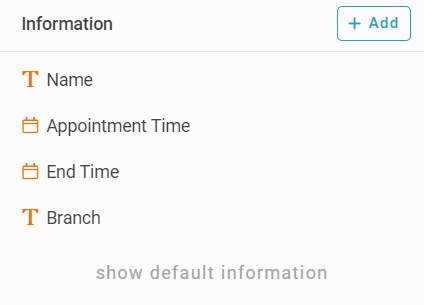
Before starting, we need to create a template module: Appointment with the following information
- Name (Name of Event, required)
- Appointment Time (Time of Event, required)
- End Time (Optional)
- Branch (Optional)
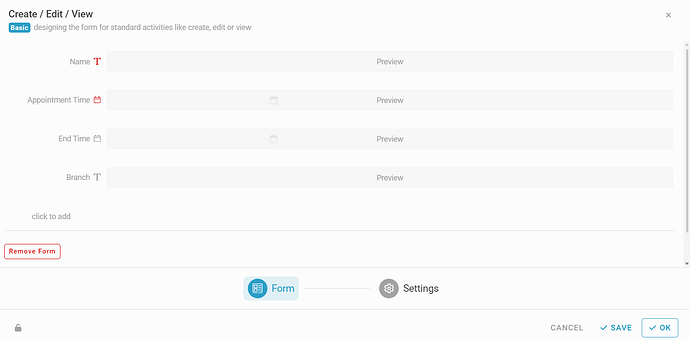
Also set the default form for the module like this:
-
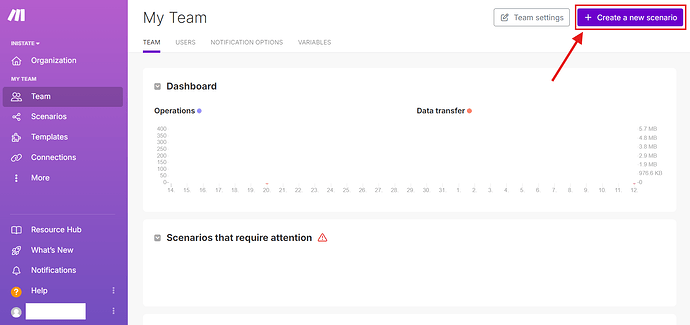
Login to your account on make.com and click on “Create a new scenario” at the top right hand side of homepage
-
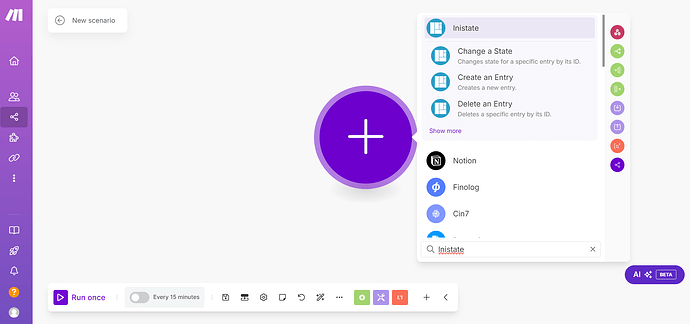
Search for the Inistate module
-
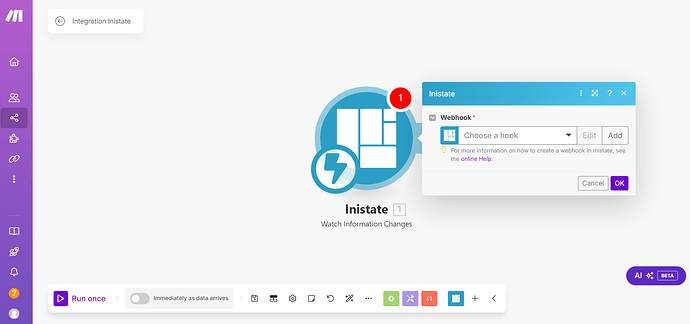
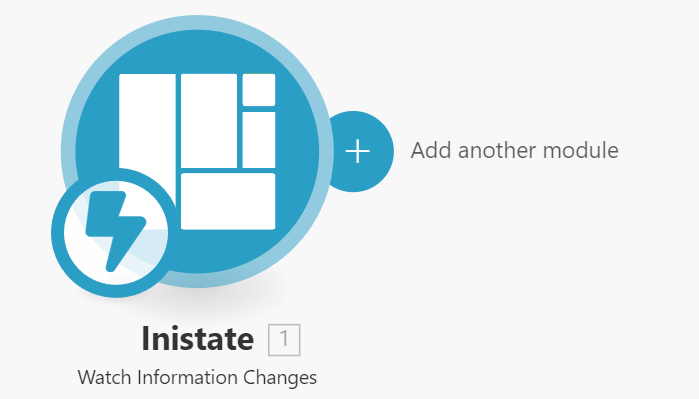
Click on the module and choose “Watch Information Changes”, it will prompt a Webhook selection
-
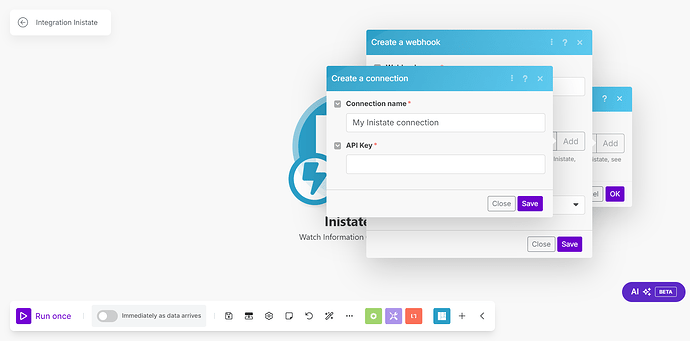
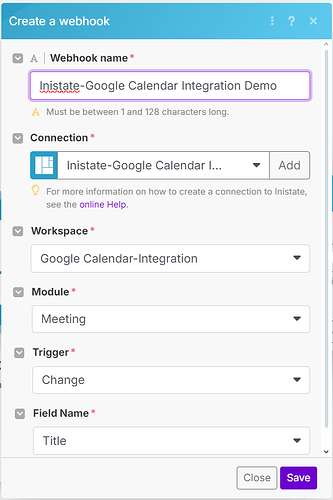
If it is your first time using make.com for Inistate integration, click add and it will prompt “Create a Webhook”, click add again and “Create a connection” will prompt
-
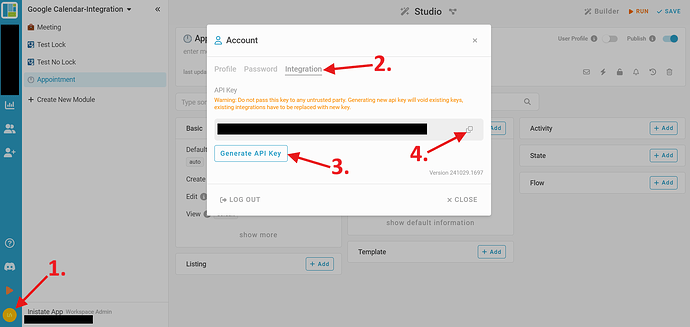
To create a connection, your personal API Key is needed.
This can be found in Account in Inistate, kindly follow the picture below to get your API key:
-
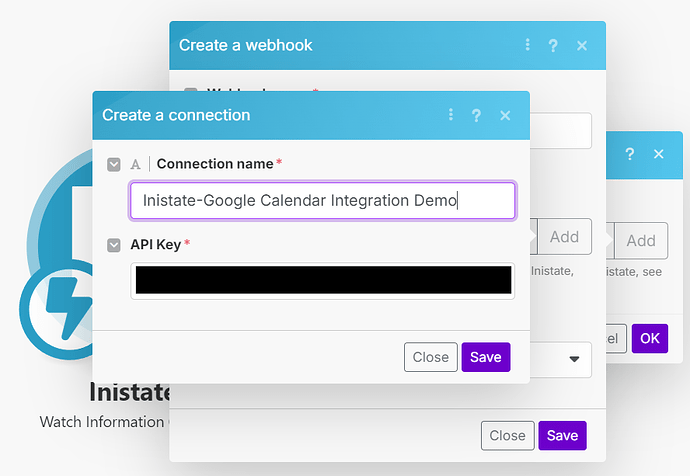
Once you have copied your API key, paste it back into make.com and rename the connection accordingly then click save.
-
Select the workspace, module, field name you want to watch and rename the Webhook accordingly then click save.
It will automatically select this newly created Webhook for you, click OK.
-
Now that we have created an Inistate trigger module, we will need to test it.
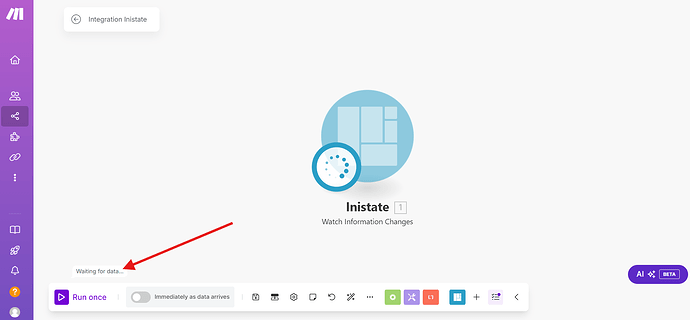
Right click on the module and choose “Run this module only”
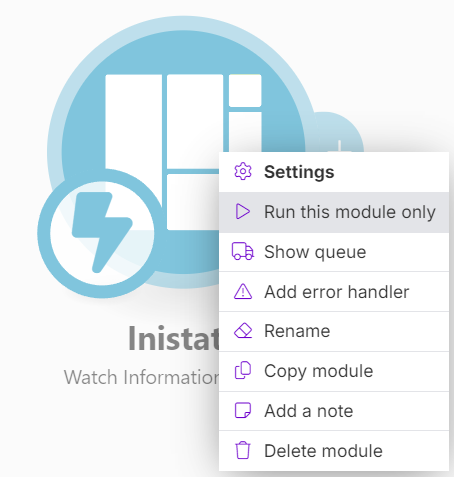
This will trigger a data collection sequence with “Waiting for data…” prompted at the lower left hand side of the screen
-
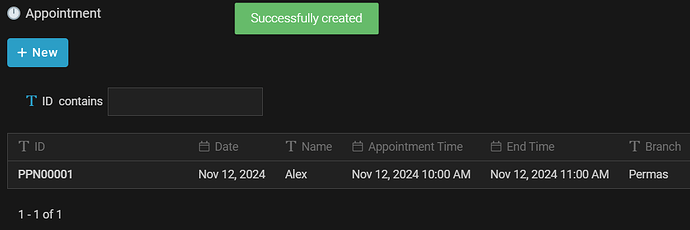
Next, go to Inistate and create a new entry in Appointment
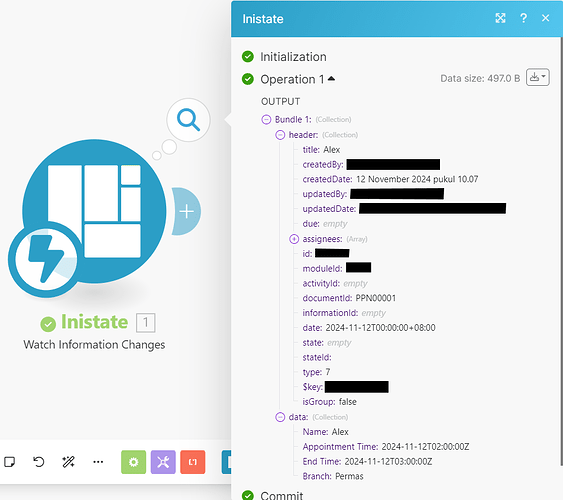
The same set of data should also be captured in make.com
-
Now that you have collected data in make.com, next we will need to add more modules.
Click on “Add another module” next to the created module.
-
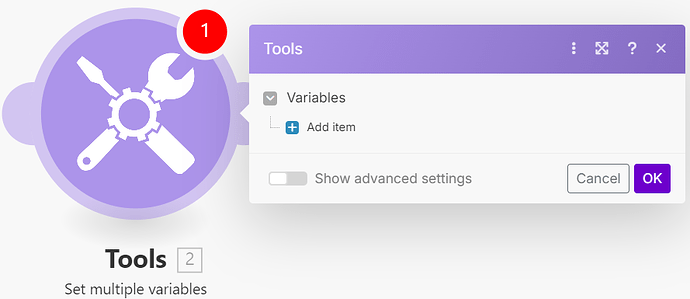
Click on “Tools” then click on “Set multiple variables”
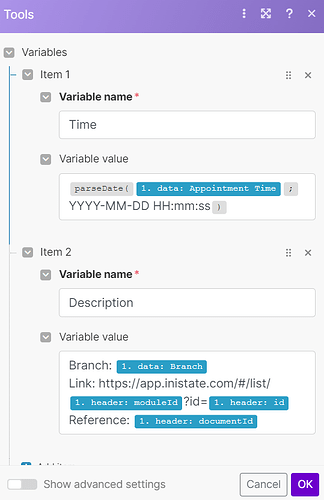
In here, we will be setting 2 variables first: (Copy and paste the things below accordingly)
Time:
{{parseDate(1.data.Appointment Time; “YYYY-MM-DD HH:mm:ss”)}}
Description:
Branch: {{1.data.Branch}}
Link: https://app.inistate.com/#/list/{{1.header.moduleId}}?id={{1.header.id}}
Reference: {{1.header.documentId}}
Be reminded that the link would be different if you were to have a listing in your module.
The Description can also be customized according to your needs.
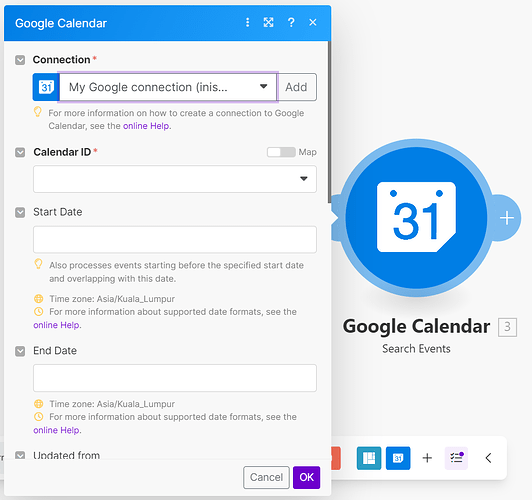
- Next, we will need to add a Google Calendar module, click add module, then search for it and select “Search Events”
This will pop up:
If you are new to make.com, click “Add” and sign in to Google to link your calendar list.
Select the calendar name you want to configure in Calendar ID.
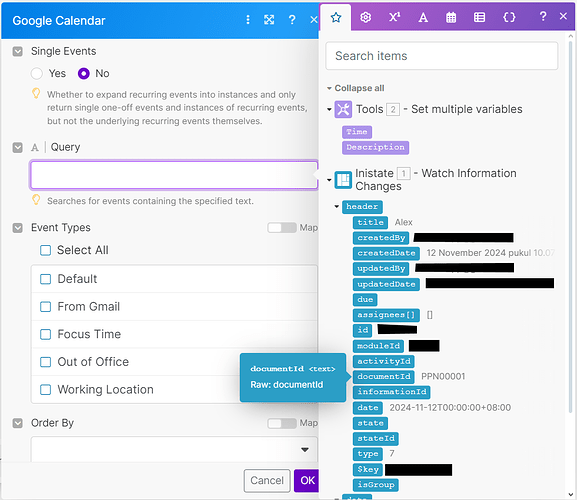
Then, scroll until you see Query, click and choose “documentId” from Inistate, then click OK.
The Query acts as a filter to the events in a calendar, documentId was added purposedly in Description to do filtering.
- Then, we will need to add another module, click “Flow Control” and select “Router”
We will set a separate filter for both routes and in between “Search Events”&“Router”, this can be done by clicking the wrench below the route
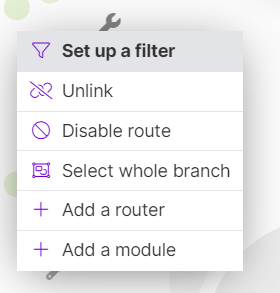
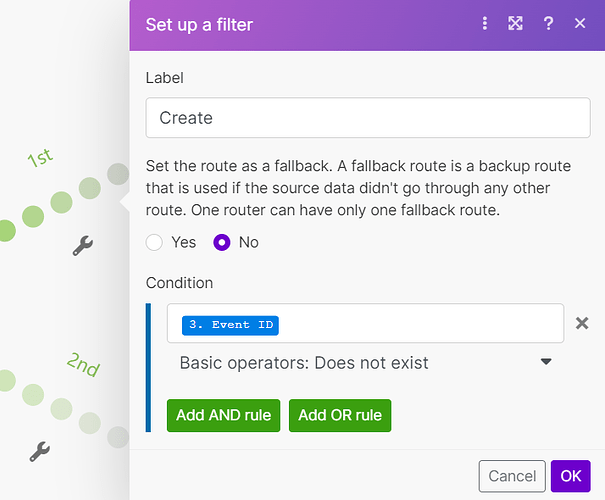
For the 1st route set the following filter:
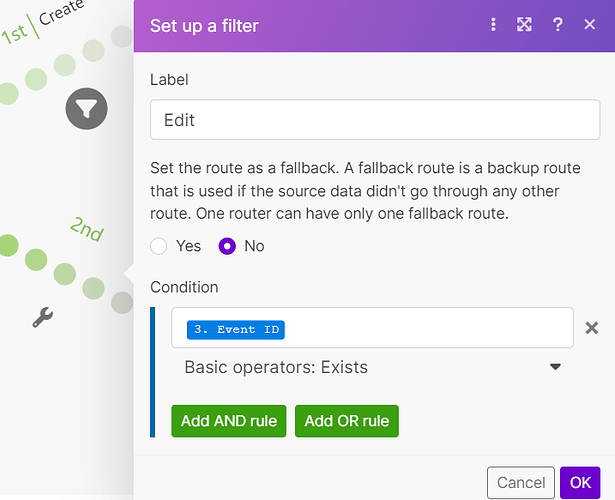
For the 2nd route set the following filter:
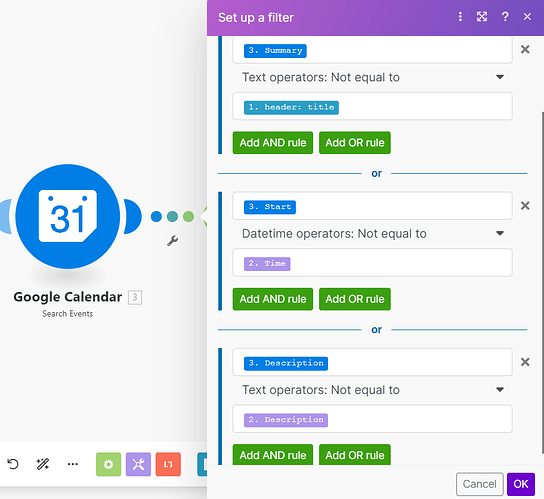
For the 3rd route (Between “Search Events” and “Router”) set the following filters:
Label: Change
The 3rd route filter determines if there is change in an entry, based on the event name, start time and description, preventing unwanted operations.
The 1st&2nd route filters determines if an event exits or not, if not it will create a new event, if it exists it will edit the existing event.
-
Click on the add module for the 1st route and choose Google Calendar, select “Create an Event”
Select the same connection as the one in step 12.
Select the Calendar ID accordingly.
Now, select the following data:
Event Name: {{1.header.title}}
Start Date: {{1.data.Appointment Time}}
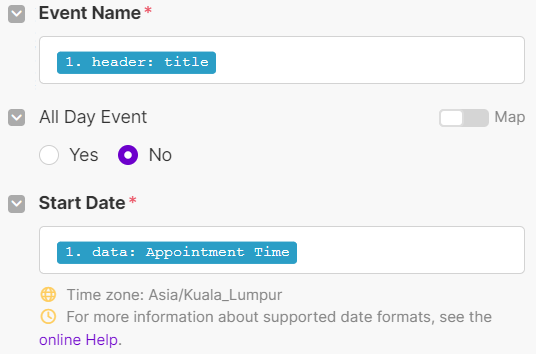
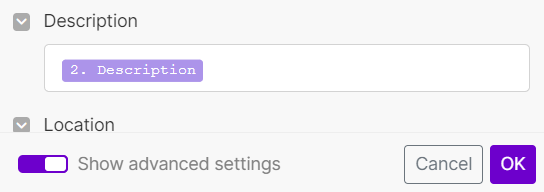
Then toggle on “Show advanced settings” at the bottom left of the pop-up and scroll until you see Description: {{2.Description}}
-
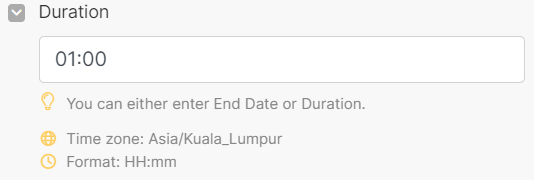
Now you can choose between either End Date or Duration:
If End Date is chosen, it must be filled in all Appointment entries
If Duration is chosen, it must be in the format: HH:mm and the end time of an event can NO longer be configured separately
For this tutorial, I will be setting Duration as 1 hour:
Duration: 01:00
Then, click OK. -
After that, we can set up the 2nd route, click add module and this time select Update an Event from Google Calendar.
Enter the same data in step 14&15. -
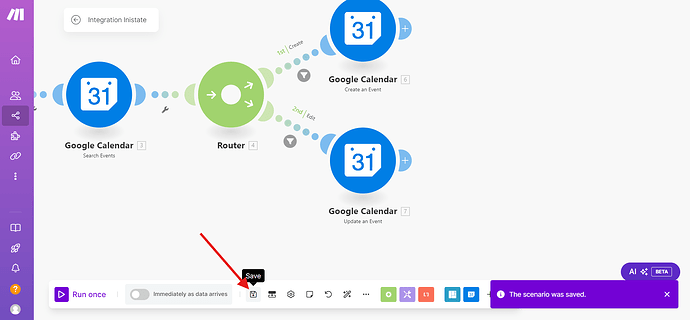
After everything is done, click Save.
-
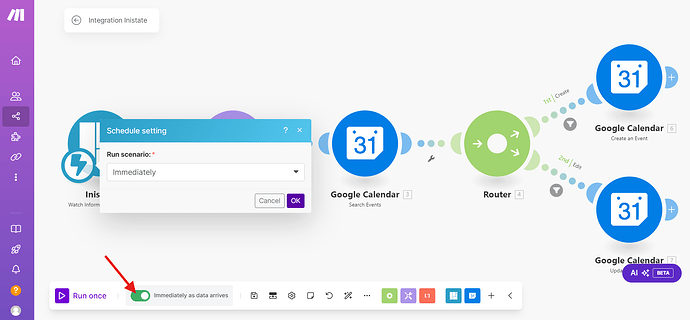
Toggle on “Immediately as data arrives” and click OK.
-
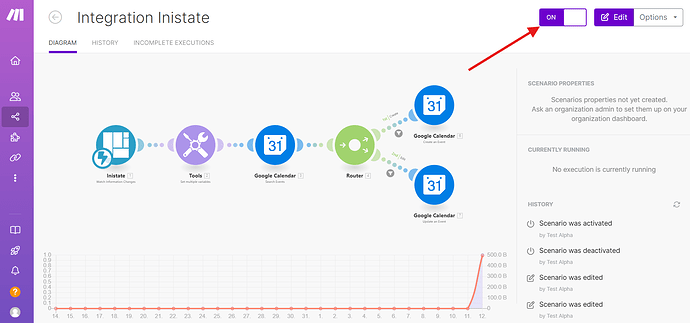
After doing this, activate the scenario by toggling it on.
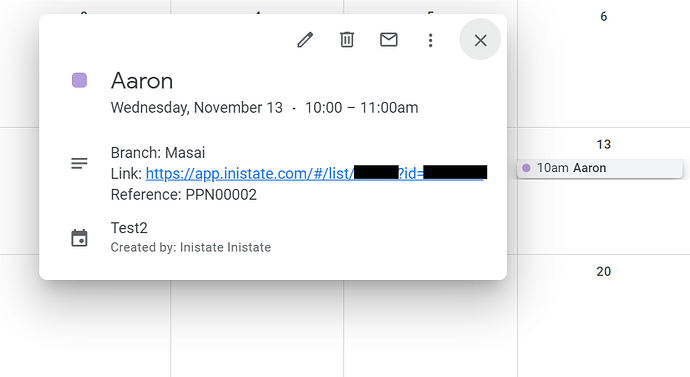
Here is an example:
The link in the description should work and bring you to the entry.
Congratulations!!!![]()
![]() You have successfully created a Inistate to Google Calendar Integration.
You have successfully created a Inistate to Google Calendar Integration.
After finishing this configuration, every entry created and edited afterwards will be synced to your chosen Google Calendar.
Try FETIAS for FREE now.
Sign up at https://fetias.com
Related topic
Sharing Google Calendar
