Document and track lost items effectively to maximize the return-to-owner rate and improve customer service. Use this template to manage all the lost items with ease.
Problem
Managing lost items is challenging - staff having difficulty in handling the lost items return when verifying owner and trace back the object detail.
Objective
Record lost item details - This template stores details of lost items for quickly searching and record owner’s details for security purposes.
Step
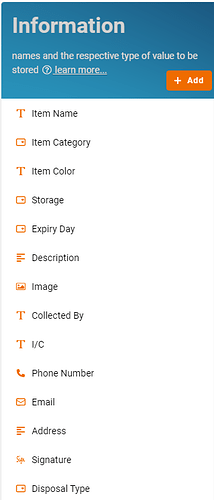
- Recognize and configure all the Information name and type required to create new entry in Lost & Found:
- Employee Profile Module
- Location Found Text
- Date Found Date
- Item Name Text
- Item Category Select
- Item Color Text
- Storage Select
-(any storage name) - Expiry Day Select
-30
-60
-90 - Description Multiline Text
- Image Image
- Collected By Text
- I/C Text
- Phone Number Phone Number
- Email Email
- Address Multiline Text
- Signature Signature
- Disposal Type Select
-Put to waste
-Donate - Issued Date Date
- Expiry Date Date
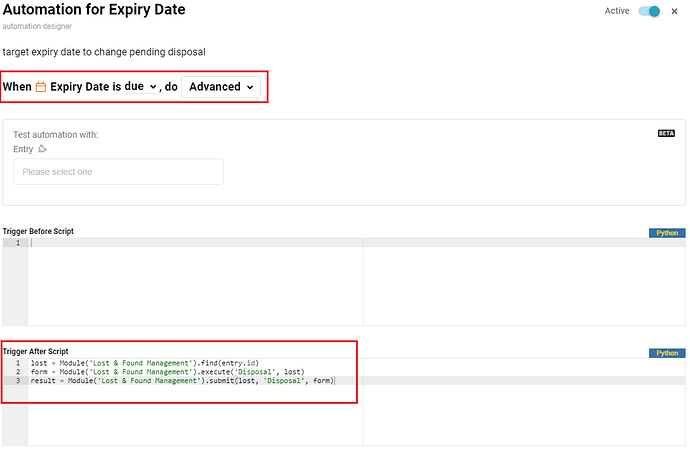
- Set automation for the following information by clicking the thunder icon:
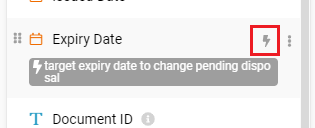
When Expiry Date is due, do Advanced
- Trigger After Script:
lost = Module(‘Lost & Found Management’).find(entry.id)
form = Module(‘Lost & Found Management’).execute(‘Disposal’, lost)
result = Module(‘Lost & Found Management’).submit(lost, ‘Disposal’, form)
- Recognize and configure all the Activity able to perform to change State:
- Return
- Dispose
- Cancel
- Disposal
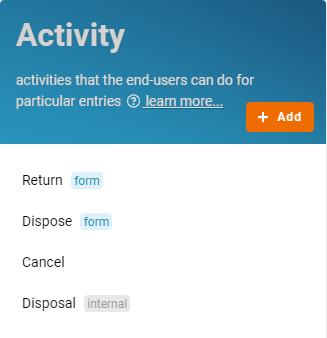
- Drag & drop to design form that consists of the respective Information for each activity created below:
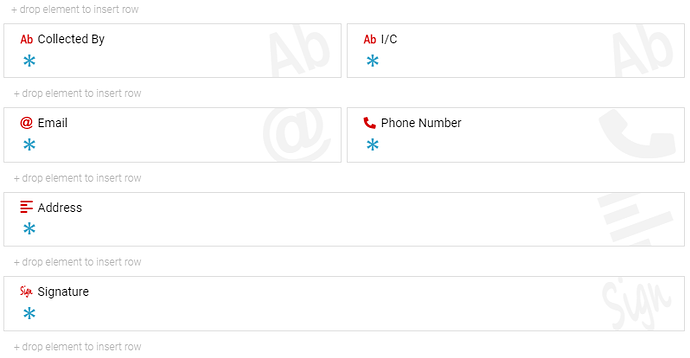
Return
- Collected By Required: Enable
- I/C Required: Enable
- Email Required: Enable
- Phone Number Required: Enable
- Address Required: Enable
- Signature Required: Enable
Dispose
- Disposal Type Required: Enable
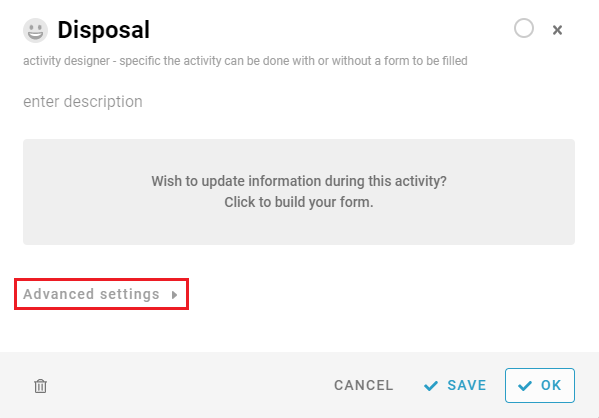
- Choose the respective activity and edit the advanced settings:
- Disposal Internal: Enable
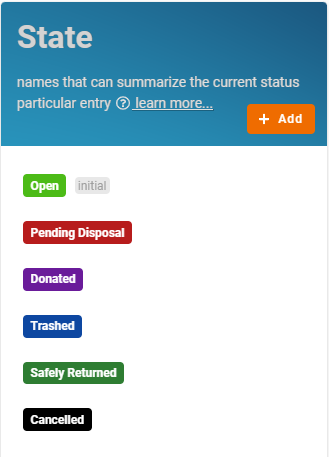
- Recognize and configure all the State in the whole Lost & Found:
- Open (initial)
- Pending Disposal
- Donated
- Trashed
- Safely Returned
- Cancelled
- Flow
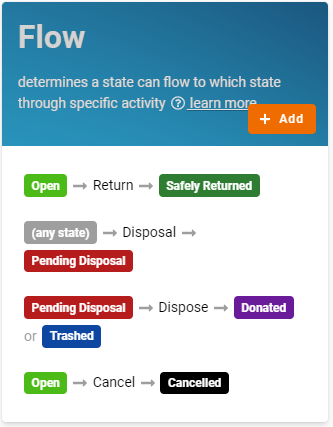
- Configure Flow by determines a state can flow to which state through specific activity and form a reasonable workflow diagram in whole progress:
- Open > Return > Safely Returned
- (any state) > Disposal > Pending Disposal
- Pending Disposal > Dispose > Donated (Condition: “field(‘Disposal Type’) == ‘Donate’”) or Trashed (Condition: “field(‘Disposal Type’) = ‘Put to waste’”)
- Open > Cancel > Cancelled
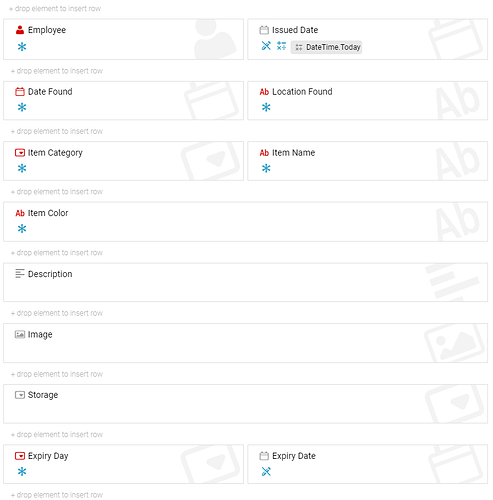
- Based on the selected Standard Activity, design the form with following Information below:
Create
- Employee Required: Enable
- Issued Date Read-Only: Enable, Formula: “DateTime.Today”
- Date Found Required: Enable
- Location Found Required: Enable
- Item Category Required: Enable
- Item Name Required: Enable
- Item Color Required: Enable
- Description
- Image
- Storage
- Expiry Day Required: Enable
- Expiry Date Read-Only: Enable
-
Set automation to the following form of:
Create
-
Backend Script:
if field(‘Expiry Day’) == “30”:
classificationData[‘Expiry Date’] = field(‘Issued Date’).AddDays(30)
elif field(‘Expiry Day’) == “60”:
classificationData[‘Expiry Date’] = field(‘Issued Date’).AddDays(60)
elif field(‘Expiry Day’) == “90”:
classificationData[‘Expiry Date’] = field(‘Issued Date’).AddDays(90)
calculate()
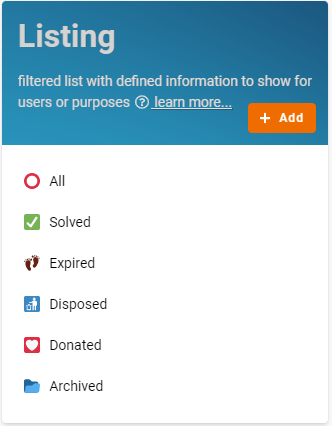
- Create all the Lists with filter condition to allow specific information to be viewed by users:
- All
- Solved Condition: State is Safely Returned
- Expired Condition: State is Pending Disposal
- Disposed Condition: State is Trashed
- Donated Condition: State is Donated
- Archived Condition: State is Cancelled
- Finally, click the “Save” button at top right screen after you done the configuration.
For more templates:
Try FETIAS for FREE now.
Sign up at https://fetias.com
Related topic
Tutorial - Lost & Found
