Hello community ![]() , this post will guide you on how to set image as header in share form.
, this post will guide you on how to set image as header in share form.
-
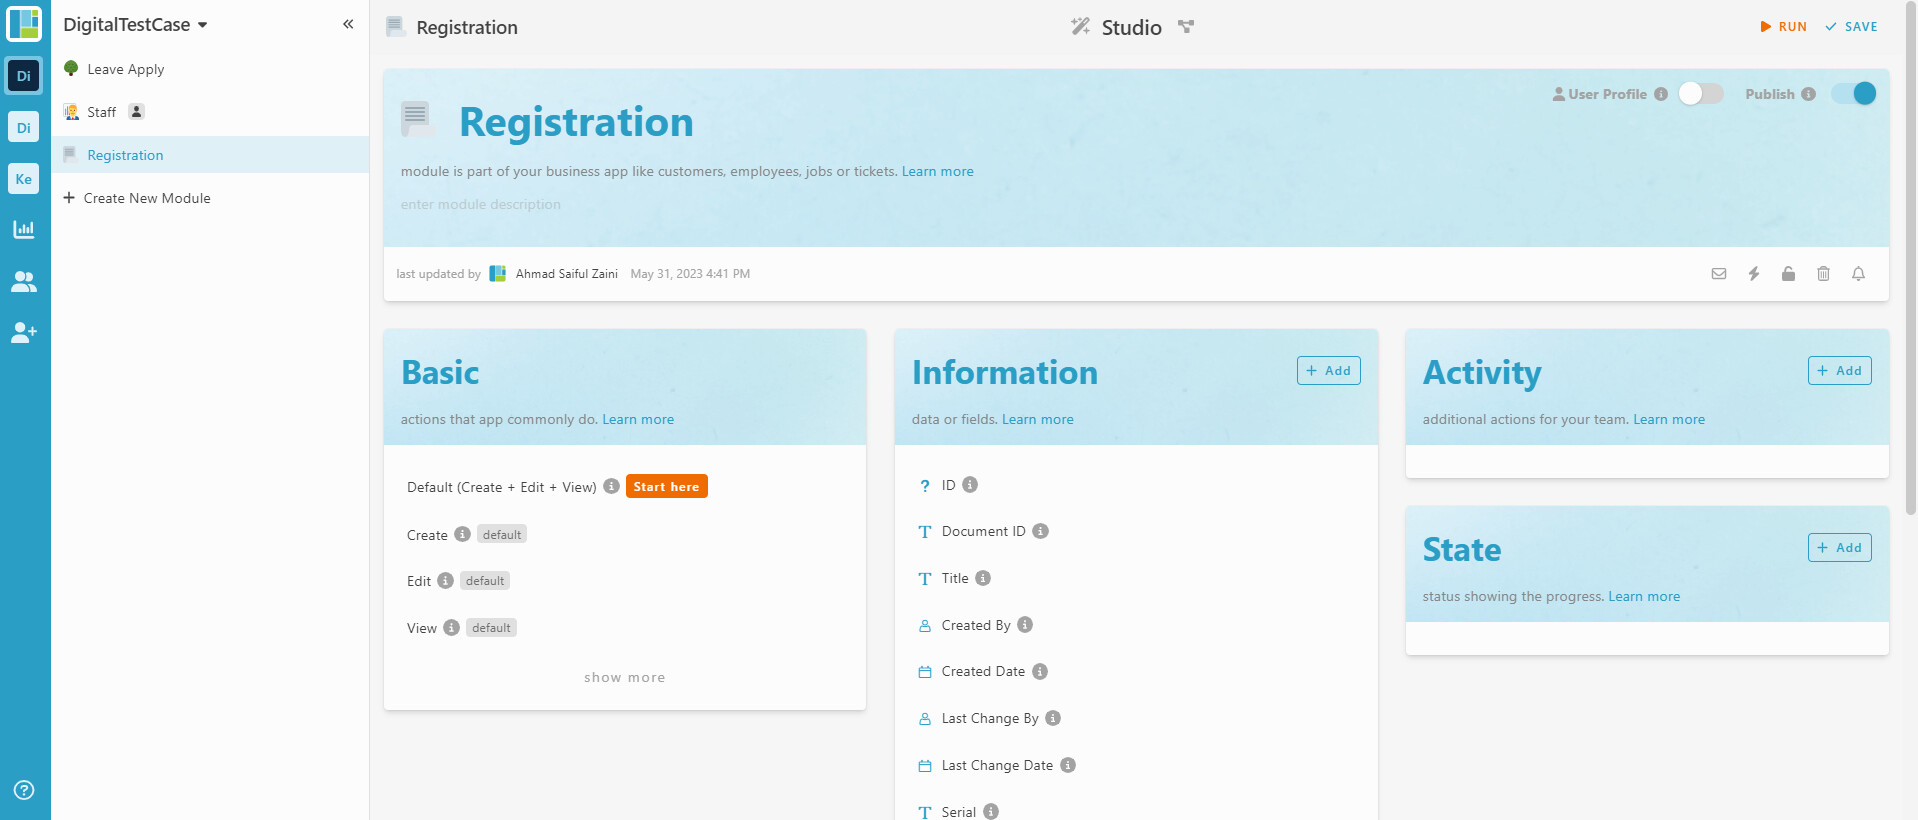
Login to your workspace studio.
-
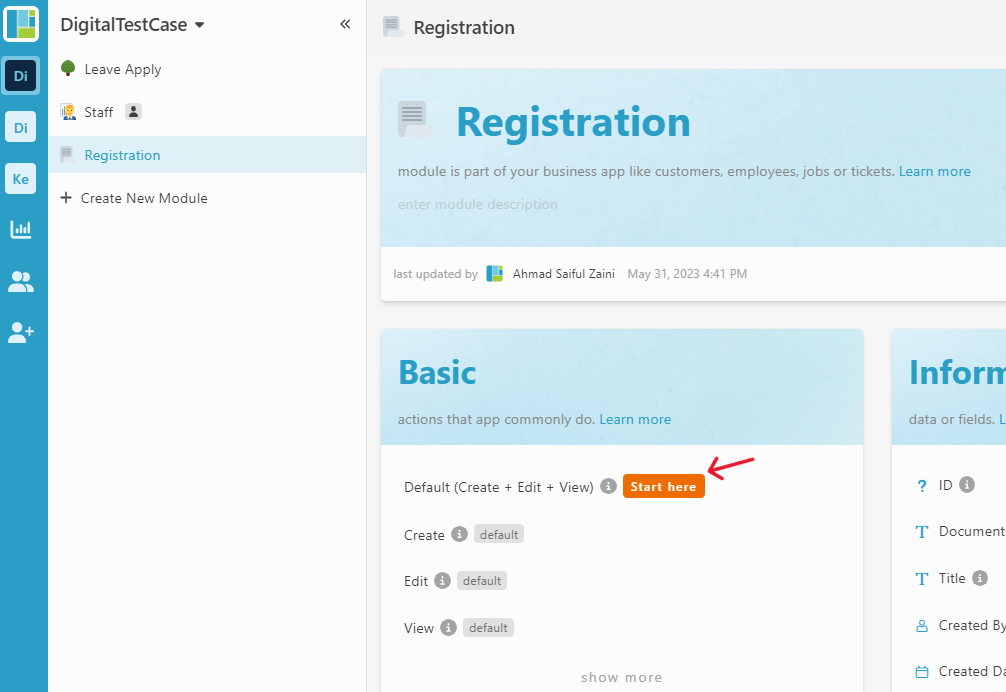
On basic, click the “Start here” orange button to create form.
-
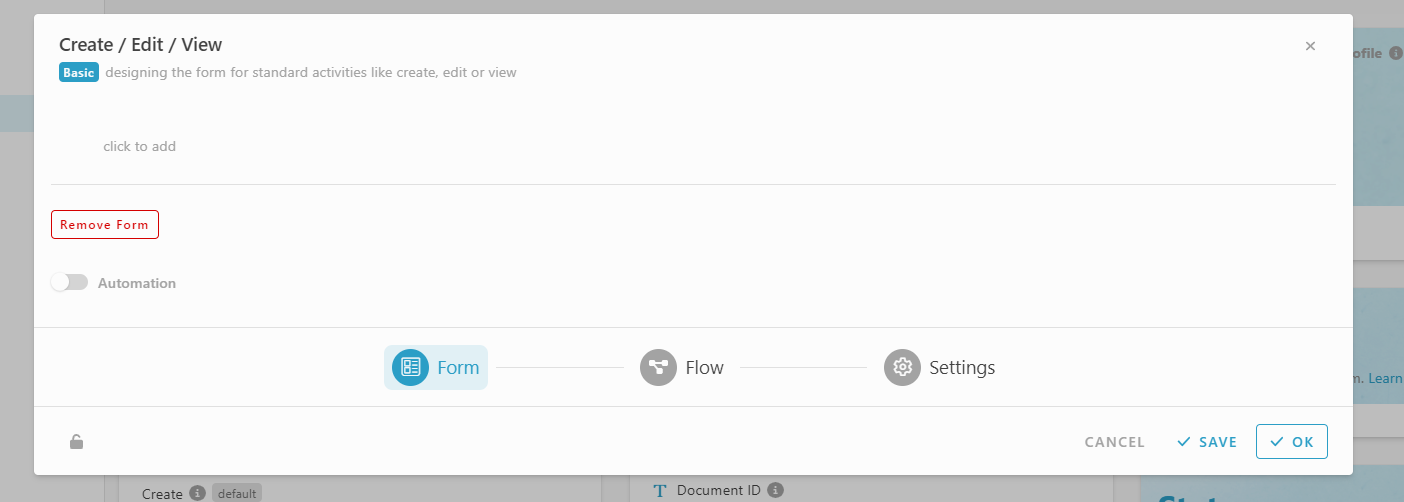
Once clicked, users can see the form design.
-
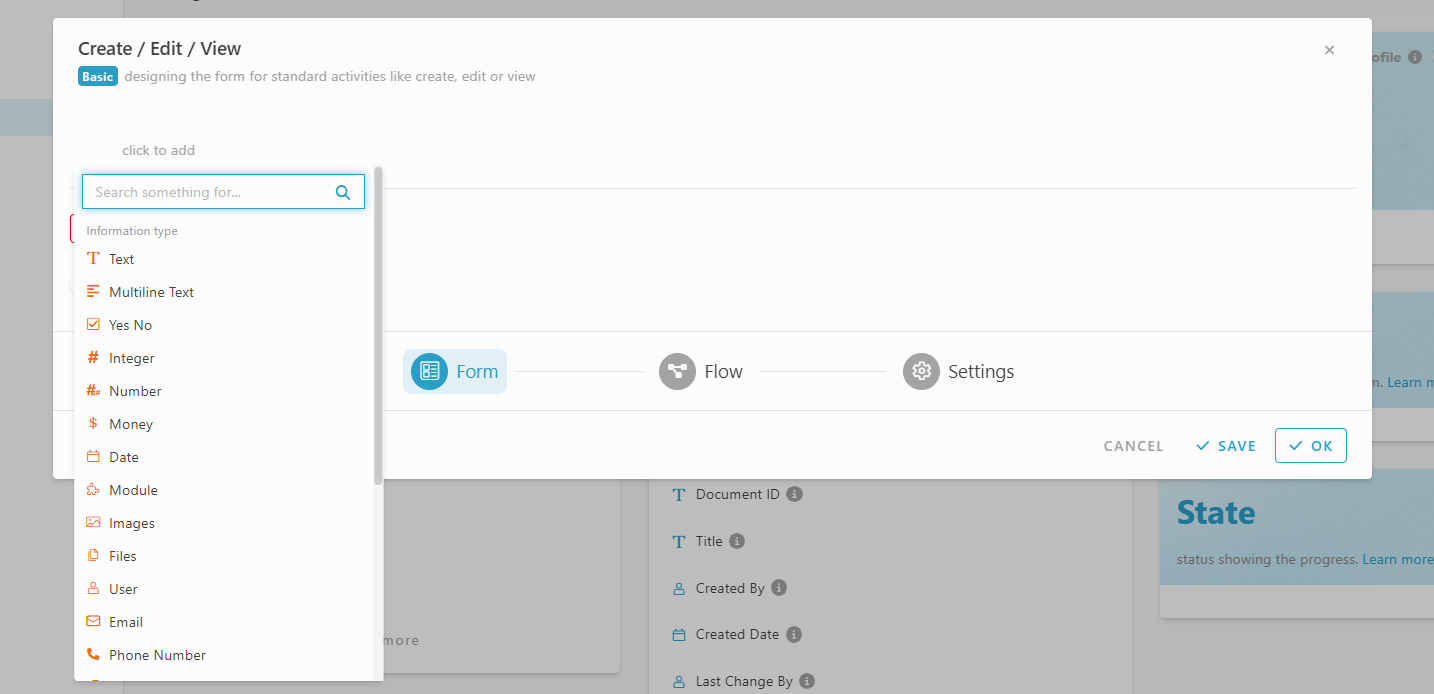
To insert information, simply click “click to add”. and it will show a few information and elements.
-
Choose the information or element need, and just drag & drop inside the form design.
You may visit the post below to learn more about form design :
How to set image as header in share form
-
In the form design, click the “click to add”.
-
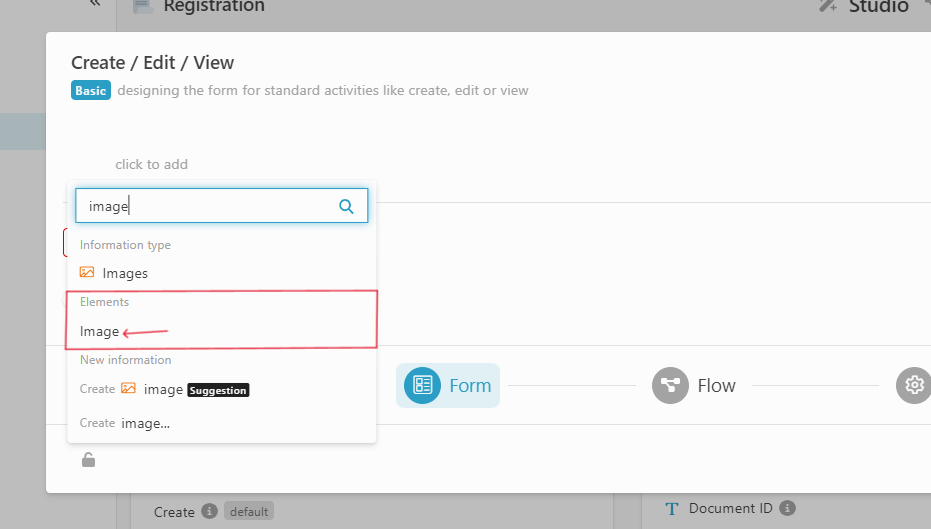
Once clicked, search for “image” in element
-
Select the “image” in element, and it will automatic put at the top of the form design. ( if you already create the form and just want to add the “image” element, you can drag and drop the element to the top )
-
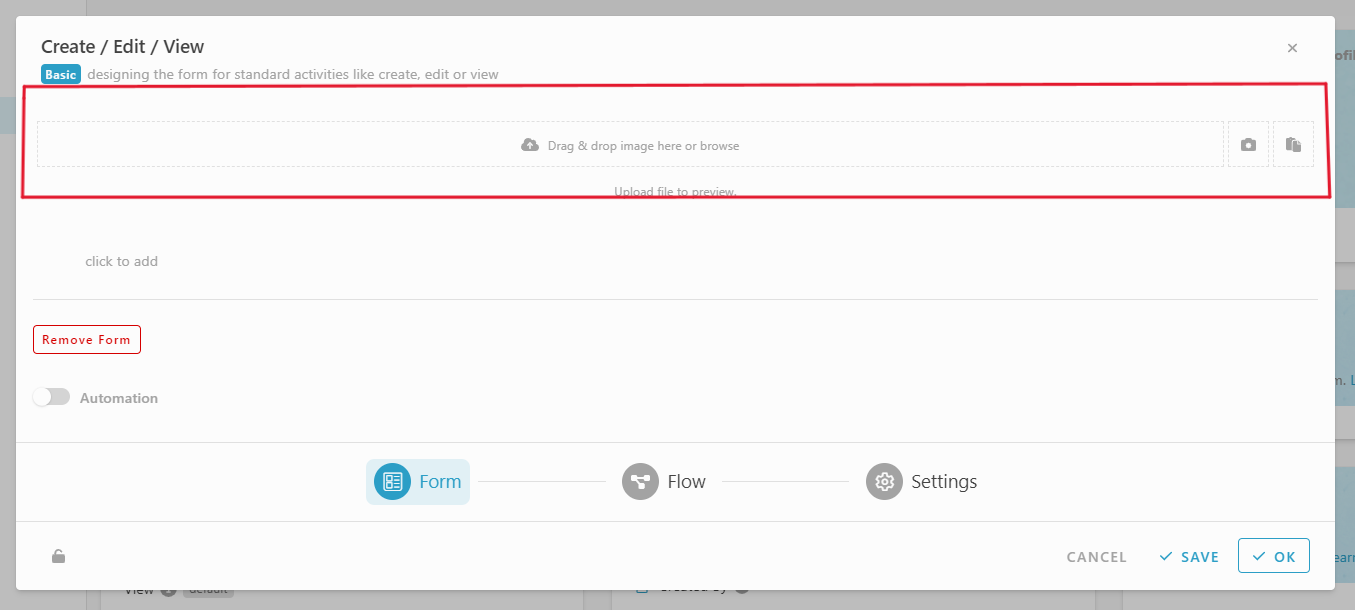
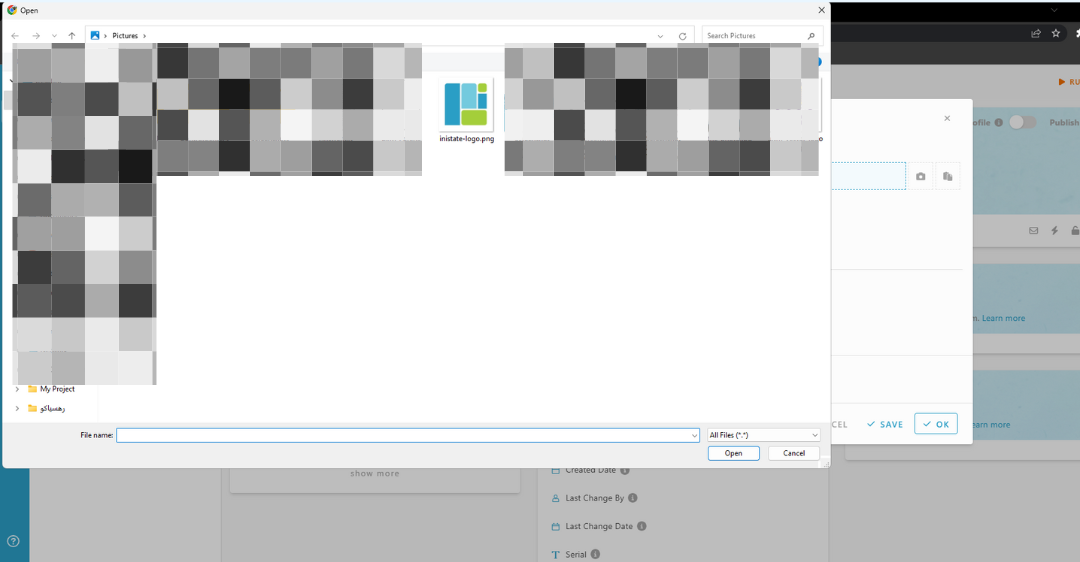
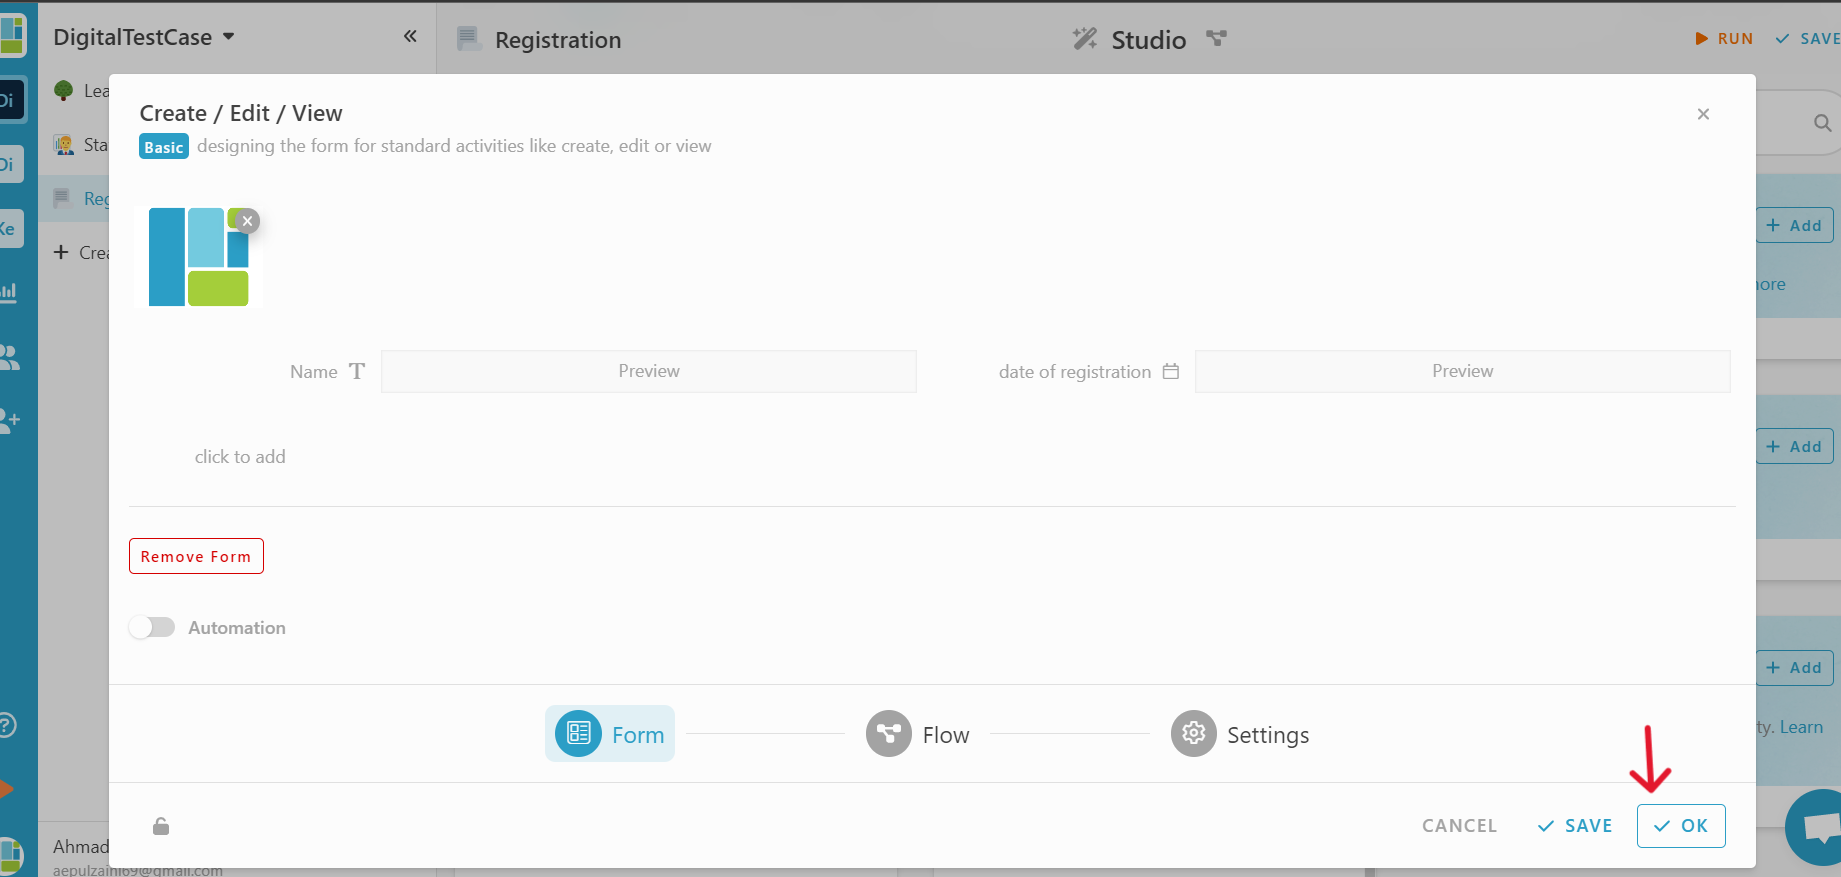
Then, inside the “image” element, users can drag & drop image or browse to set image that you want as a header. To browse, simply click the “Image” element and you can browser the image that you want you want from your local file
-
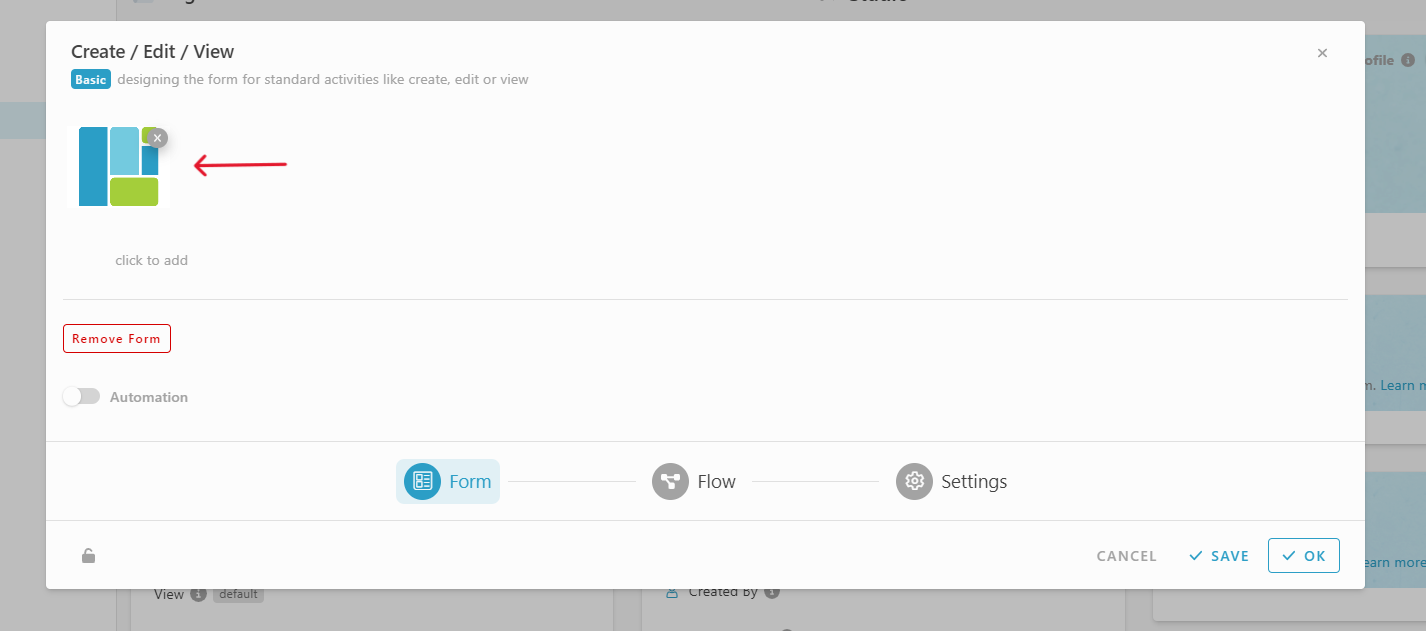
Once you choose an image, the image will be preview in the form design. To change the image, click the “x” on top left of the image and repeat step 4.
-
To finish the form design, put another information that you may need and click “Ok” button and then save and run.
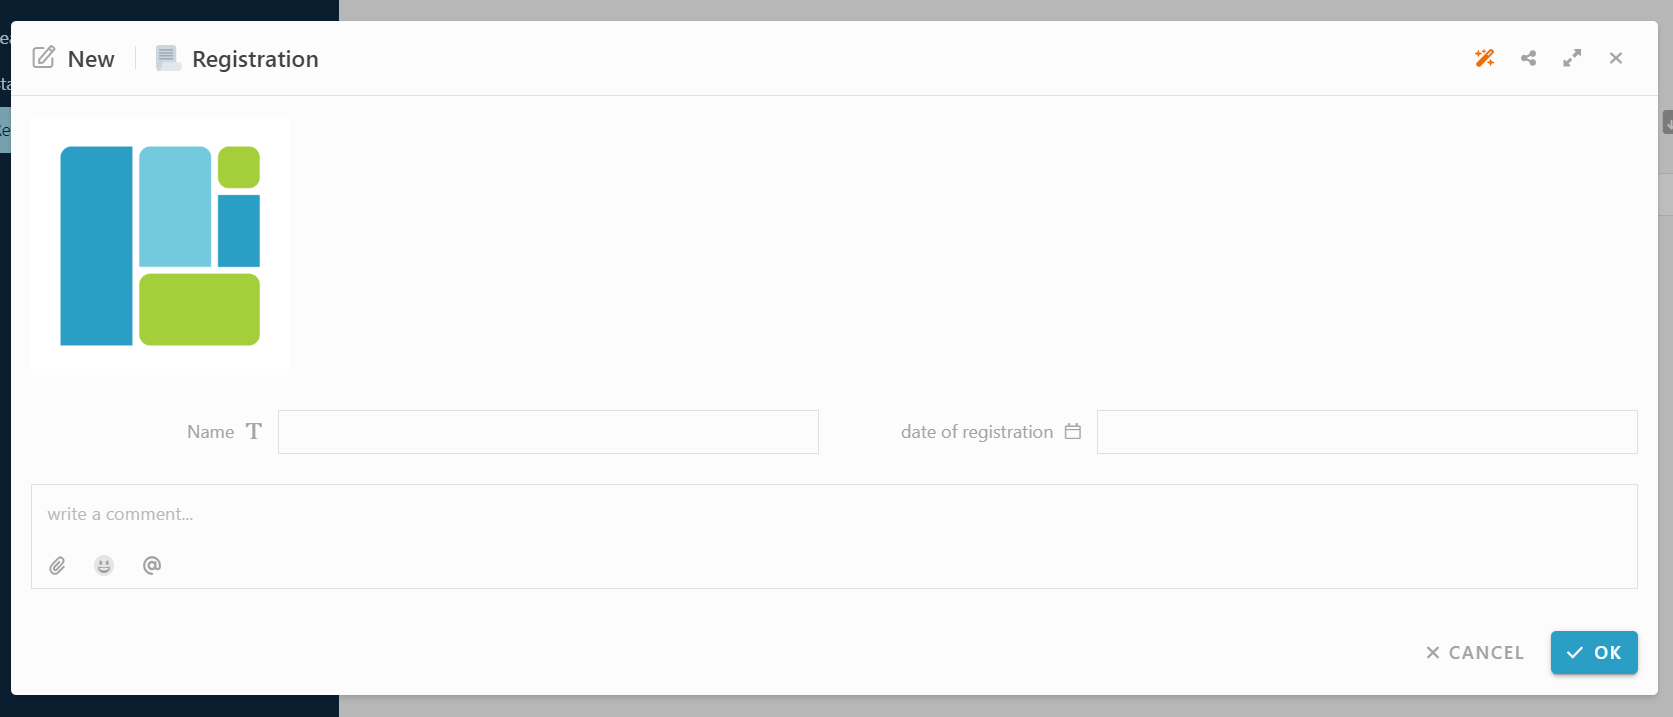
Result
-
When you create new entry :
-
When you share form :
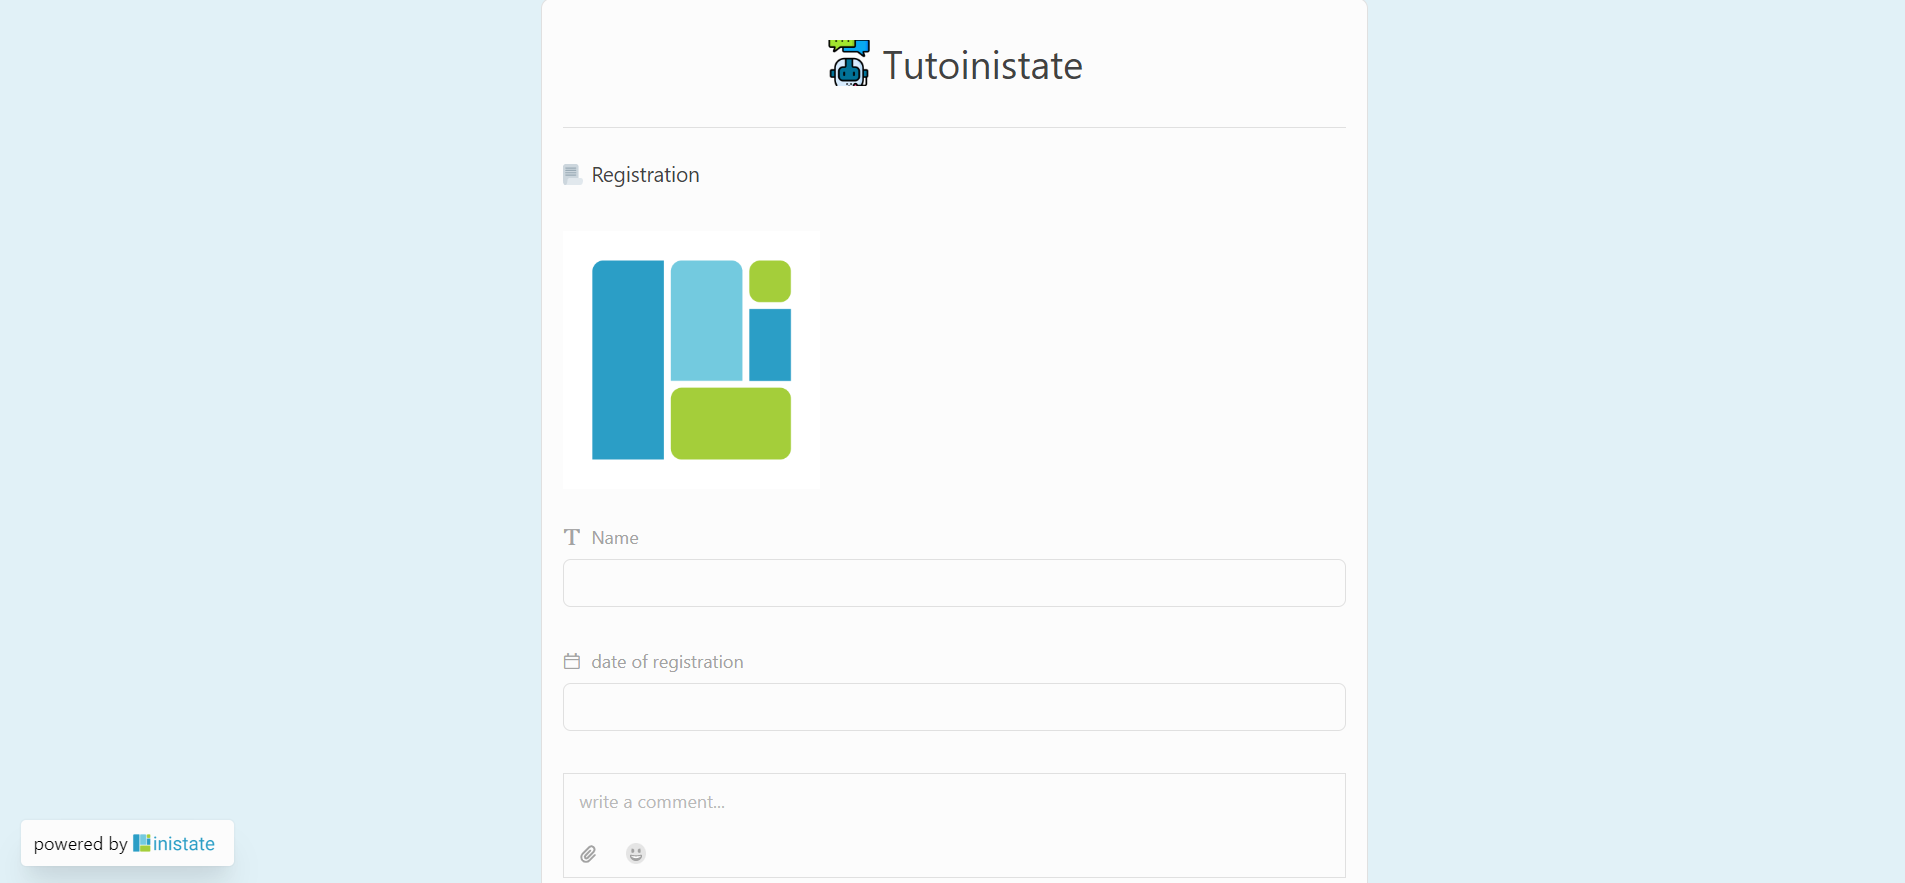
note : Visit this post, it will guide you on how to share form