Hi, this tutorial will teach you how to create a customer requirements management system by using inistate.
Problem
Difficult to manage all the requirements
-Hard to arrange the priority of the customer requirements if flooded by too many customer requirements at once.
Objective
Convenient
Admin can easily manage the customer requirements base on the priority.
Process Flow
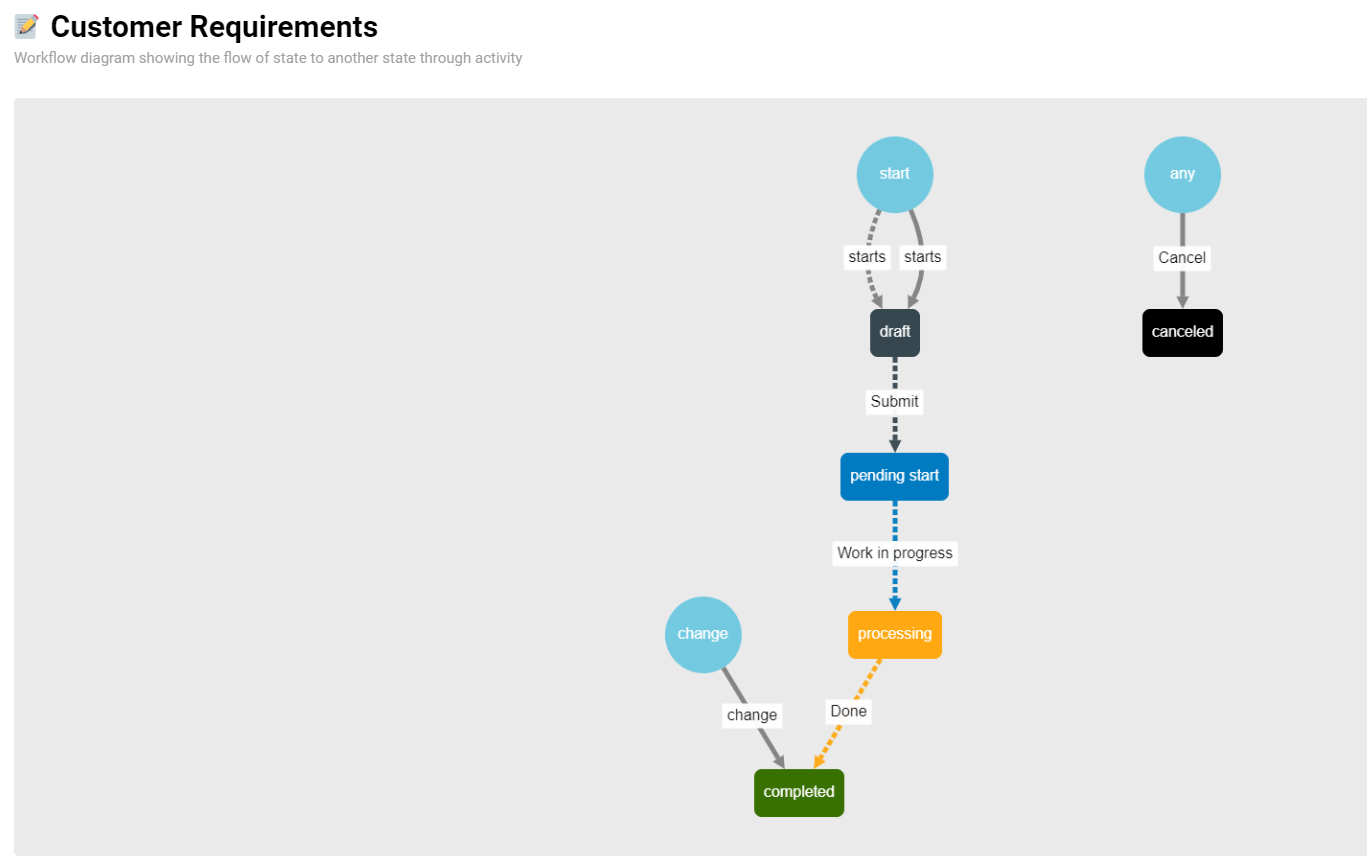
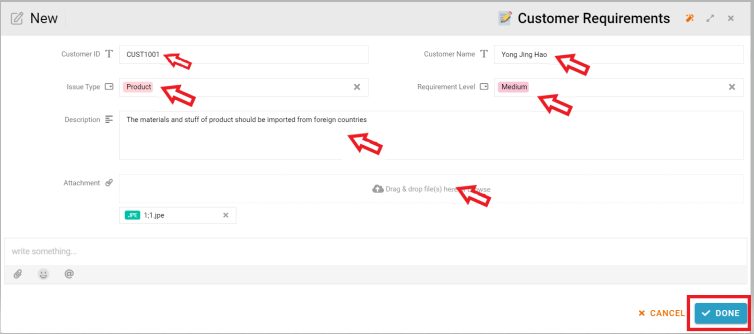
User can create new entry by clicking “New” button. User fill in the fields “Customer ID”, “Customer Name”, “Issue Type” with select the category of issue, “Requirement Level” with select the level of the issue, “Description” with any additional information or other details, “Attachment” with any supporting files. The initial state of the entry is “draft”. As an user within the workspace, you are able to perform the activity “Submit” by selecting entry which the state is “draft” and the state will change to “pending start”. Then the person who are in charge of the requirement can perform the activity “Work in progress” and the state of entry will change from “pending start” to “in progress”. Once the requirement has been completed, user can go update the state of entry by click the activity “Done”, then the state will change to “completed”, all the completed requirements will display in the list “Completed”. Admin can easily check all the requirements process and cancel the entry at any state.
Step by step
-
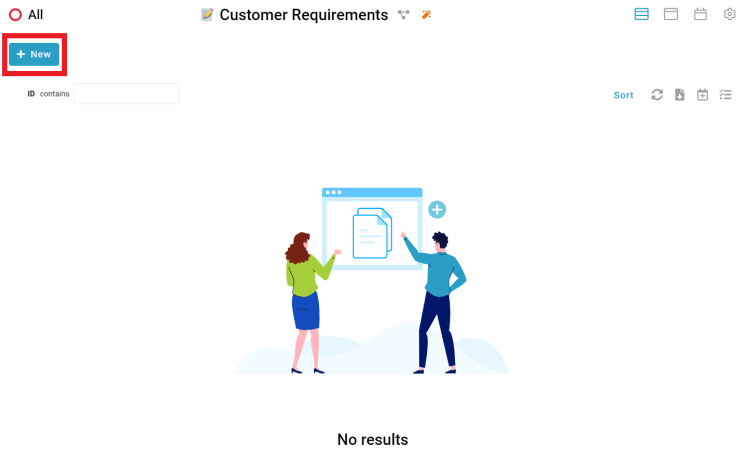
User can click “New” (Can refer to the picture attached below)
-
User filled in all the fields and click “Done” button (Can refer to the picture attached below)
-
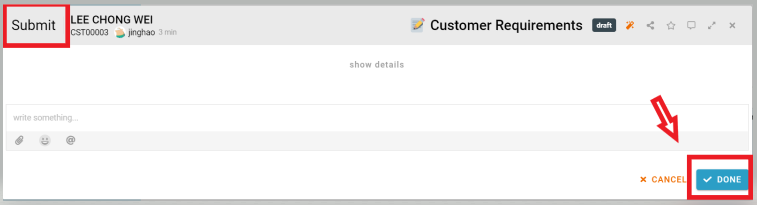
The message “Submission successful” showed, the initial state of the new created entry is “draft”. User can select the entry and would see buttons(Activity) at the top, perform “submit” activity. (Can refer to the picture attached below)
-
A new window name “Submit”. User can click “done” to proceed. (Can refer to the picture attached below)
-
Since the activity perform successfully, the state of the entry has changed to “pending start”. Now select the entry again you will see another activity “work in progress” showed. The person who in charge of this requirement can click this activity in order to change the state of entry. (Can refer to the picture attached below)
-
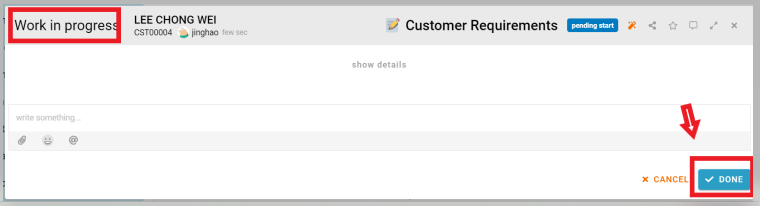
Click done and proceed. (Can refer to the picture attached below)
-
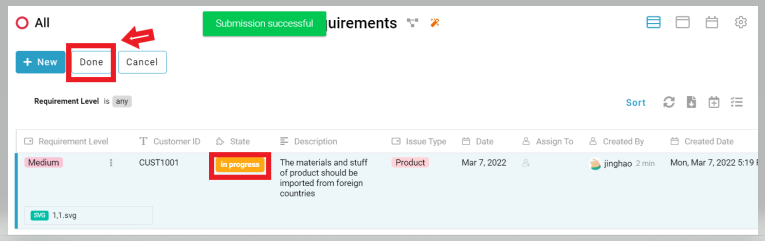
After performed the activity “work in progress”, the state of entry has changed to “in progress”. So once the person in charge of the requirement has finished and completed the requirement, then can perform the activity by click the button “done”. (Can refer to the picture attached below)
-
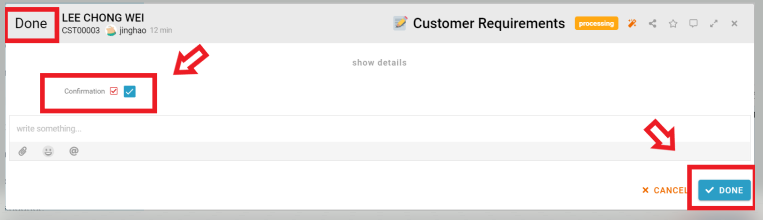
By performing the activity “Done”, must check the confirmation in the form. (Can refer to the picture attached below)
-
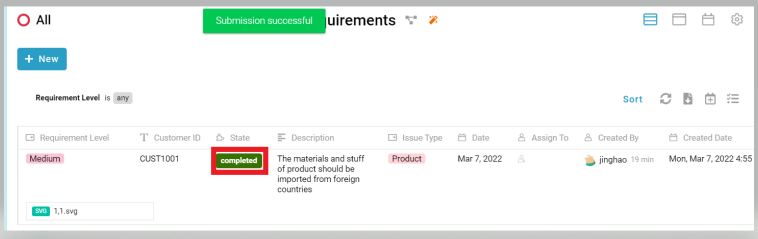
The state of entry has changed to “completed”. The entry which state is completed will show in the list “Completed” in order to let admin check easily. (Can refer to the picture attached below)
-
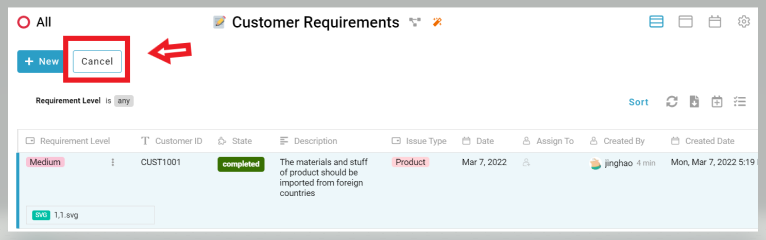
User can cancel the entry by clicking button “Cancel” at any state which are “draft”, “pending start”, “in progress”, “completed” (Can refer to the picture attached below).
-
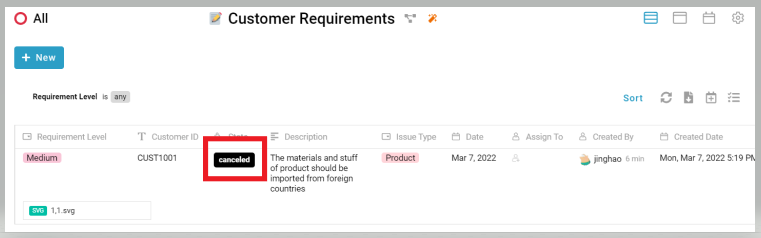
After perform the activity as usual (Through form and click done). The state of the entry will change to “canceled” (Can refer to the picture attached below).


For more templates:
Try inistate for FREE now.
Sign up at https://inistate.com/
Related topic
Configuration Tutorial - Customer Requirements