Use this patient registration template is useful to manage the registration of patients in a clinic or hospital. Clinics or hospitals can record the information of patients through this template to help follow-up treatment for patient.
Here, we’ll show you step-by-step how to build a Patient Registration management in FETIAS.
Problem
Progress Slow when Registration - Some clinic had procedure of cumbersome on patient registration.
Objective
Save Time - Use this template to help manage registration of patient with faster time.
Process Flow
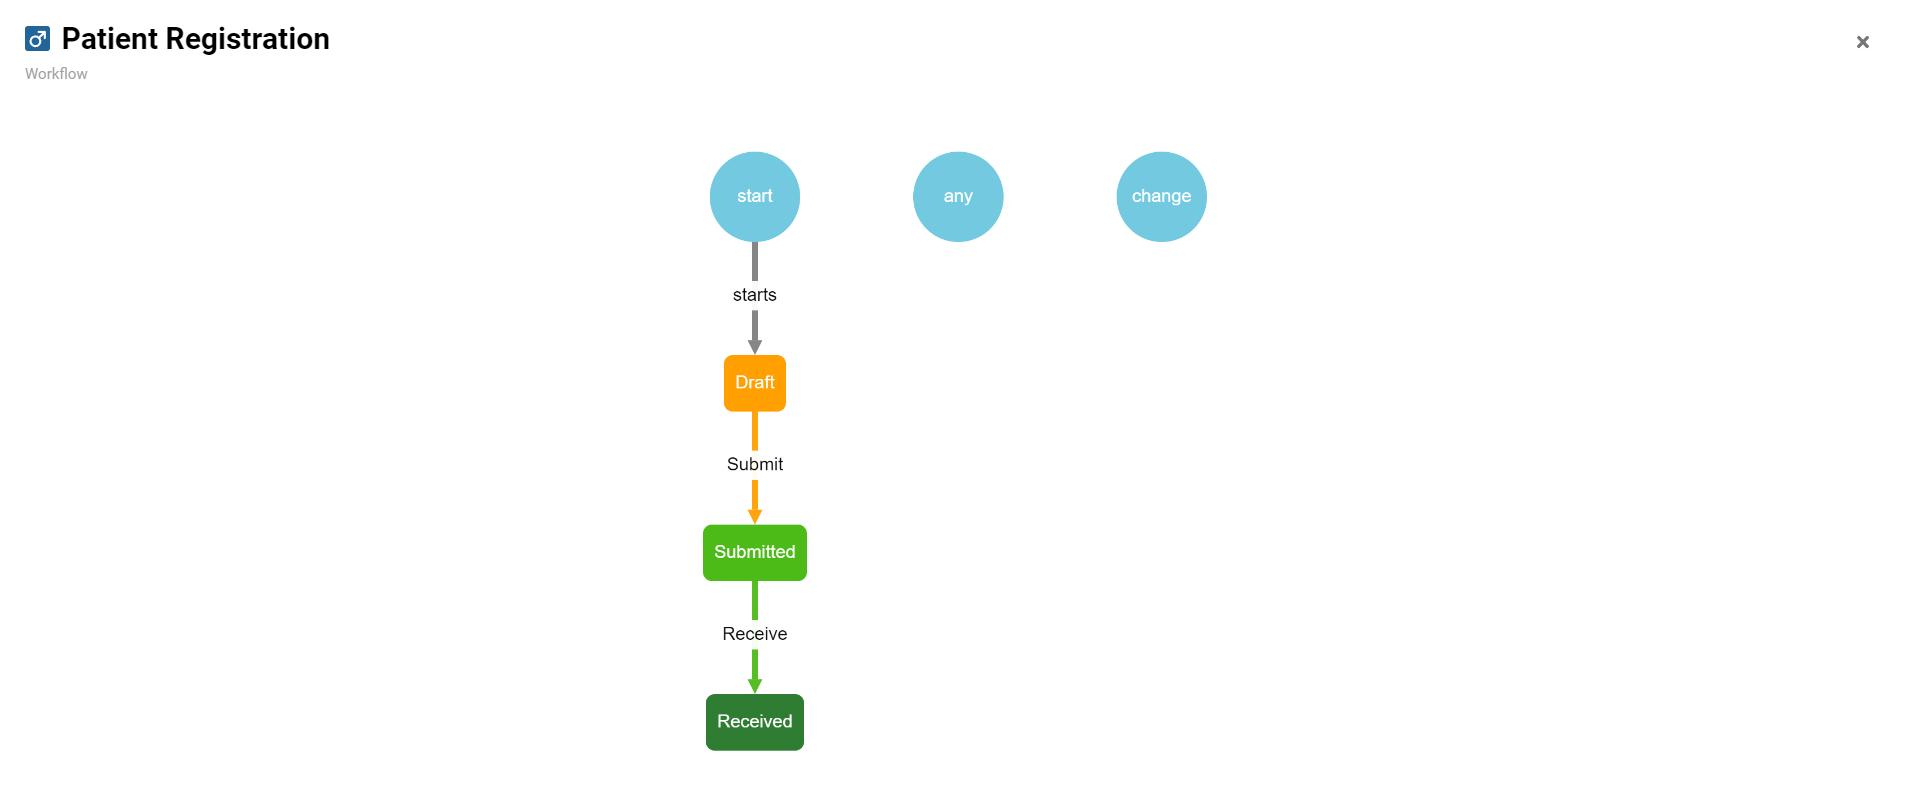
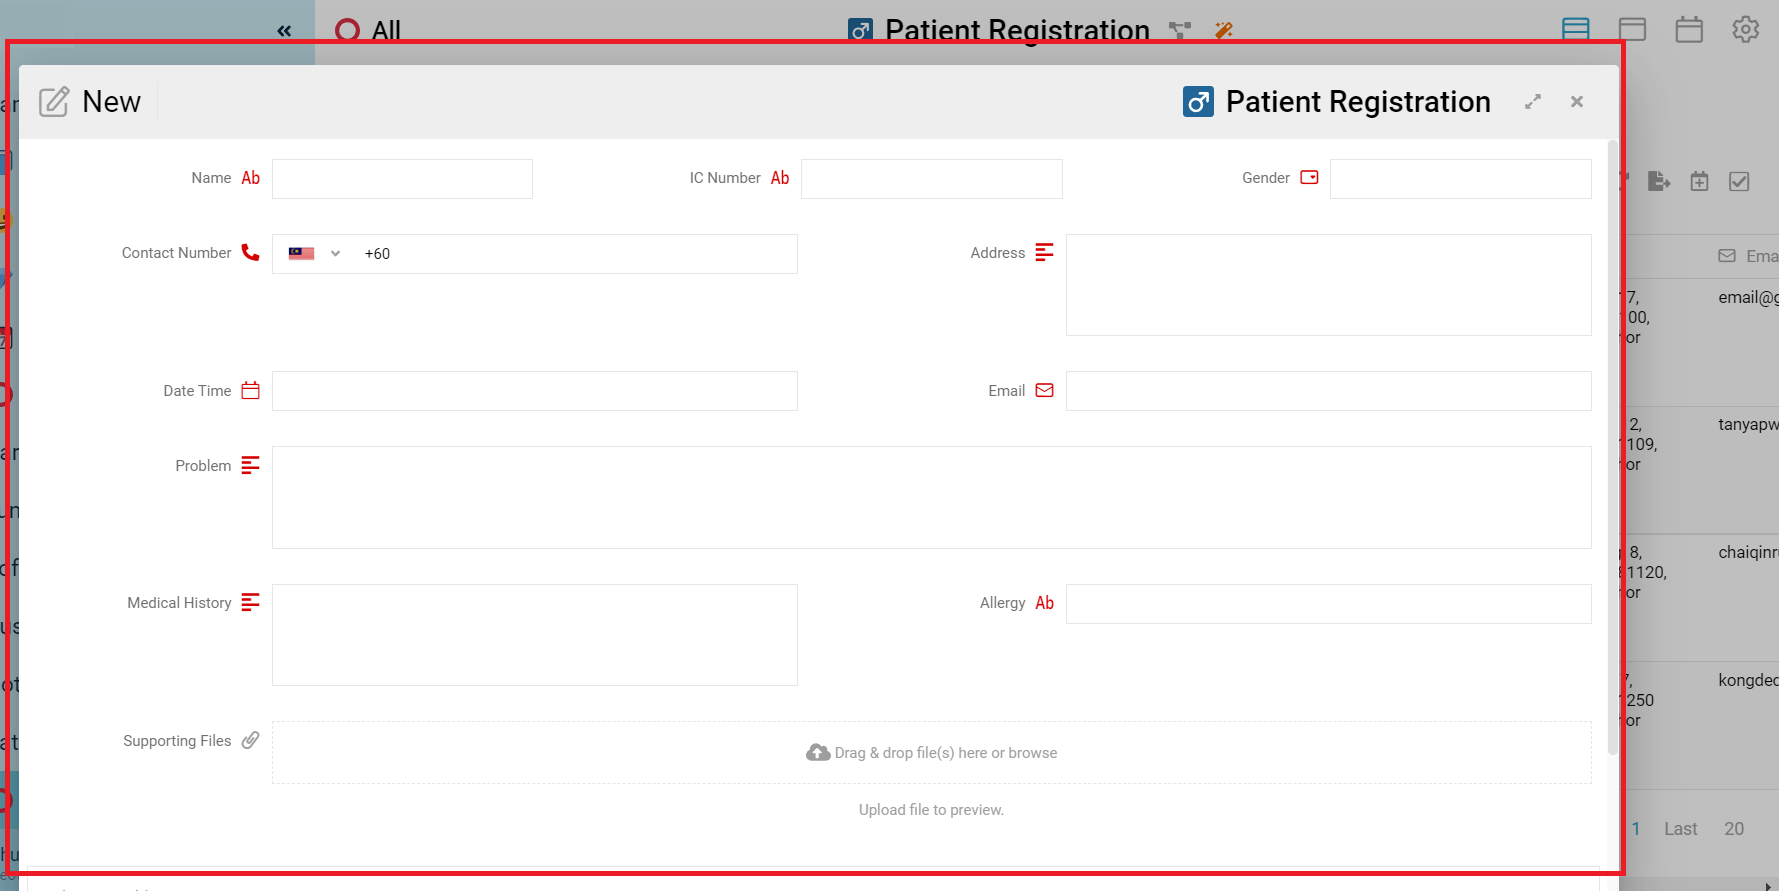
User can click “New” button to create new entry. User need to fill name of patient for field “Name”, IC number of patient for field “IC Number”, gender of patient for field “Gender”, contact number of patient for field “Contact Number”, address of patient for field “Address”, date time of registration of patient for field “Date Time”, email of patient for field “Email”, problem faced of patient for field “Problem”, medical history of patient for field “Medical History”, allergy of patient for field “Allergy” and supporting files of patient for field “Supporting Files”.
All these fields are mandatory fields except field “Supporting File”. The initial state of the new created entry is “Draft”, then user can click “Submit” button to submit this entry to other department. The state of entry change to “Submitted”. After entry submitted to other department, other department’s user can click “Receive” button and input field “Date Time to Receive” to represent the department receive this entry at that time.
Step
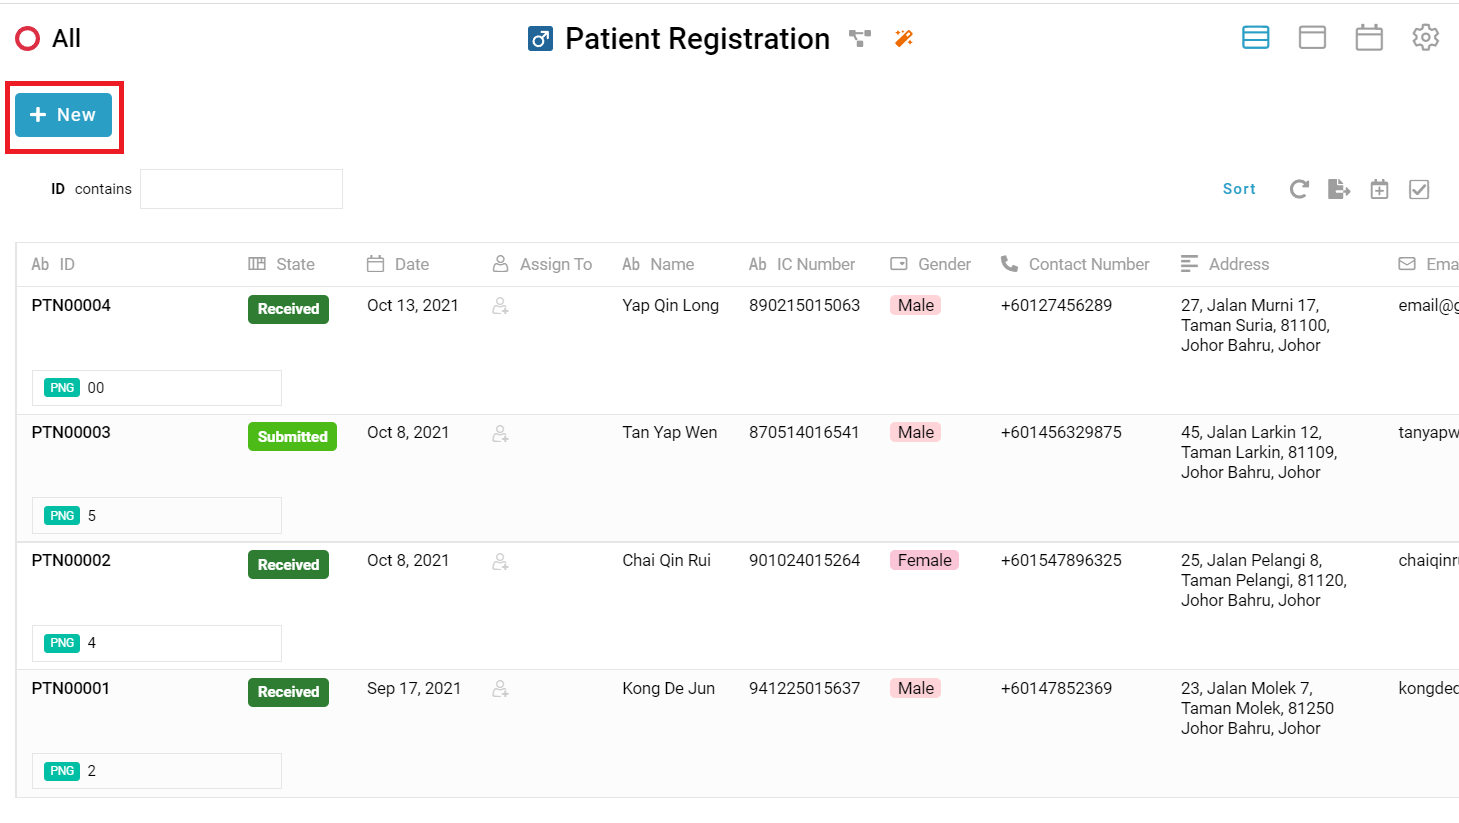
-
User click “New” button to create new entry.
-
User filled the patient information to the fields. All these fields are mandatory fields except field “Supporting File”.
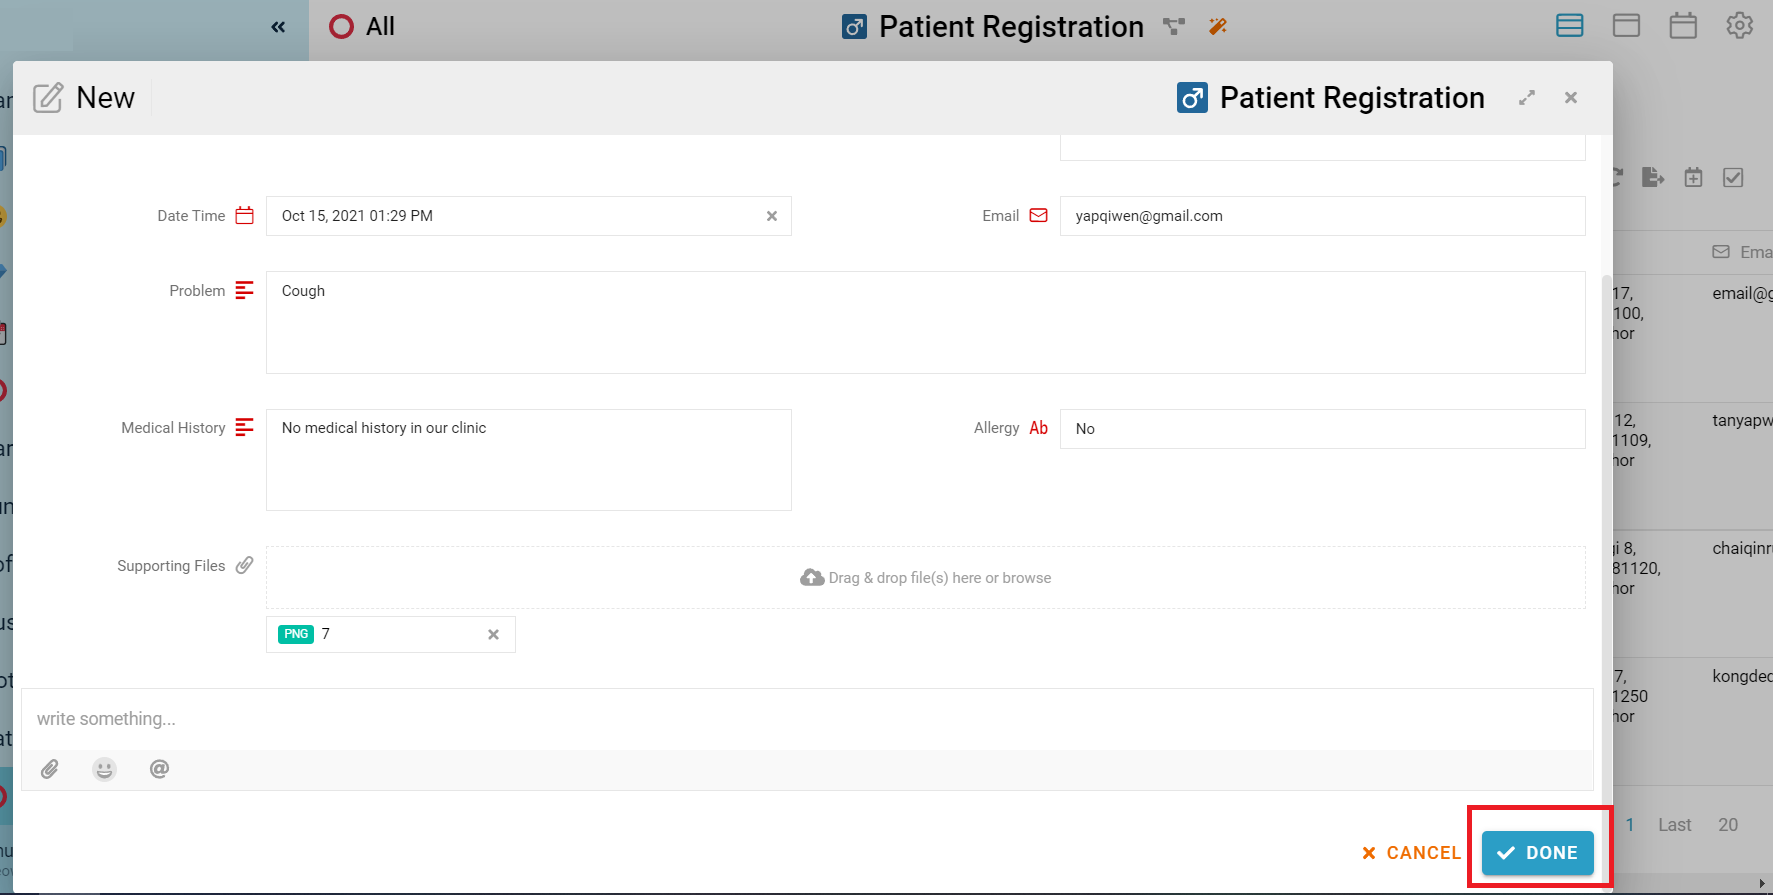
-
After input all information, click “Done” button to save the new created entry.
-
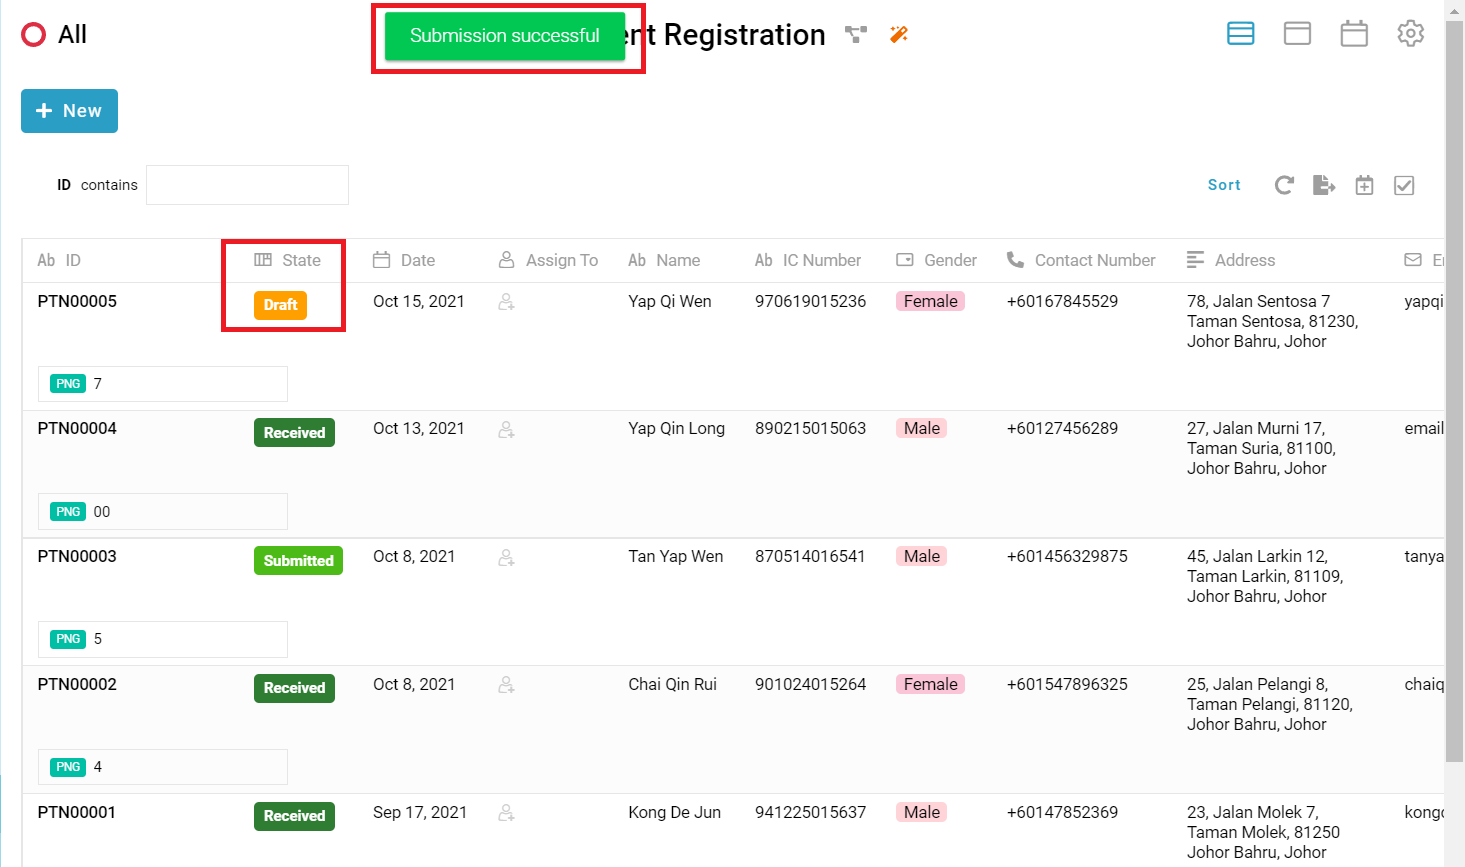
Message “Submission successful” showed and the new entry created with initial state “Draft”.
-
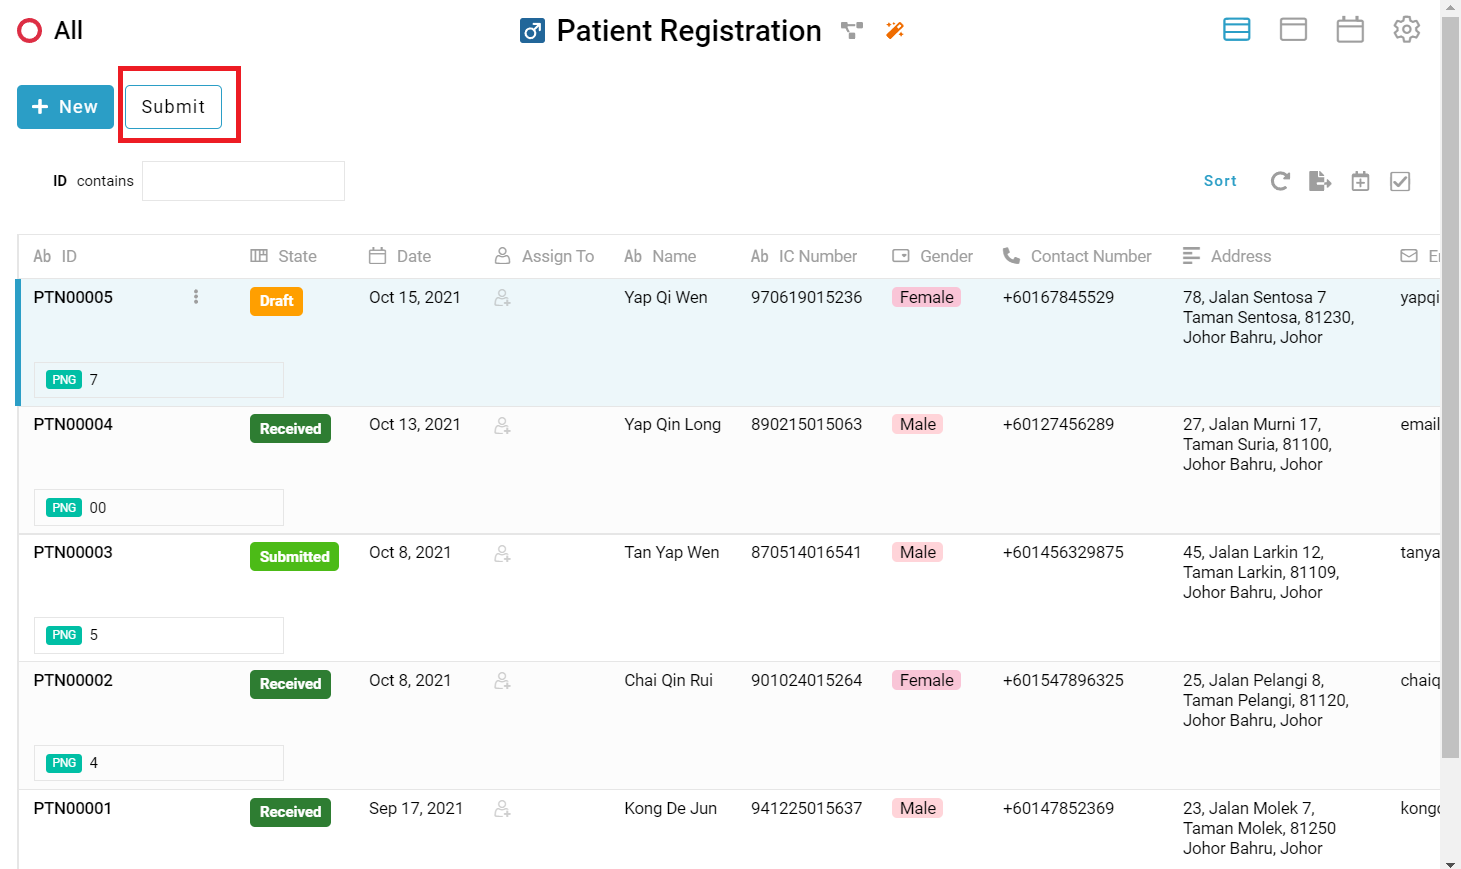
User can click “Submit” button to submit this entry to other department.
-
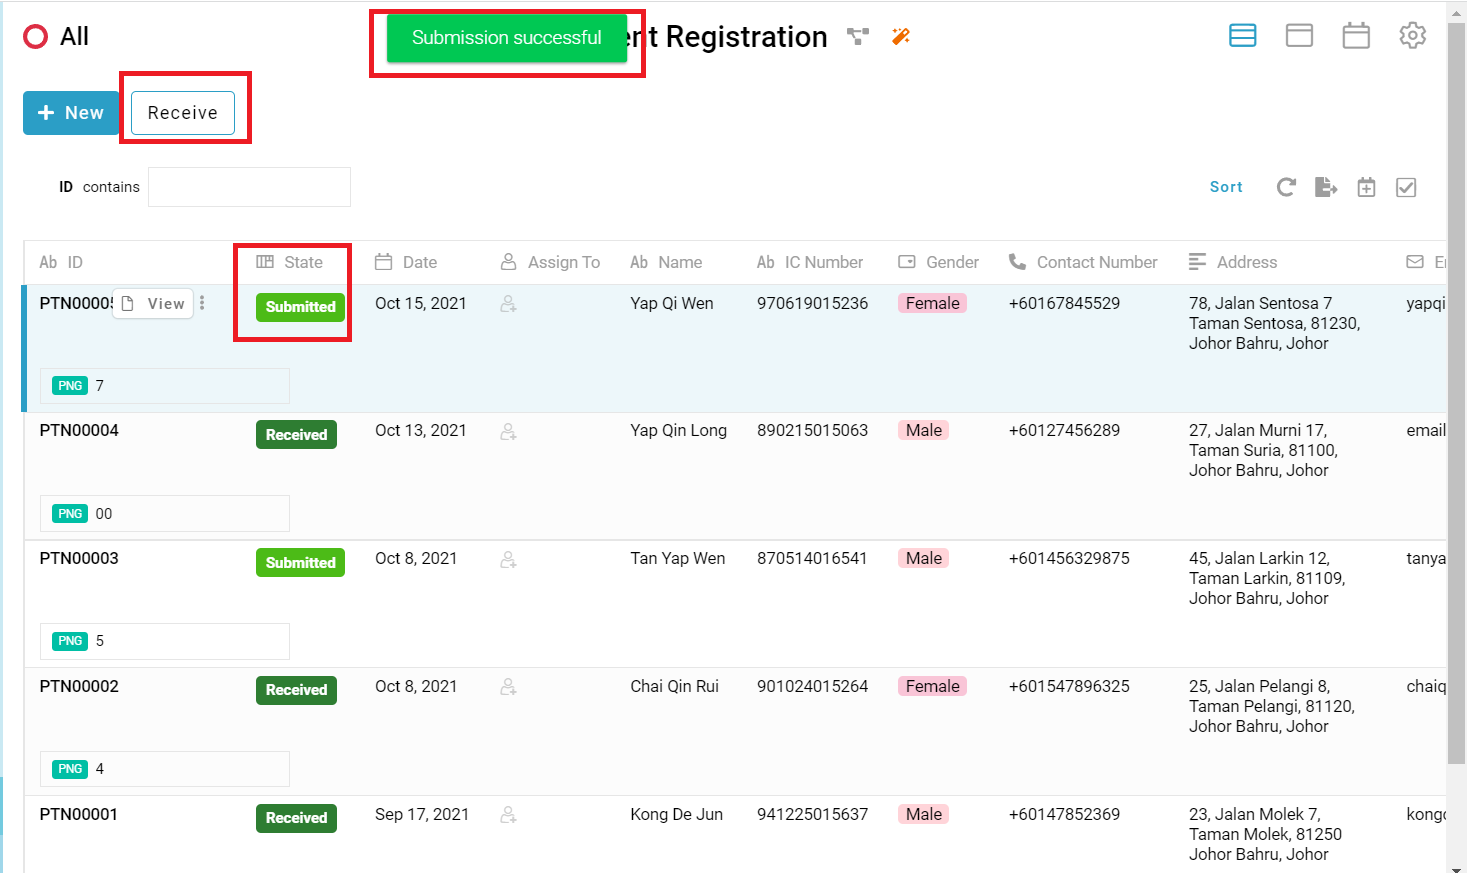
Message “Submission successful” showed and the state of entry change to “Submitted”. The user of other department can click “Receive” button to represent the department receive the entry.
-
The user of other department can input the “Date Time to Receive” and click “Done” button to represent the department receive the entry at the date and time.
-
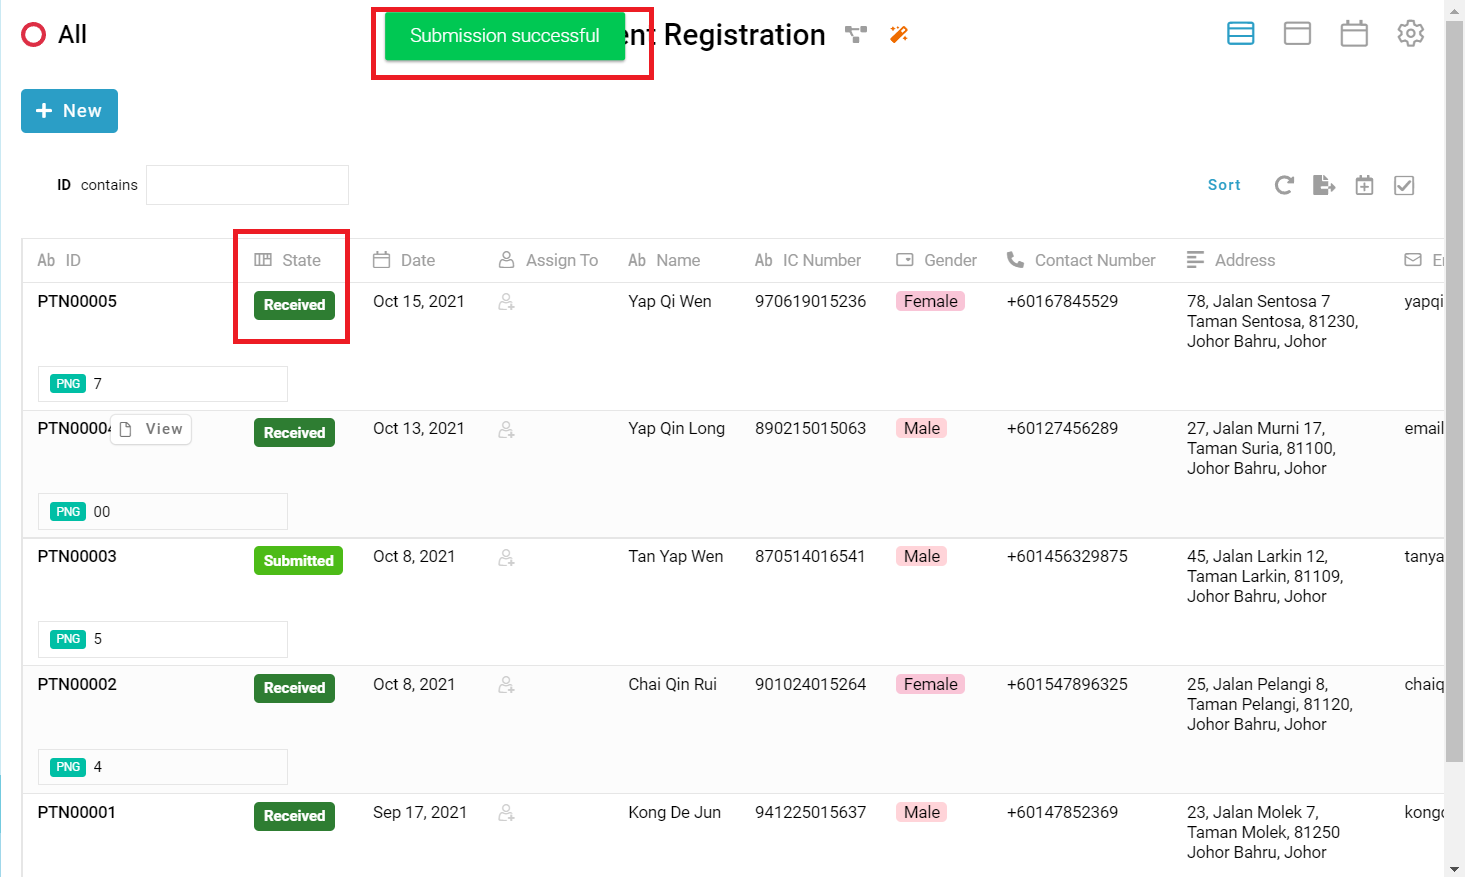
Message “Submission successful” showed and the state of entry change to “Received”.

For more templates:
Try FETIAS for FREE now.
Sign up at https://fetias.com
Related topic
How to install template package