Track your project planning moving parts, from deadlines to details, this template will help you keep track of things. Easily manage the entire project progress, keep the action points, assignees, deadlines, and status of the project in one place.
Here, we’ll show you step-by-step how to build a Project Management System in FETIAS.
Problem
Difficult to follow up project progress - A project planning may have a lot of manipulated variables, moving parts from deadlines to details lead to miscommunication problems if record project details manually.
Objective
Record project planning details - easily manage and record project details and changed items to monitor the project progress.
Process Flow
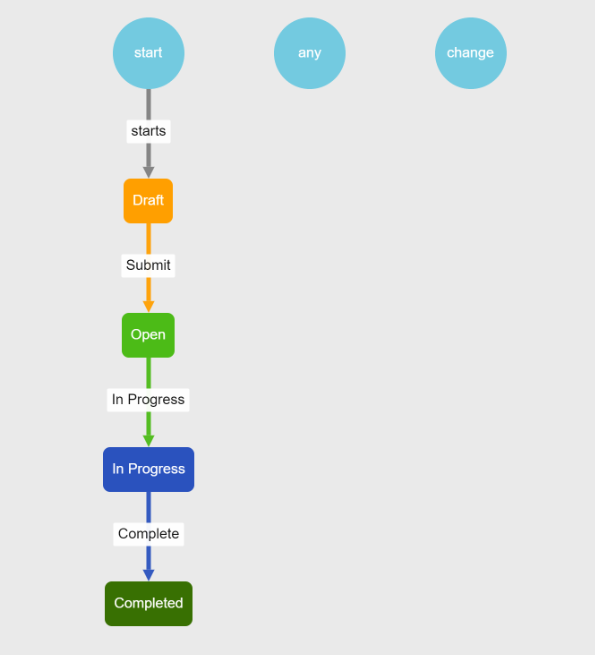
When a project planning is created, its initial state is “Draft”, and the user can record down all the project planning details. If the project is done planning, the planning can be submitted by clicking on the Submit button, then the state will change to “Open”. After that, if the project is launched, the user can click the In Progress button, the state will change to "In Progress’’. Lastly, the project is done, the user can click the Complete button and the state will change to “Completed” and the whole project planning process is done.
Step
-
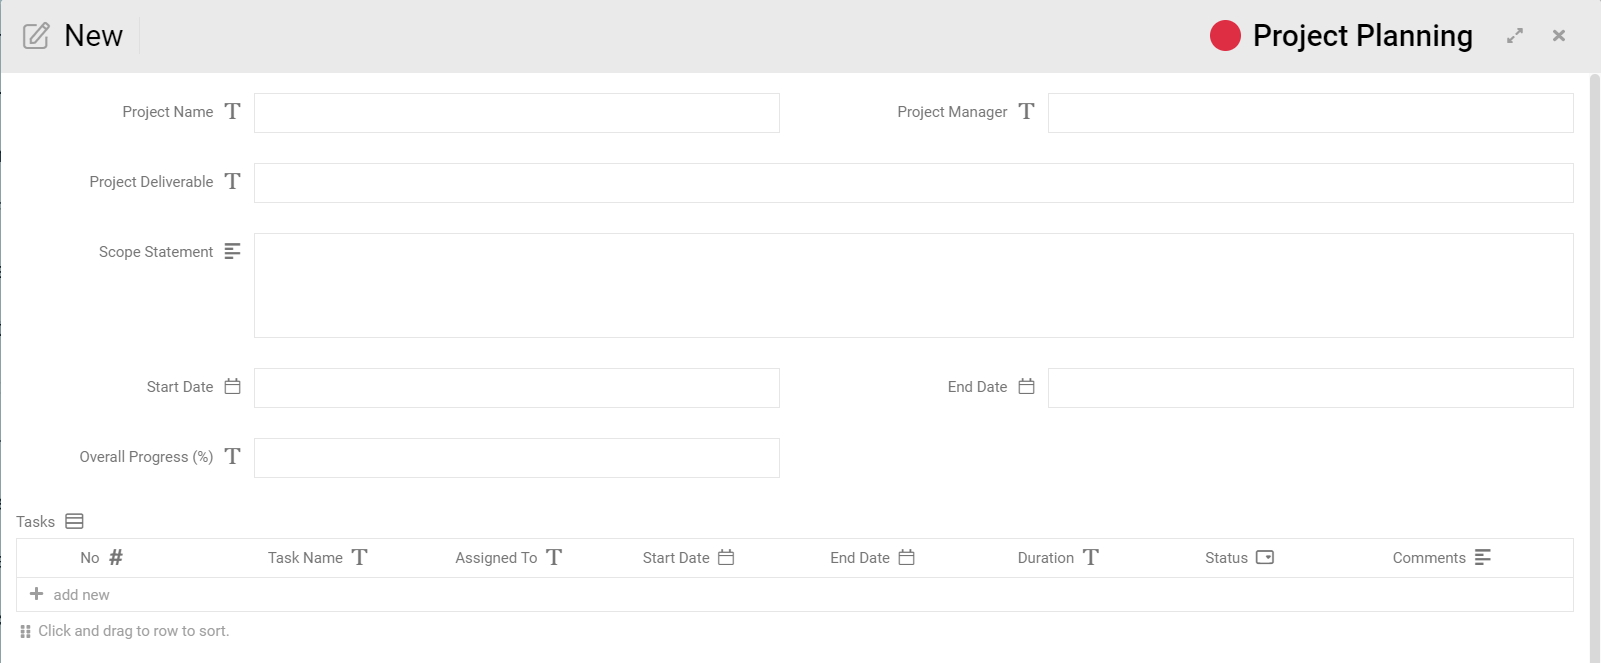
User clicks the “+ New” button, the system will display a form to input project planning details.
-
User can input the relevant fields (Project Name, Project Manager, Project Deliverable, Scope Statement, Start Date, End Date, Tasks) as shown in the form.
-
After completing the form, the user can click the “Done” button.
-
New entry is created successfully, and the state is initialized as “Draft”.
-
Users can continue to add in the project planning details by selecting the entry and performing standard activity Edit.

-
If the project is done planning, users can click on the Submit button to submit the planning, then the state will change to “Open”.
-
Users can still continue to add in the project planning details by selecting the entry and performing standard activity Edit.
-
If the project is launched, the user can click the In Progress button, and update the date and task.
-
The state will change to "In Progress’’.
-
Users can update and add in the Tasks table by selecting the entry and performing standard activity Edit.
-
Lastly, if the project is finished, users can click the Complete button update the Overall Progress, Date and Task.
-
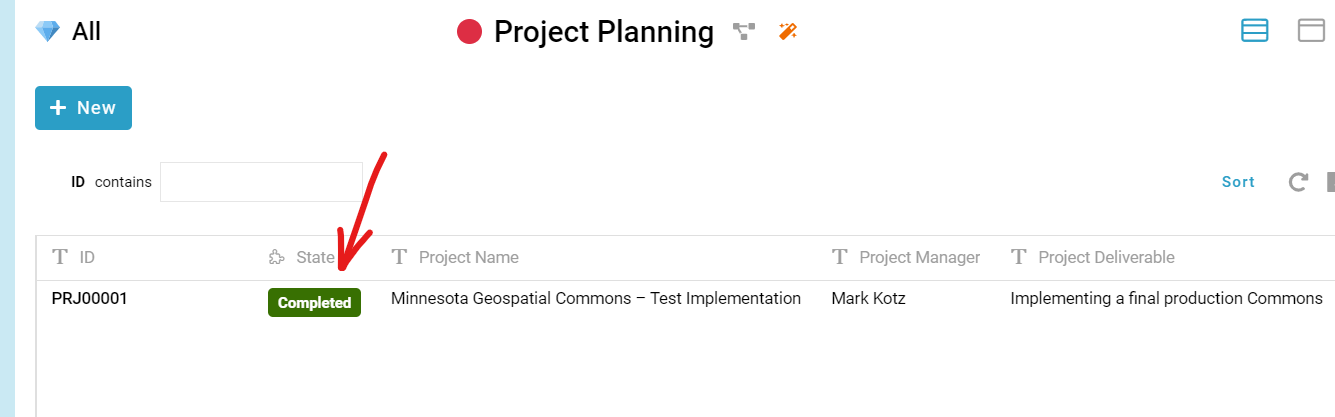
The state will change to “Completed” and the whole project planning process is done.

For more templates:
Try FETIAS for FREE now.
Sign up at https://fetias.com
Related topic
Configuration Tutorial - Project Planning